Victory Patterns: Madeleine
What a staple for your wardrobe! I absolutely love this garment. It has been such a long time coming for me to make this skirt. I have had it cut out for a while and I was afraid of the topstitching! It went so well and the topstitching guides on the pattern provided by Victory Patternswere very easy! The best part about this pattern is that you can disconnect the straps completely and have an awesome stand alone skirt. The skirt resembles a circle skirt. It flows very well and has a wonderful length! I highly recommend this pattern!

I will briefly discuss
Fabric choice
Topstitch thread choice
Modifications
Pattern layout
Pattern construction
Pattern fit
Styling your garment

Fabric Choice:
This is a denim silk blend from Sewing Studio! This is fabric is so so nice! It has a nice drape and is very soft while still being made out of denim. I could not wait to make this pattern out of this fabric. I think any twill would be nice. Tencel twill, non-stretch twill, denim, possibly heavier linen, and other bottom weights are all great options!

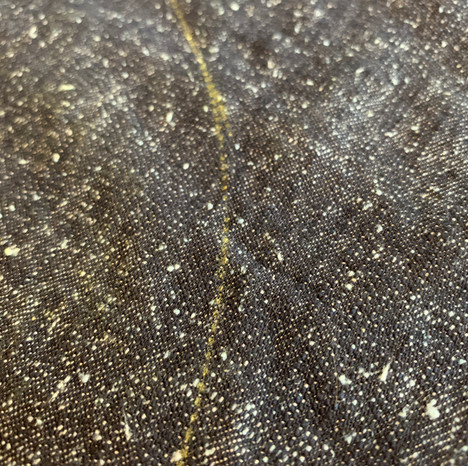
Topstitch thread choice:
I went ahead and tested 4 colors of topstitching thread that I had ordered from Taylor Tailor. You can order other high quality products from this website as well. Out of the 4 colors, I decided to go with the second from the left. I wanted some contrast but not too much in case I was horrible at it!

Modifications:
I didn’t modify anything in the pattern. It was all perfect, especially the zipper insertion! It was a little daunting at first, but I didn’t mind the way it was inserted and it ended up looking very neat. I also appreciated all the topstitching, and the clear instructions to do so!

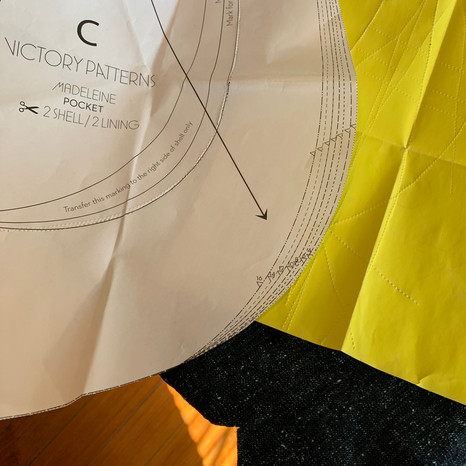
Pattern layout:
I don’t believe I changed anything for the layout.
Pattern construction:
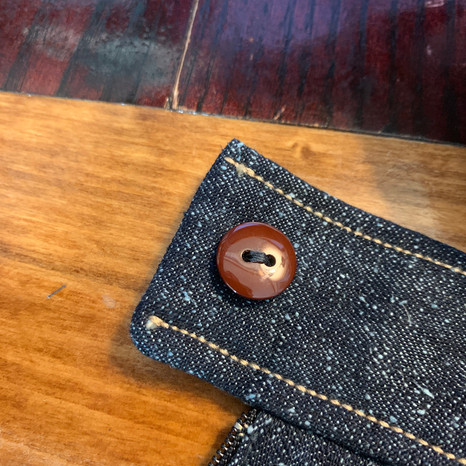
The construction went well. I had a few questions when finishing the edges of the waistband, but the picture was helpful. It showed that one side extended past the other. I have made many waistbands so I knew this was essential as well to button the skirt at the top. The side that did not extend past the bulk of the skirt was done by sewing straight down in line with the skirt and then over just a bit, so that when turned out, it lined up with the edge of the skirt perfectly. This is the picture on the left. The picture on the right is the part of the waistband (the right back side) that I allowed to extend a bit when sewing it. This seems very confusing but their pictures are pretty good and there are many many resources out there for sewing waistbands! This is just something I knew to do, but was not super clear in the pattern.
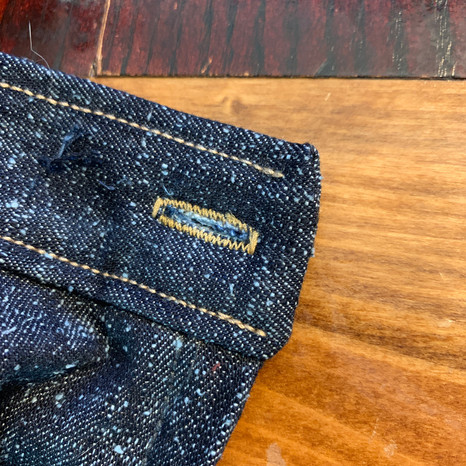
When I attached the inside buttons, I only sewed through the inside layer of the waistband. I didn't want to see the stitching on the other side! This is just a small tip! Picture below!

Also, the instructions are not clear on topstitching the top of the waistband! It only instructs you to topstitch the bottom of the waistband. The picture does show this; however, so I did this to make the waistband look nice.

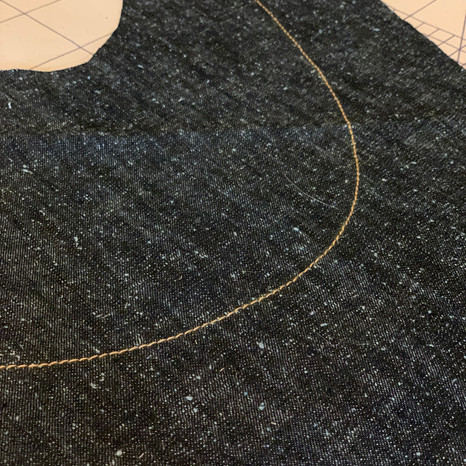
Topstitching:
There are topstitching guides built into the pattern and this worked very well. I used tracing paper face down and a tracing wheel to mark the topstitch guide on the right side of the pocket like the pattern instructed us to do! The end result was fabulous!.
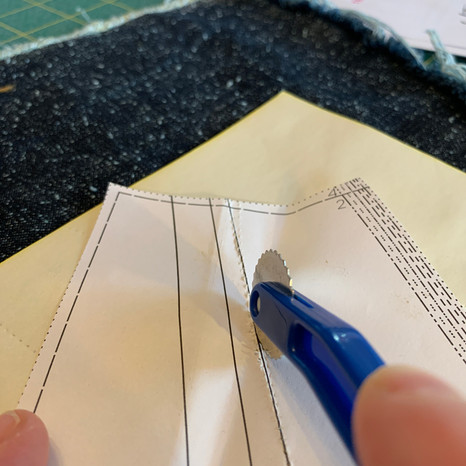
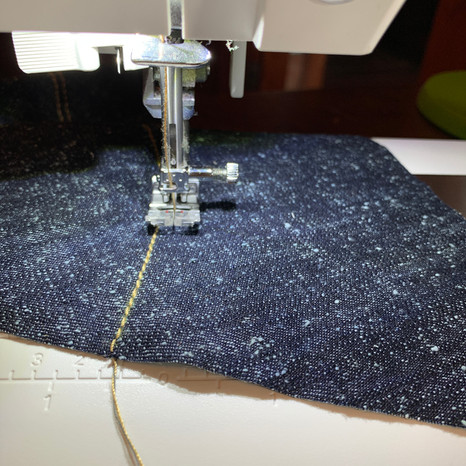
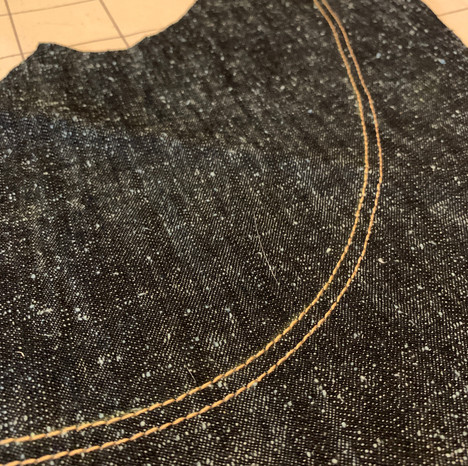
I used a 3.5 stitch length and altered my tension until the stitch looked good on a test swatch of fabric. Also, to determine the place of the second row of topstitching on the pocket, I just used my pressor foot guide to determine a spot that appeared 1/4" over and continued down slowly!
Pattern fit:
I was a little worried about the fit around my waist, but I knew I could always move the button over! It was actually perfect! The adjustable straps are very helpful as well. They serve a great purpose with the fit and the placement of the waistband at your proper waist. I have a long torso and the fit was great. I am using the back middle set of buttons. I didn’t even have to use the longest set of buttonholes to make the pattern fit well!

Styling your garment:
I think this pattern works so well with many outfit choices! I wore it with leggings in the picture because it was very cold outside! I think it would be great in the summer with a short sleeve top as well! I think stripes work and so do many other pattern choices! It looks great with a beret of course but would also look nice with a beanie. I think that even a jumper or sweater over this garment would look fabulous as well!

Jumper/skirt: Victory Patterns Madeleine
Shirt: Me-made Tessuti Fabrics Monroe turtleneck made out of Girl Charlee Knit fabric
Shoes: Able
Hat and gloves: Target