Mccall's M7299 Family Pajamas!

**This blog is sponsored by Mccall’s and all opinions are my own!**
Holiday Greetings everyone!!! I am so happy to share this easy project with you all. I was able to make 4 pairs of pajamas all at one time with a few simple tips and tricks! You can purchase this pattern from Mccall’s and the link will lead you straight there! Mccall’s pattern m7299 is what I used to make these lovely sets! The fabric is from Joann Fabrics! The plaid flannel can be found here and the cars flannel can be found here! Here is a link to my YOUTUBE video with instructions and tips on how to complete the jammies as well!

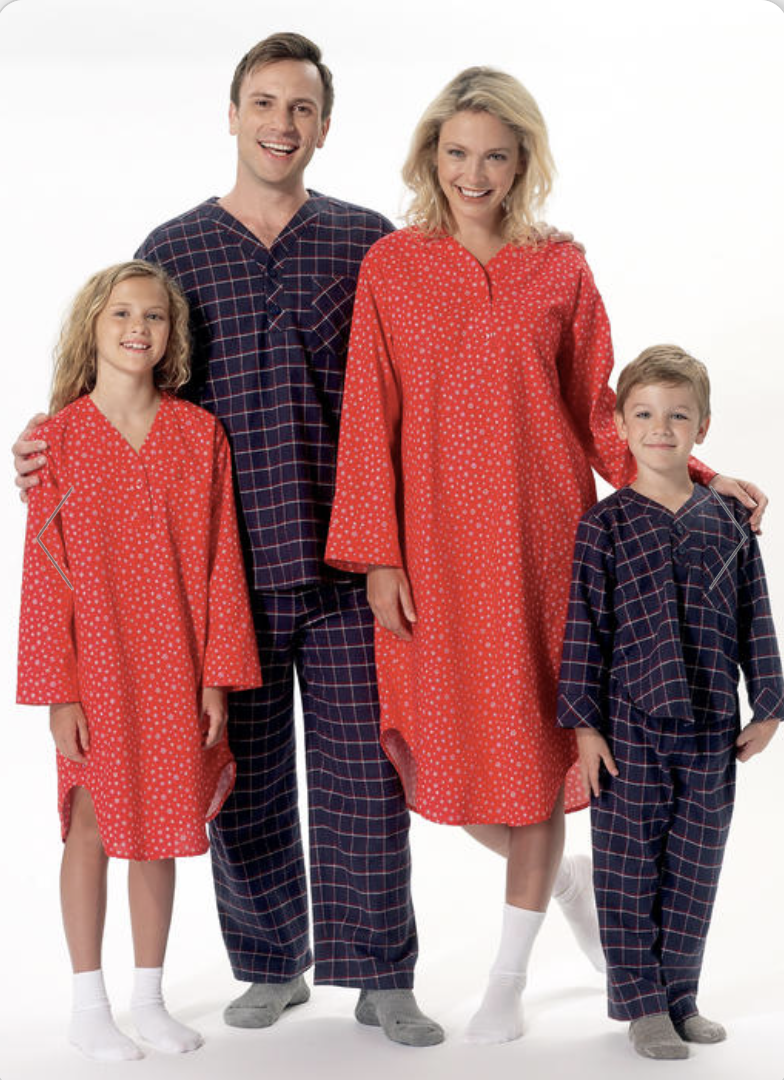
Making Christmas jammies for your family is not as hard as it seems! Every Christmas morning for as long as I can remember, our family tradition was to wake up and gather around the tree in Christmas pajamas, and the last several years they have been coordinating! This year, I haven’t been as good at making garments for the kids so I thought it would be really nice to pick up a pattern that encompasses all ages and get some coordinating fabric and go for it! Now this may seem overwhelming, but it really just took me a few days and with some tips under your belt, you can easily do it too! I have a video on YouTube (and on Instagram) to help you with this pattern as well as this blog post! You should be well equipped with tips and tricks!

We all know every kid has a different personality so I tried to tailor these to my kids specifically and the littlest one is obsessed with cars but my daughter...well....not as obsessed ha! So in comes in two different coordinating fabrics and we are good! You will need the pattern in two sizes if you plan for an adult and a child. The only adult receiving pajamas was a size small (me…!), so I just cut my size small and then I traced the child’s pattern to be able to make them for all of my kids! I have 3 kids and they were 3 different sizes!!! 3-4 5-6 7-8. I used Mccall’s M7299.
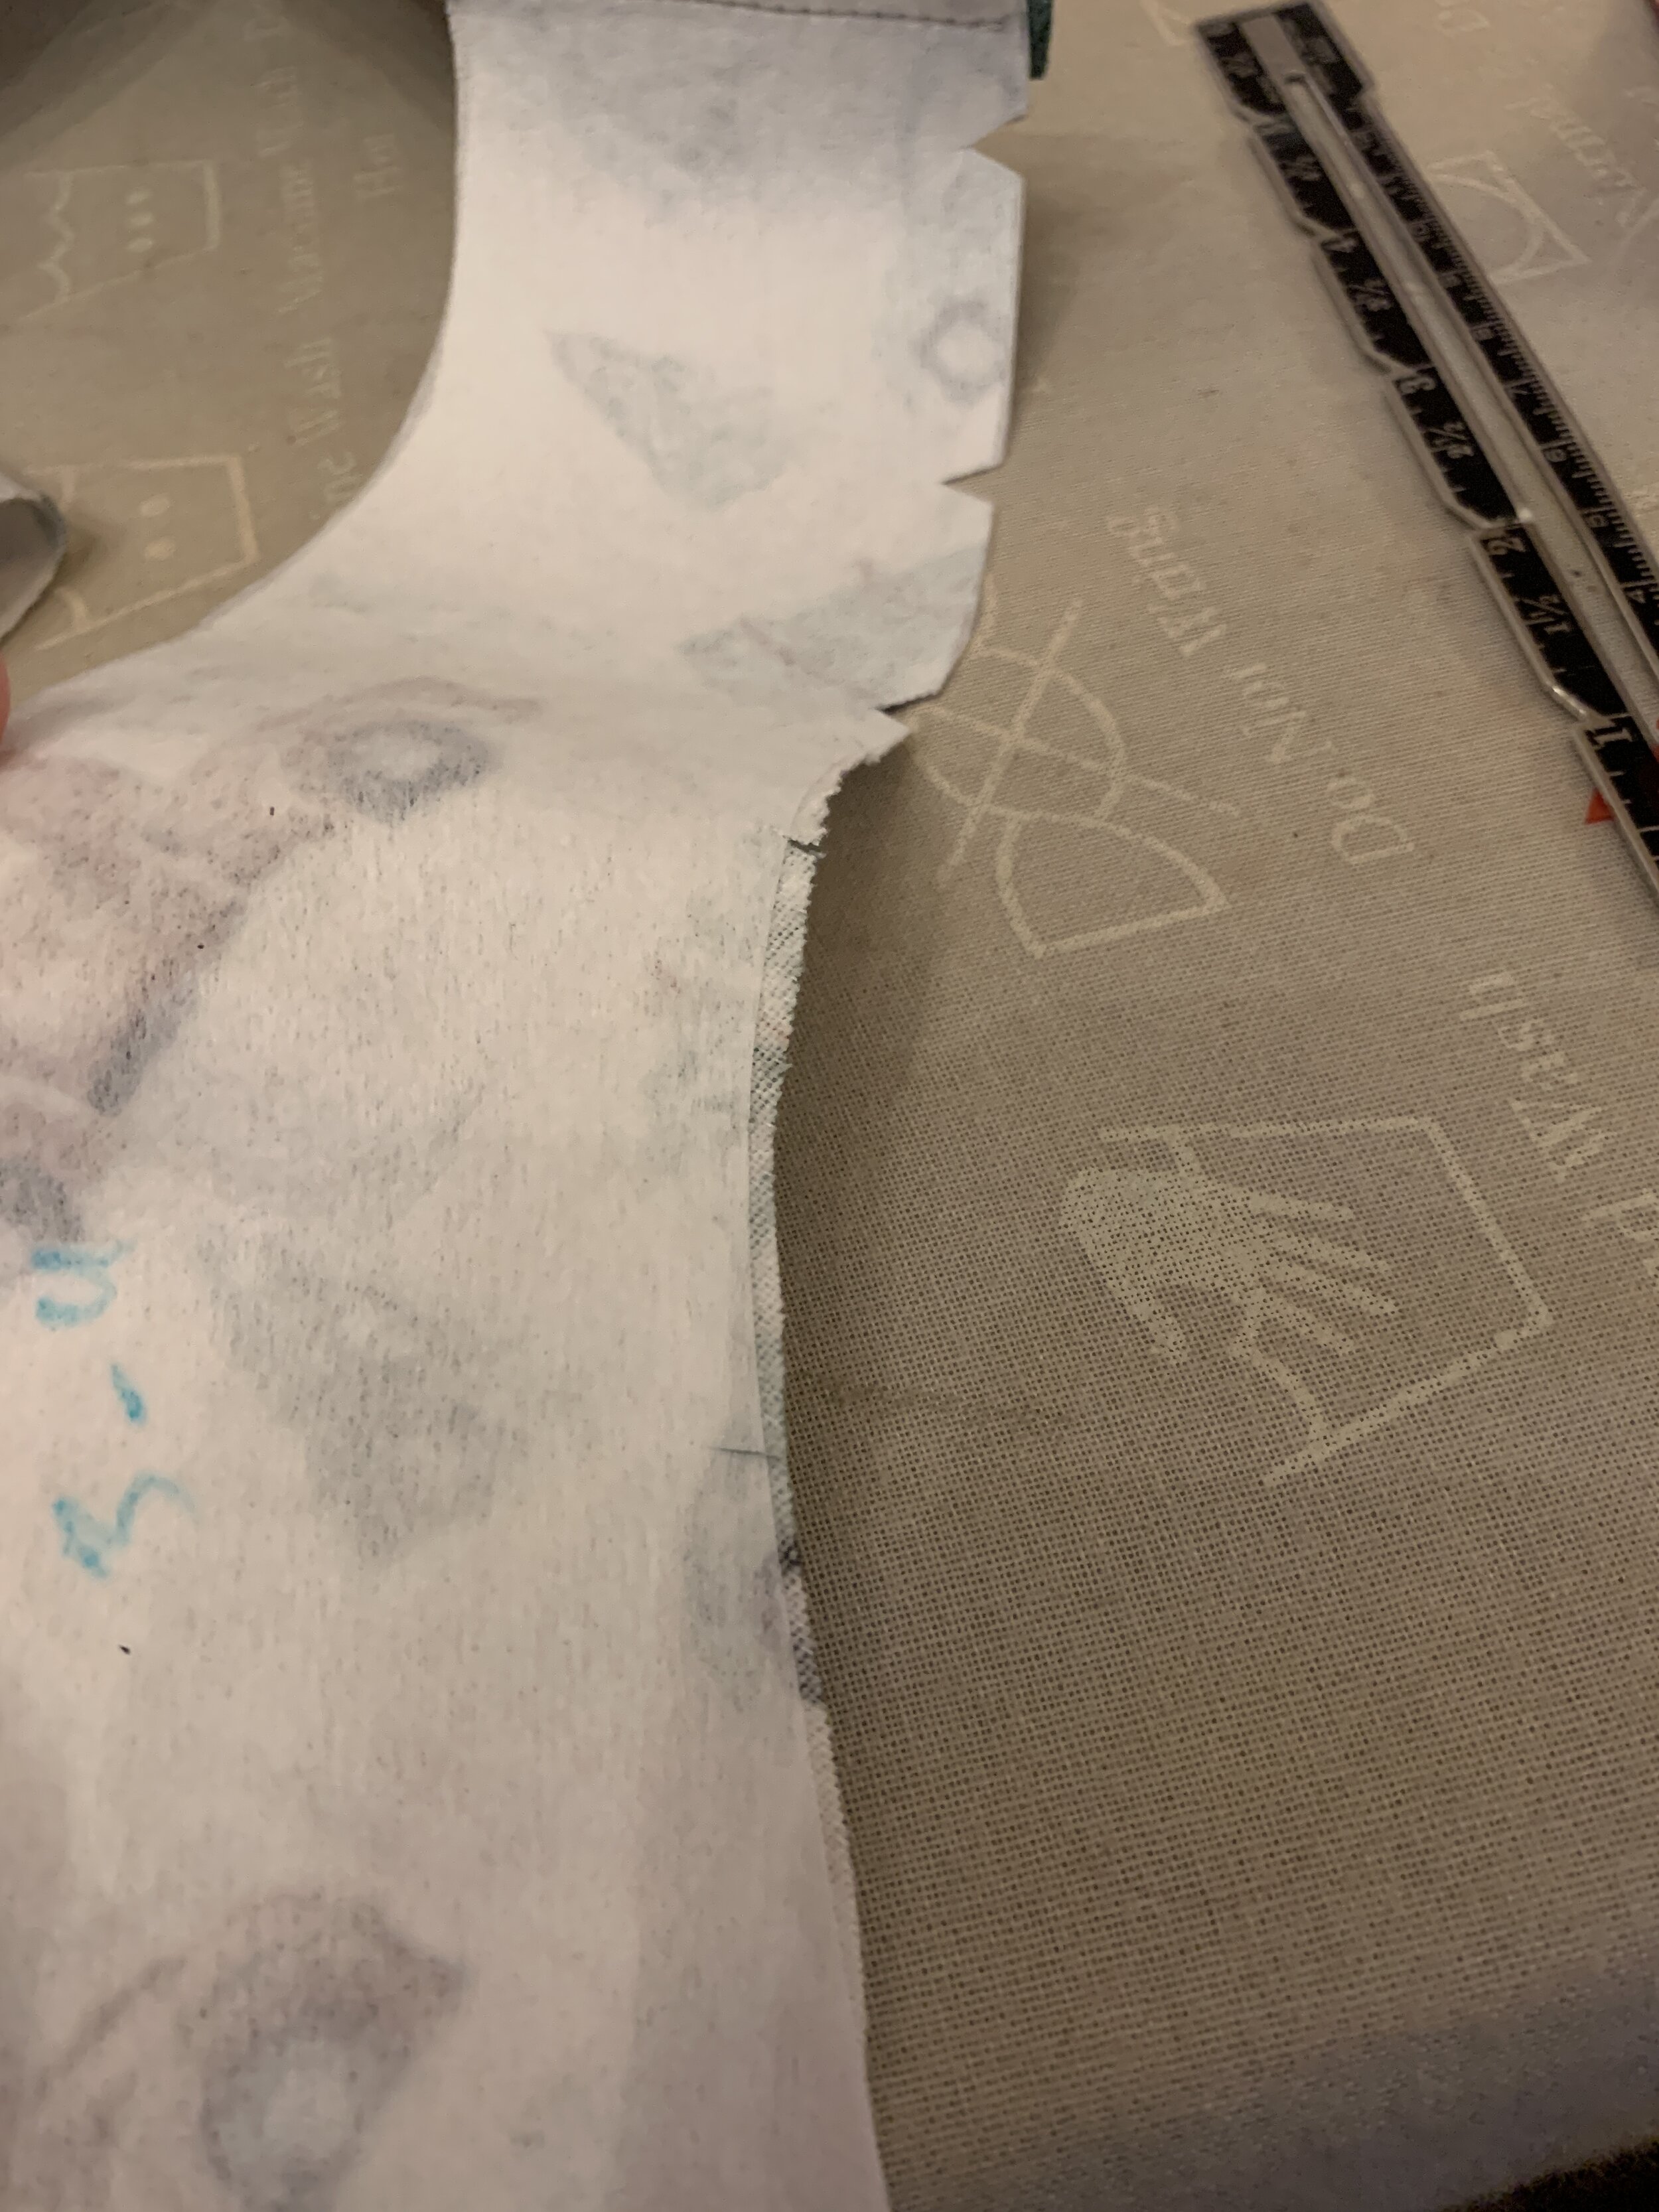
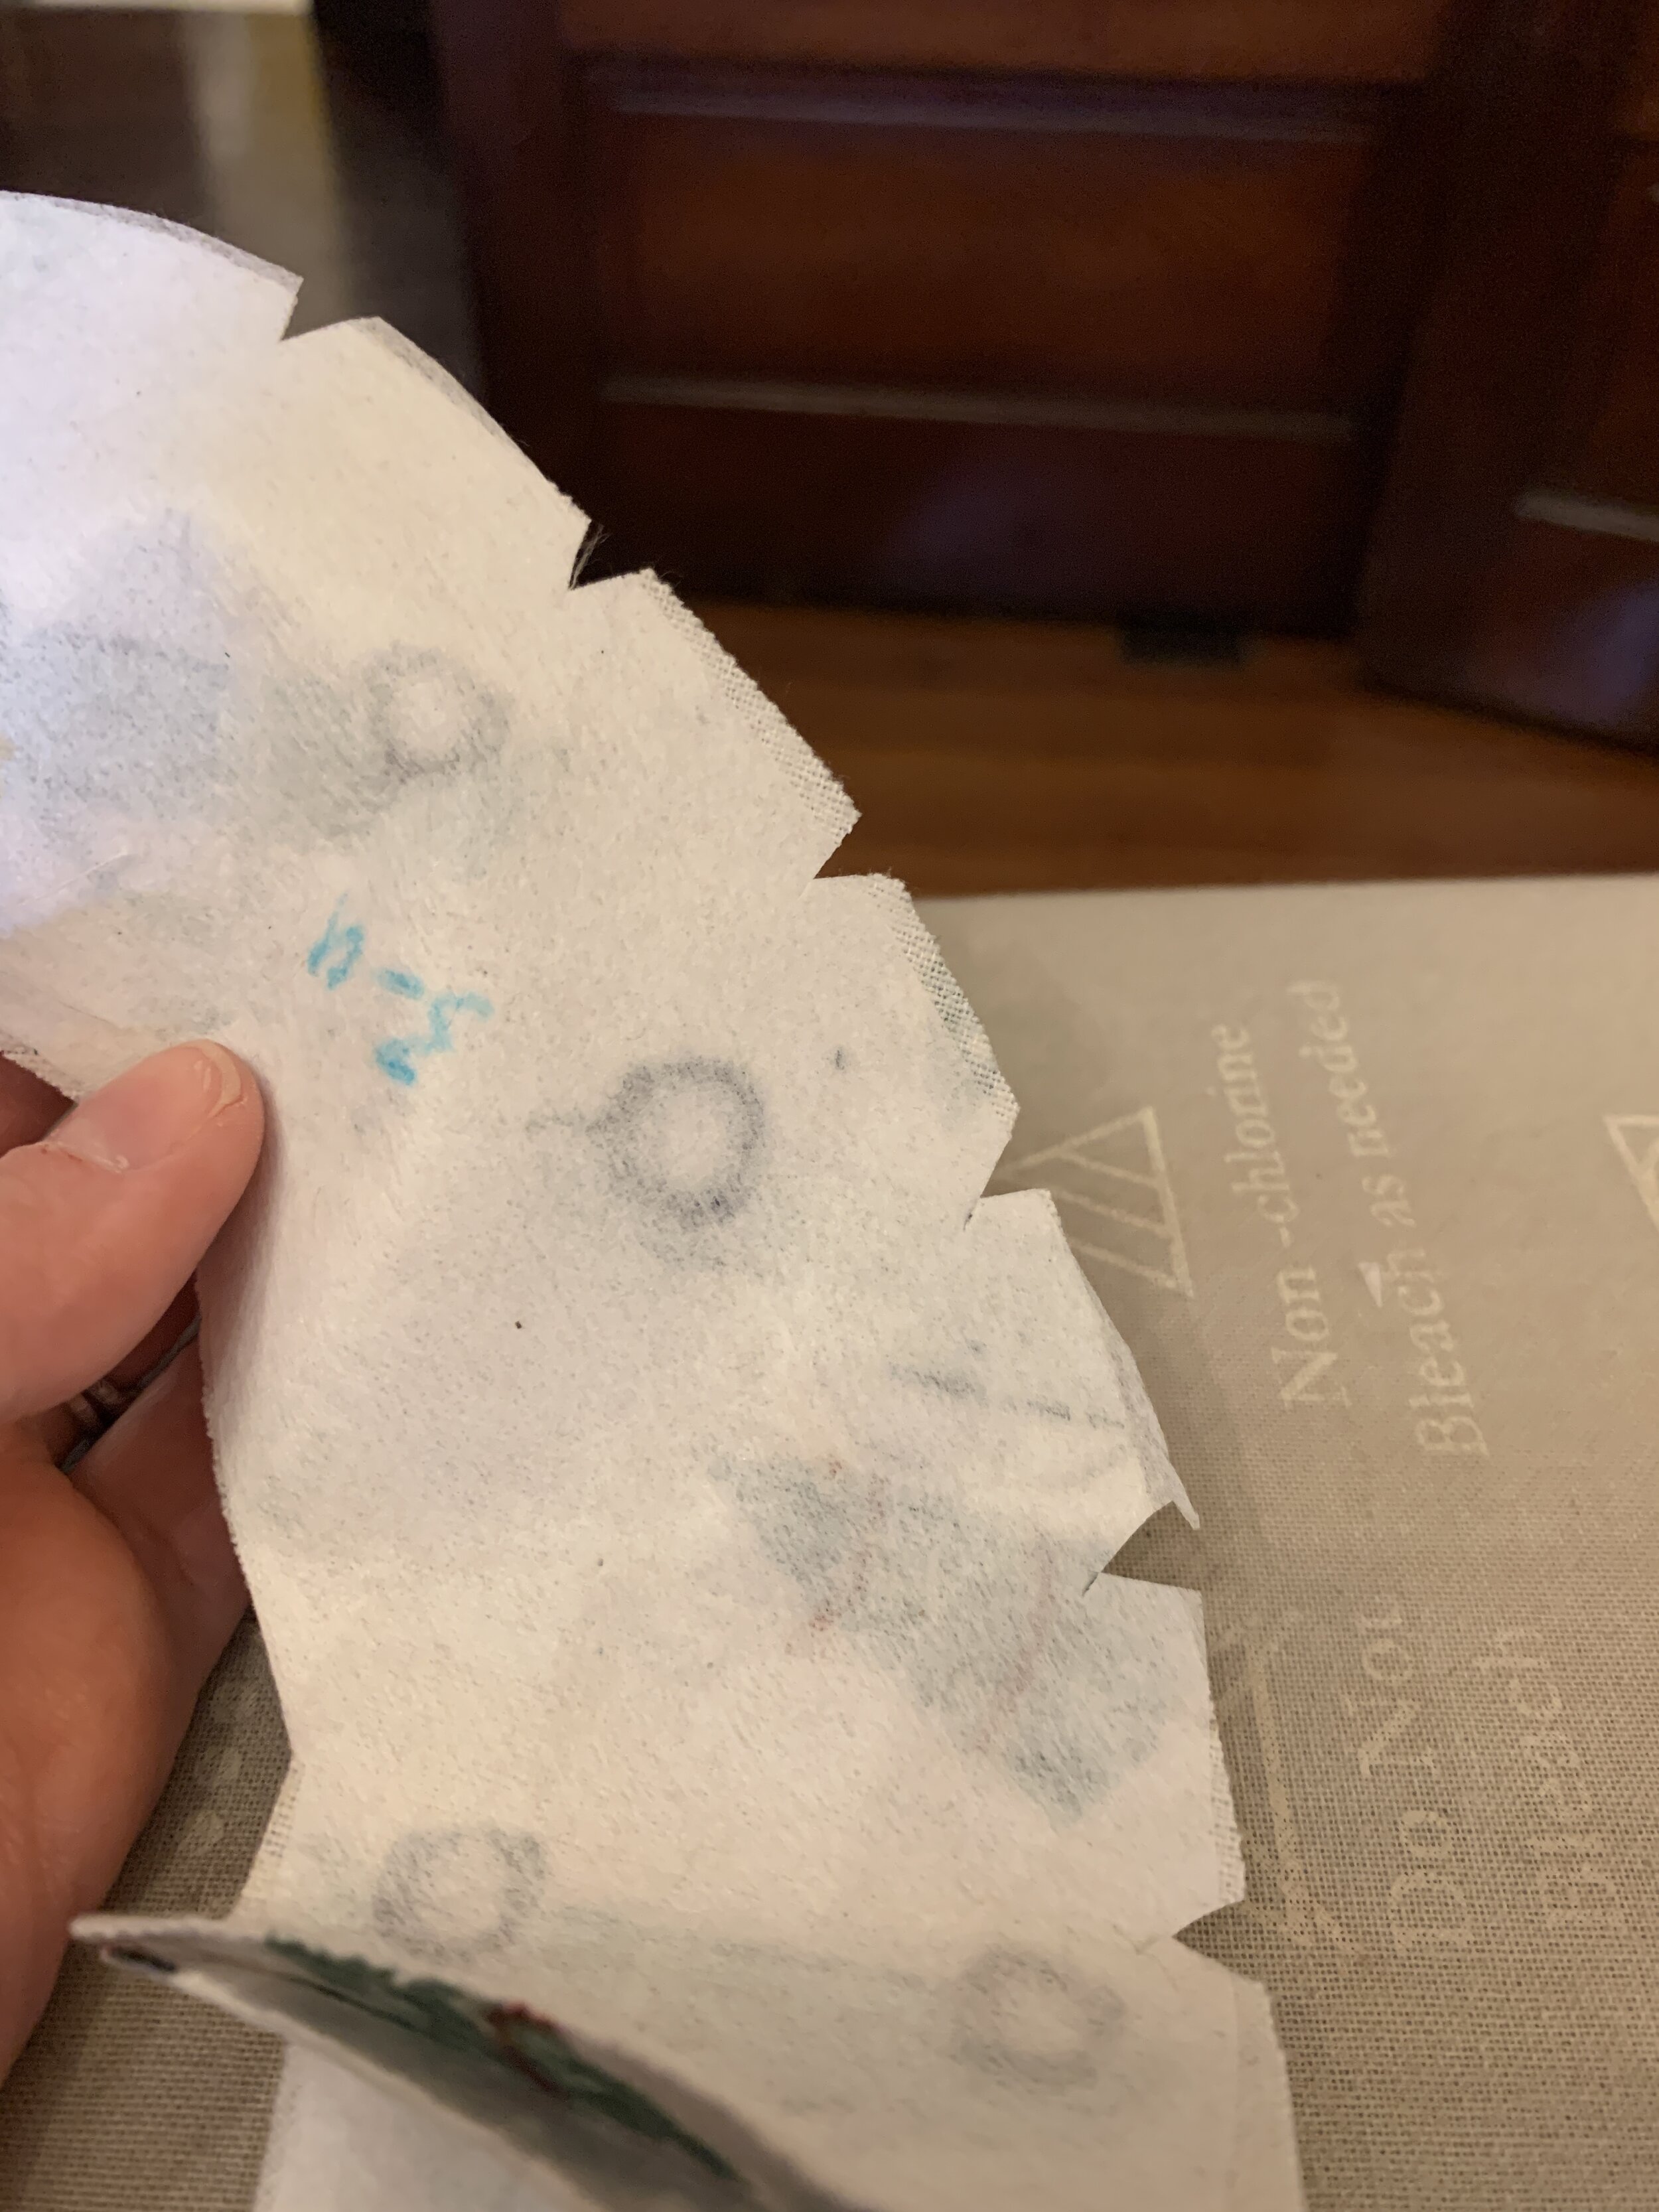
The first step you have to accomplish is figuring out how to include all of the children’s sizes from one pattern. I had to trace out the different sizes onto some tracing paper linked here. I had to trace all three sizes because I didn’t want to cut into the pattern in case I want to make it again when they grow!!

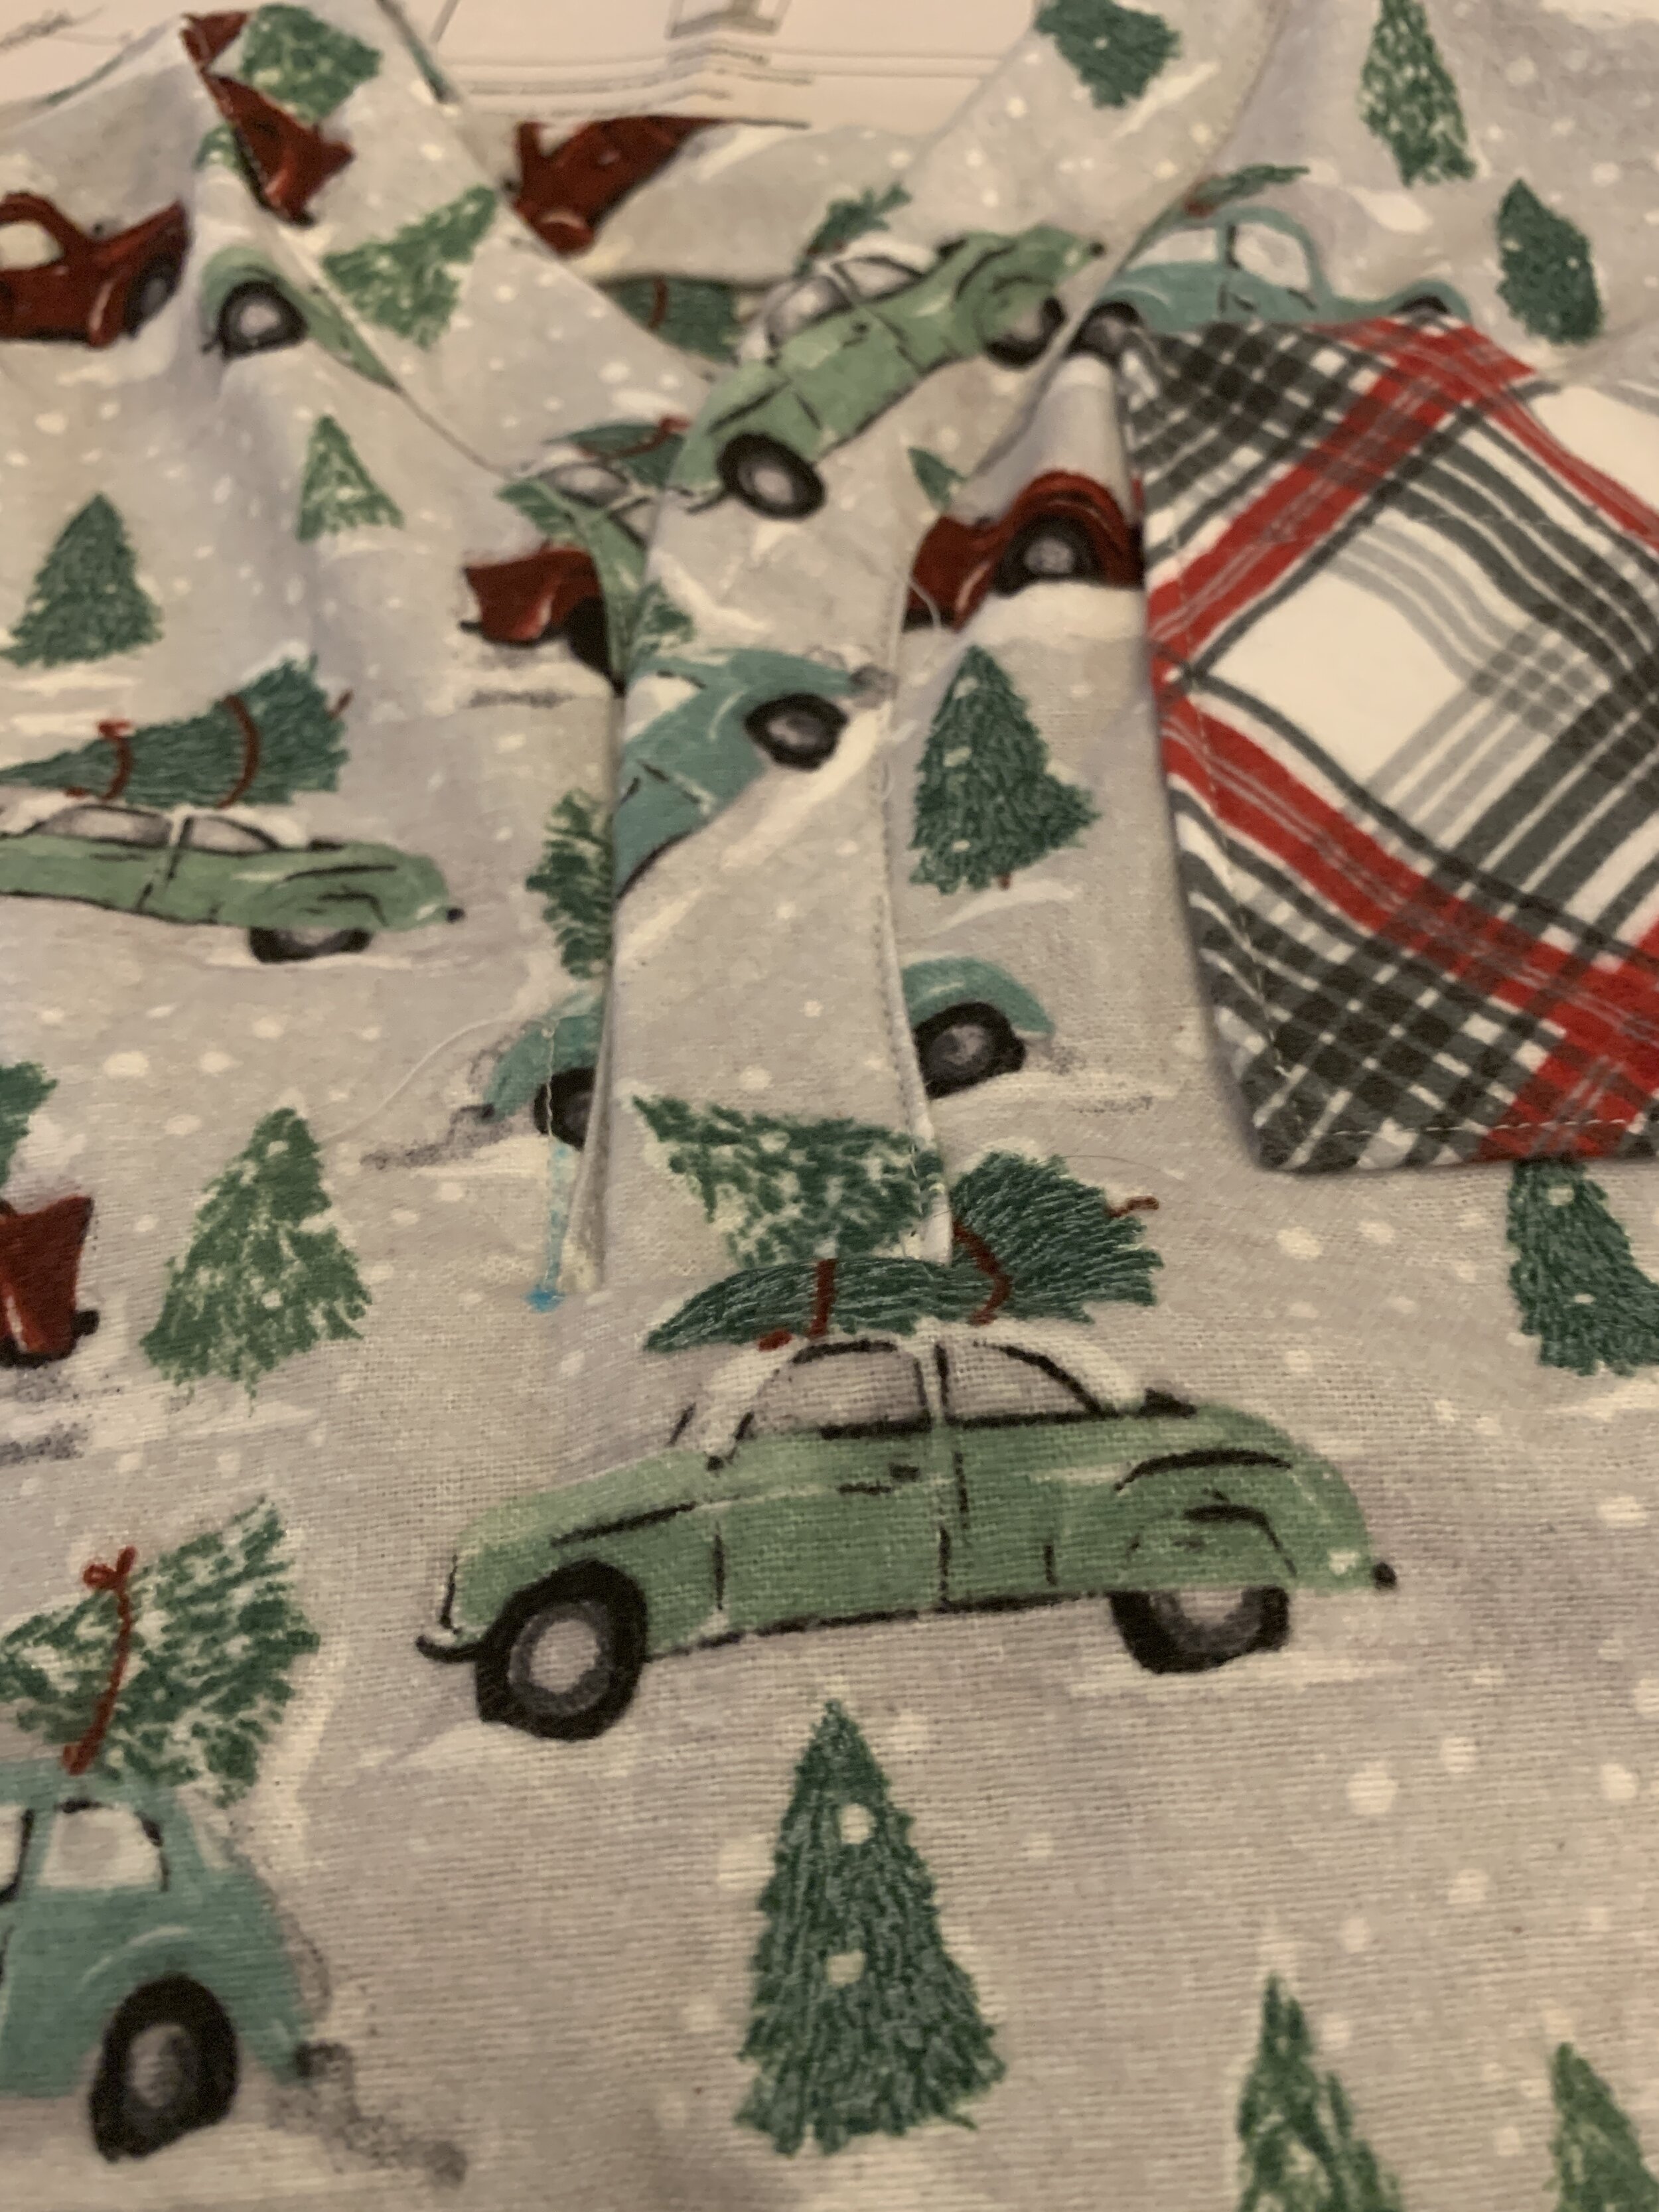
As you can see in the picture above, I used plaid fabric for my daughter and for my sons, I used car fabric from Joann’s. Both materials are flannel and nice and cozy! I washed the fabric and popped it in the dryer and it turned out beautifully!
They key to doing this very easily and quickly was this:
Assembly line the whole process.
Match plaid only where it really counts and use simple methods.
Topstitch or use hem tape where it is possible and is aesthetically pleasing!
That is pretty much it! I could probably end the blog right here but I will pop in a few pointers so you can all learn a few more things! This is not an in depth, step by step tutorial, but I have several pictures and guides to get you through this pattern with ease!
First thing is first, once you have traced the pattern in all the sizes you will need, take a break! PHEW, that was a lot of work!……….Then, you need to start cutting fabric.
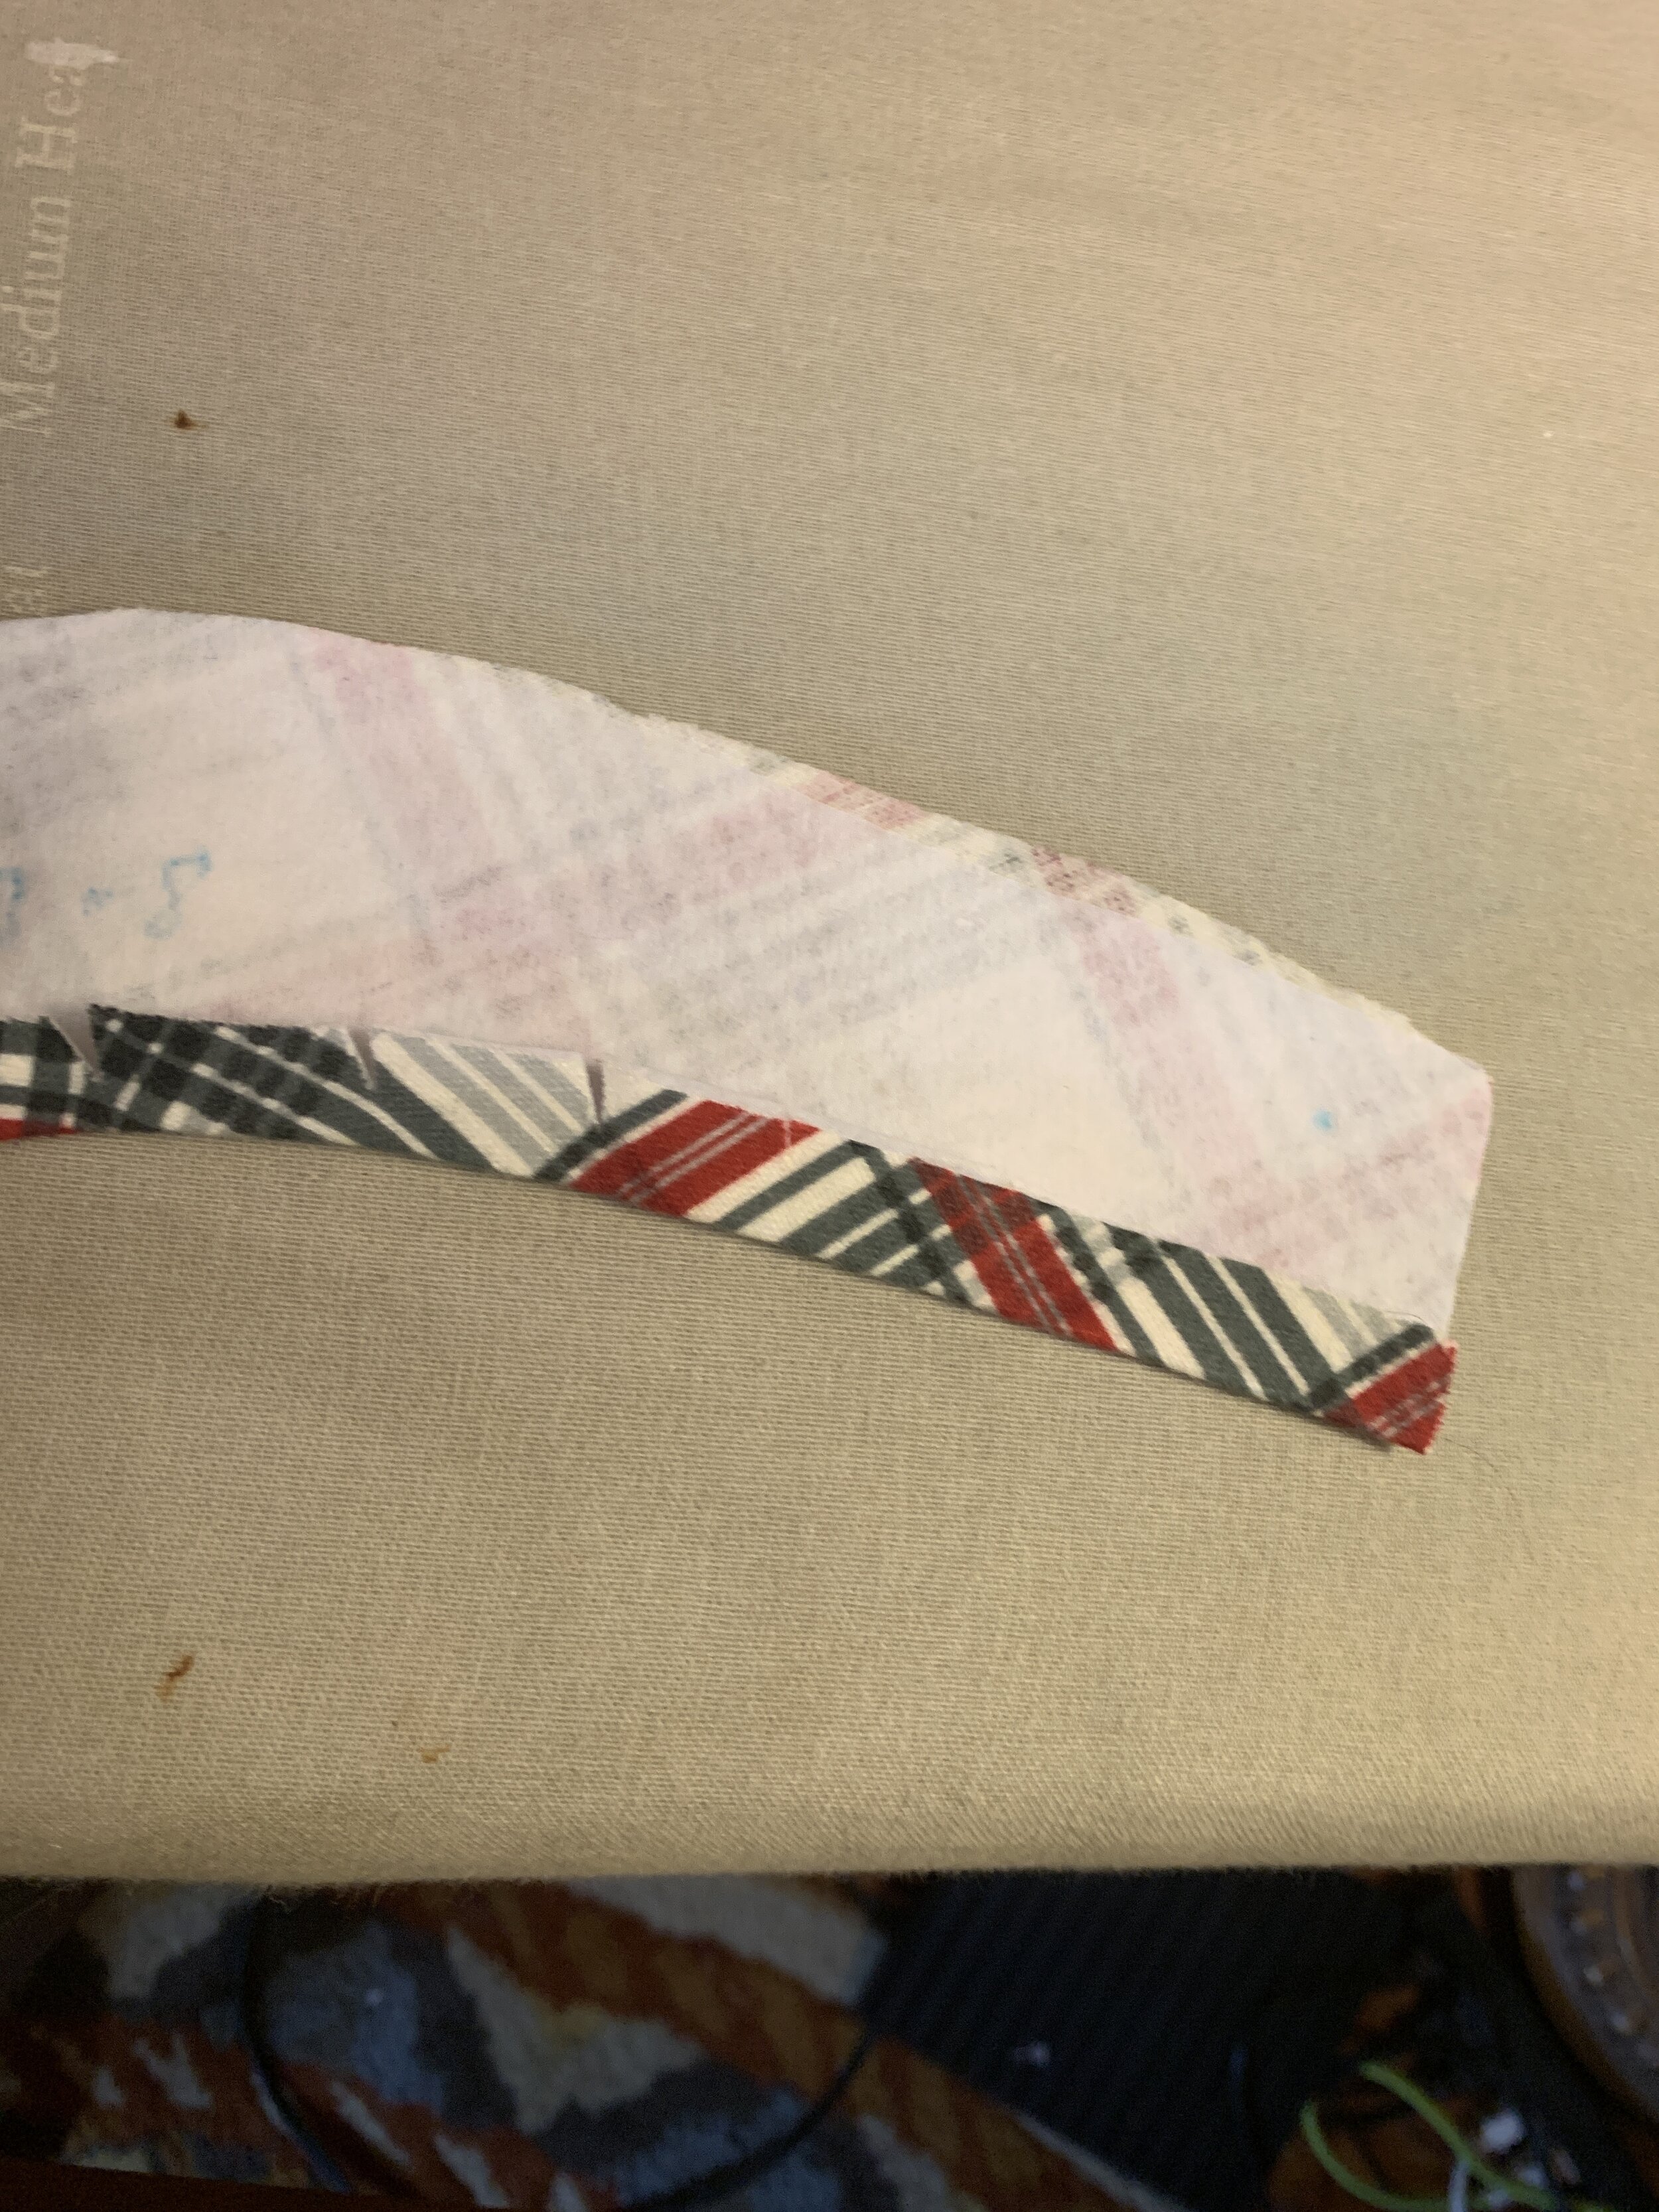
Cutting the fabric may be a little more complicated if your fabric is directional or plaid but it is still manageable! For the directional fabric, (the cars) I just made sure the cars were right side up! For the plaid, I tried to line up very important seam lines and edges with a prominent stripe in the plaid pattern. I also placed piece I had already cut out face down on top of the material to help me cut out another that is identical!

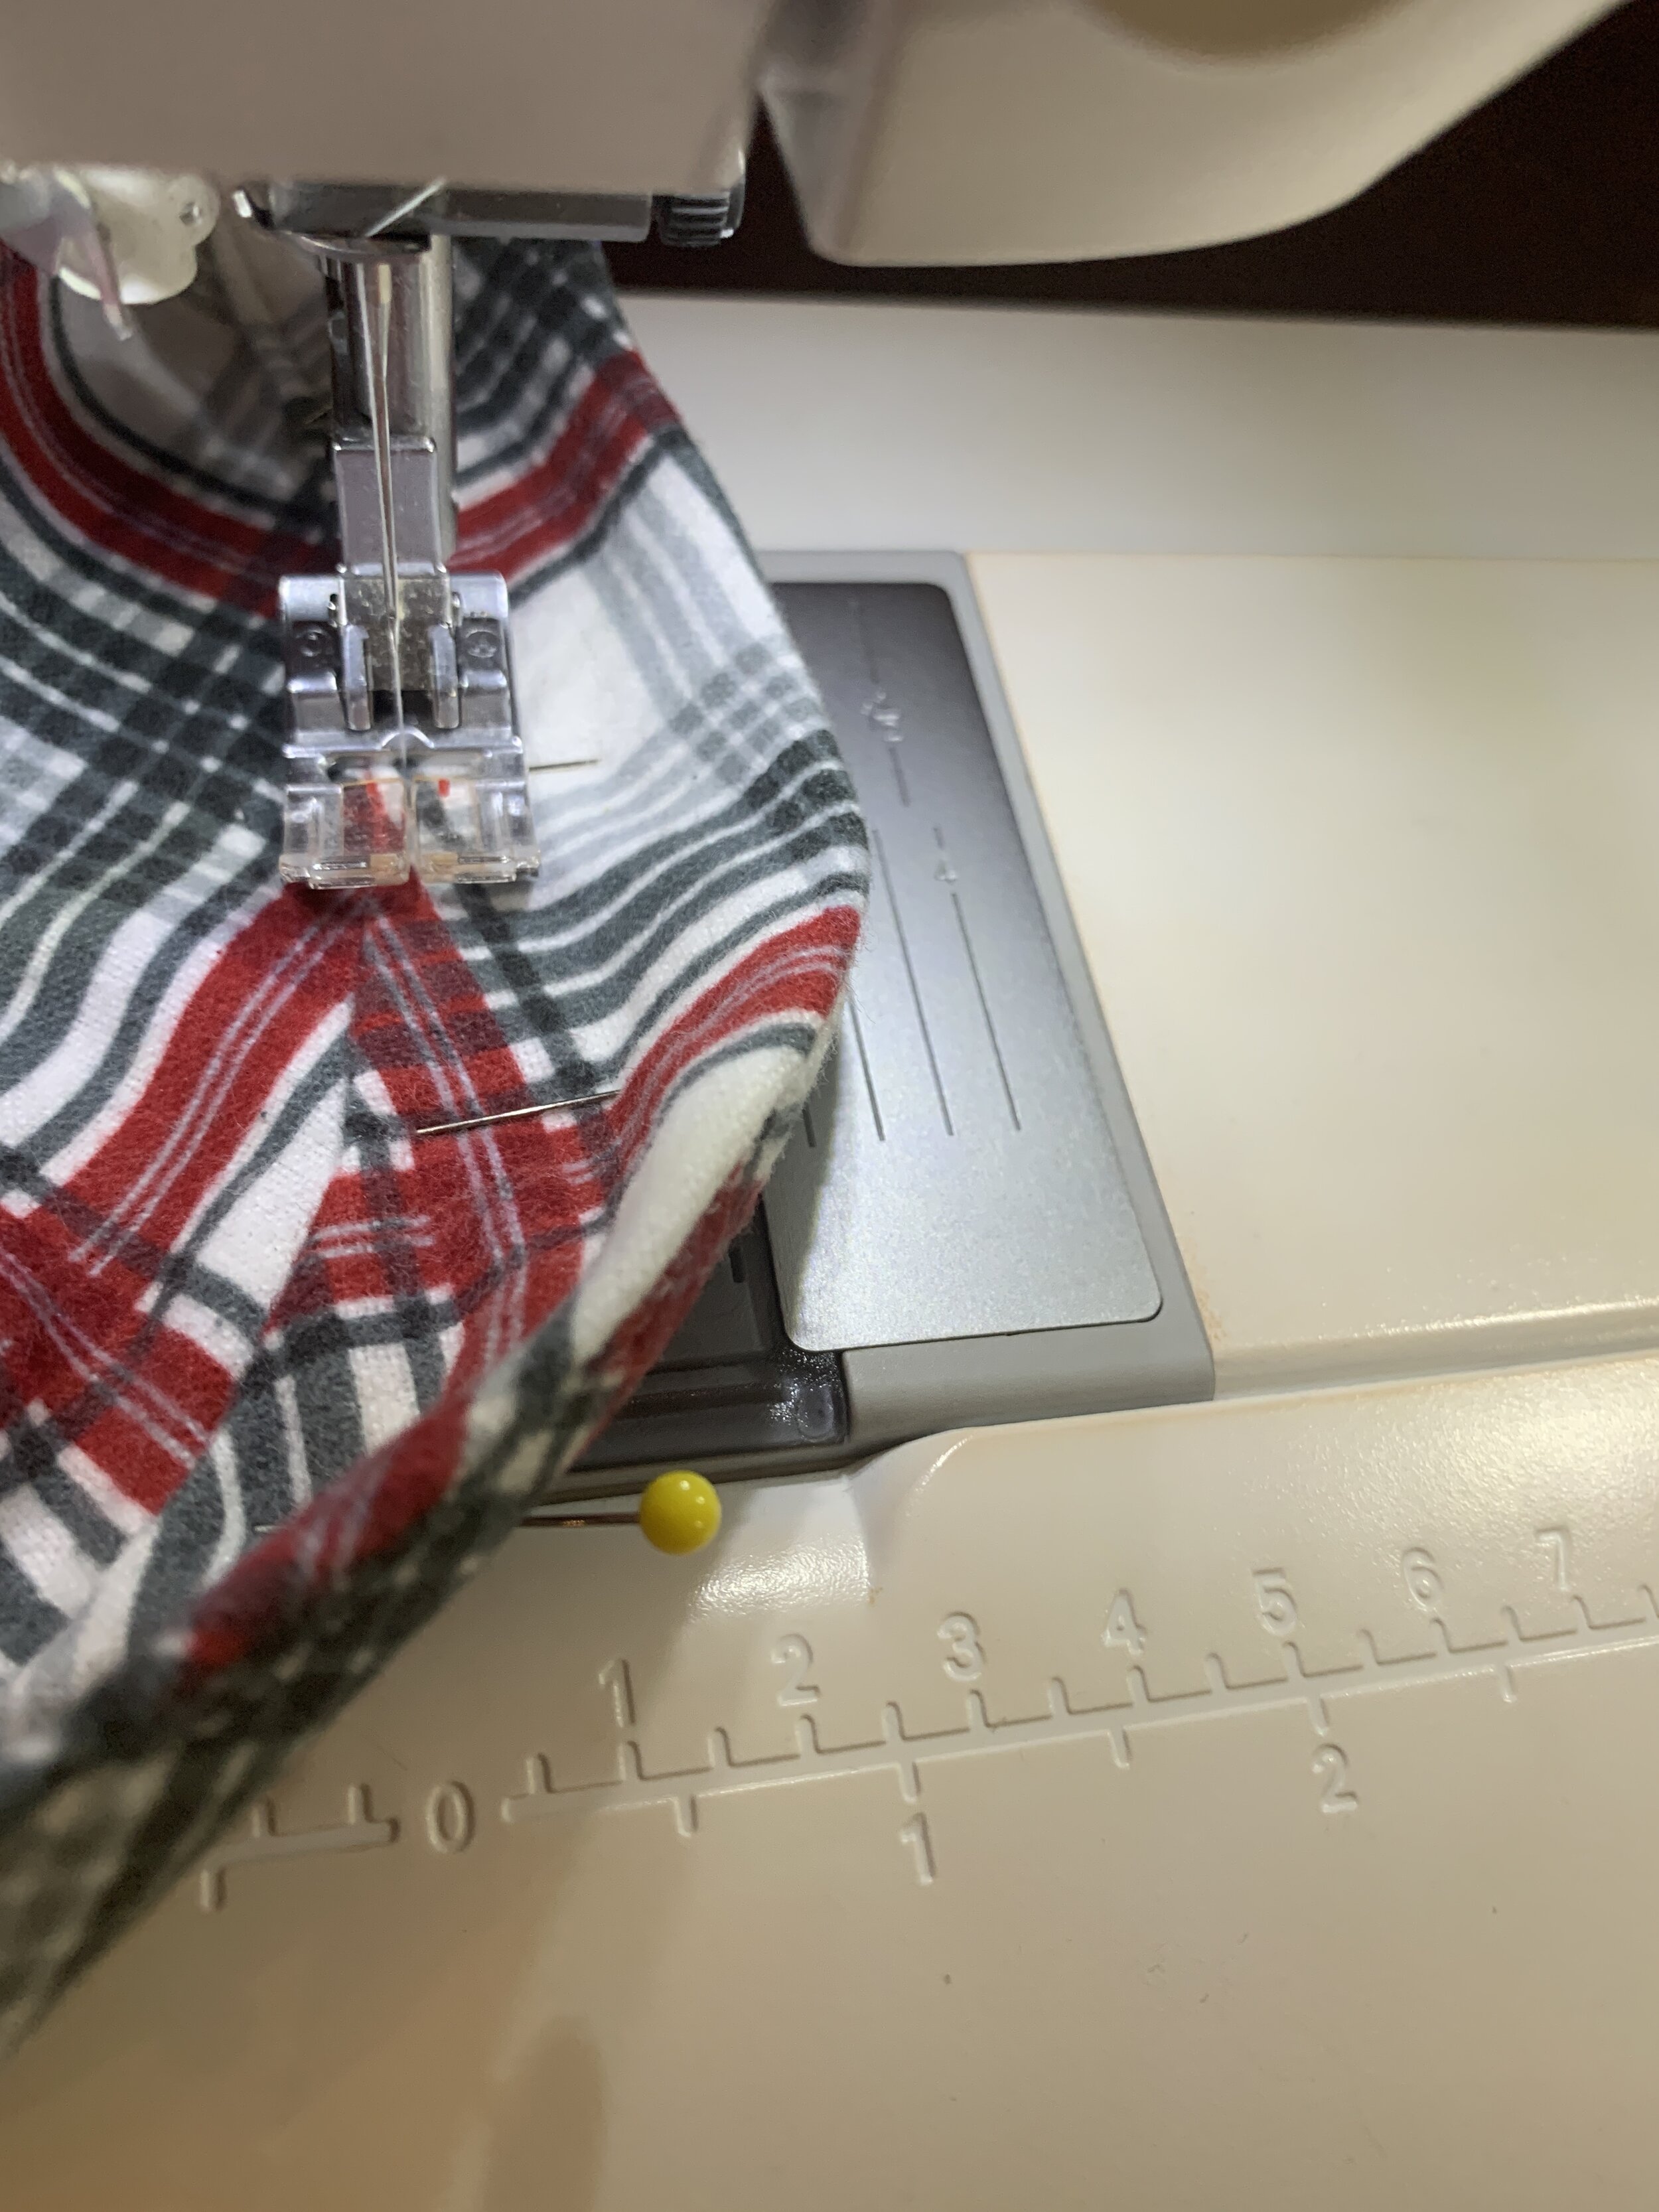
Here you can see how the notch is lining up with a black line and I tried to match the notch on the other piece in the same place. Notches can help you determine if your plaid will match later when you sew the seams together.

Here you see I am using the piece I have already cut out to match it to the next piece. It is not essential that the sleeves match but I think it looks nice and note I am cutting everything on one layer!!!

I am lining up this piece with the material to cut another just like it! This is the yoke piece.

Here I am trying to pattern match the yoke to half of the back piece. You will not be able to match at the pleat but thats ok! The pleats are even and were a good width to reset the fabric to be in line with the rest of the back bodice piece.

After all of the pieces are cut out and pattern matched (if using plaid) then we fast forward to the assembling! I basically did every step 4 times (once for each pair of pajamas). If I needed to baste something, then I would baste all four so that my machine was set to the longer stitch once, and then could be put back to normal once I finished all four! I found this was the easiest way to really get through these quickly! This is also very helpful when doing buttonholes all at the same time, etc.
Here is one pocket I stitched onto the garment and I did all four at the same time. Then you apply interfacing and cut into the center front.

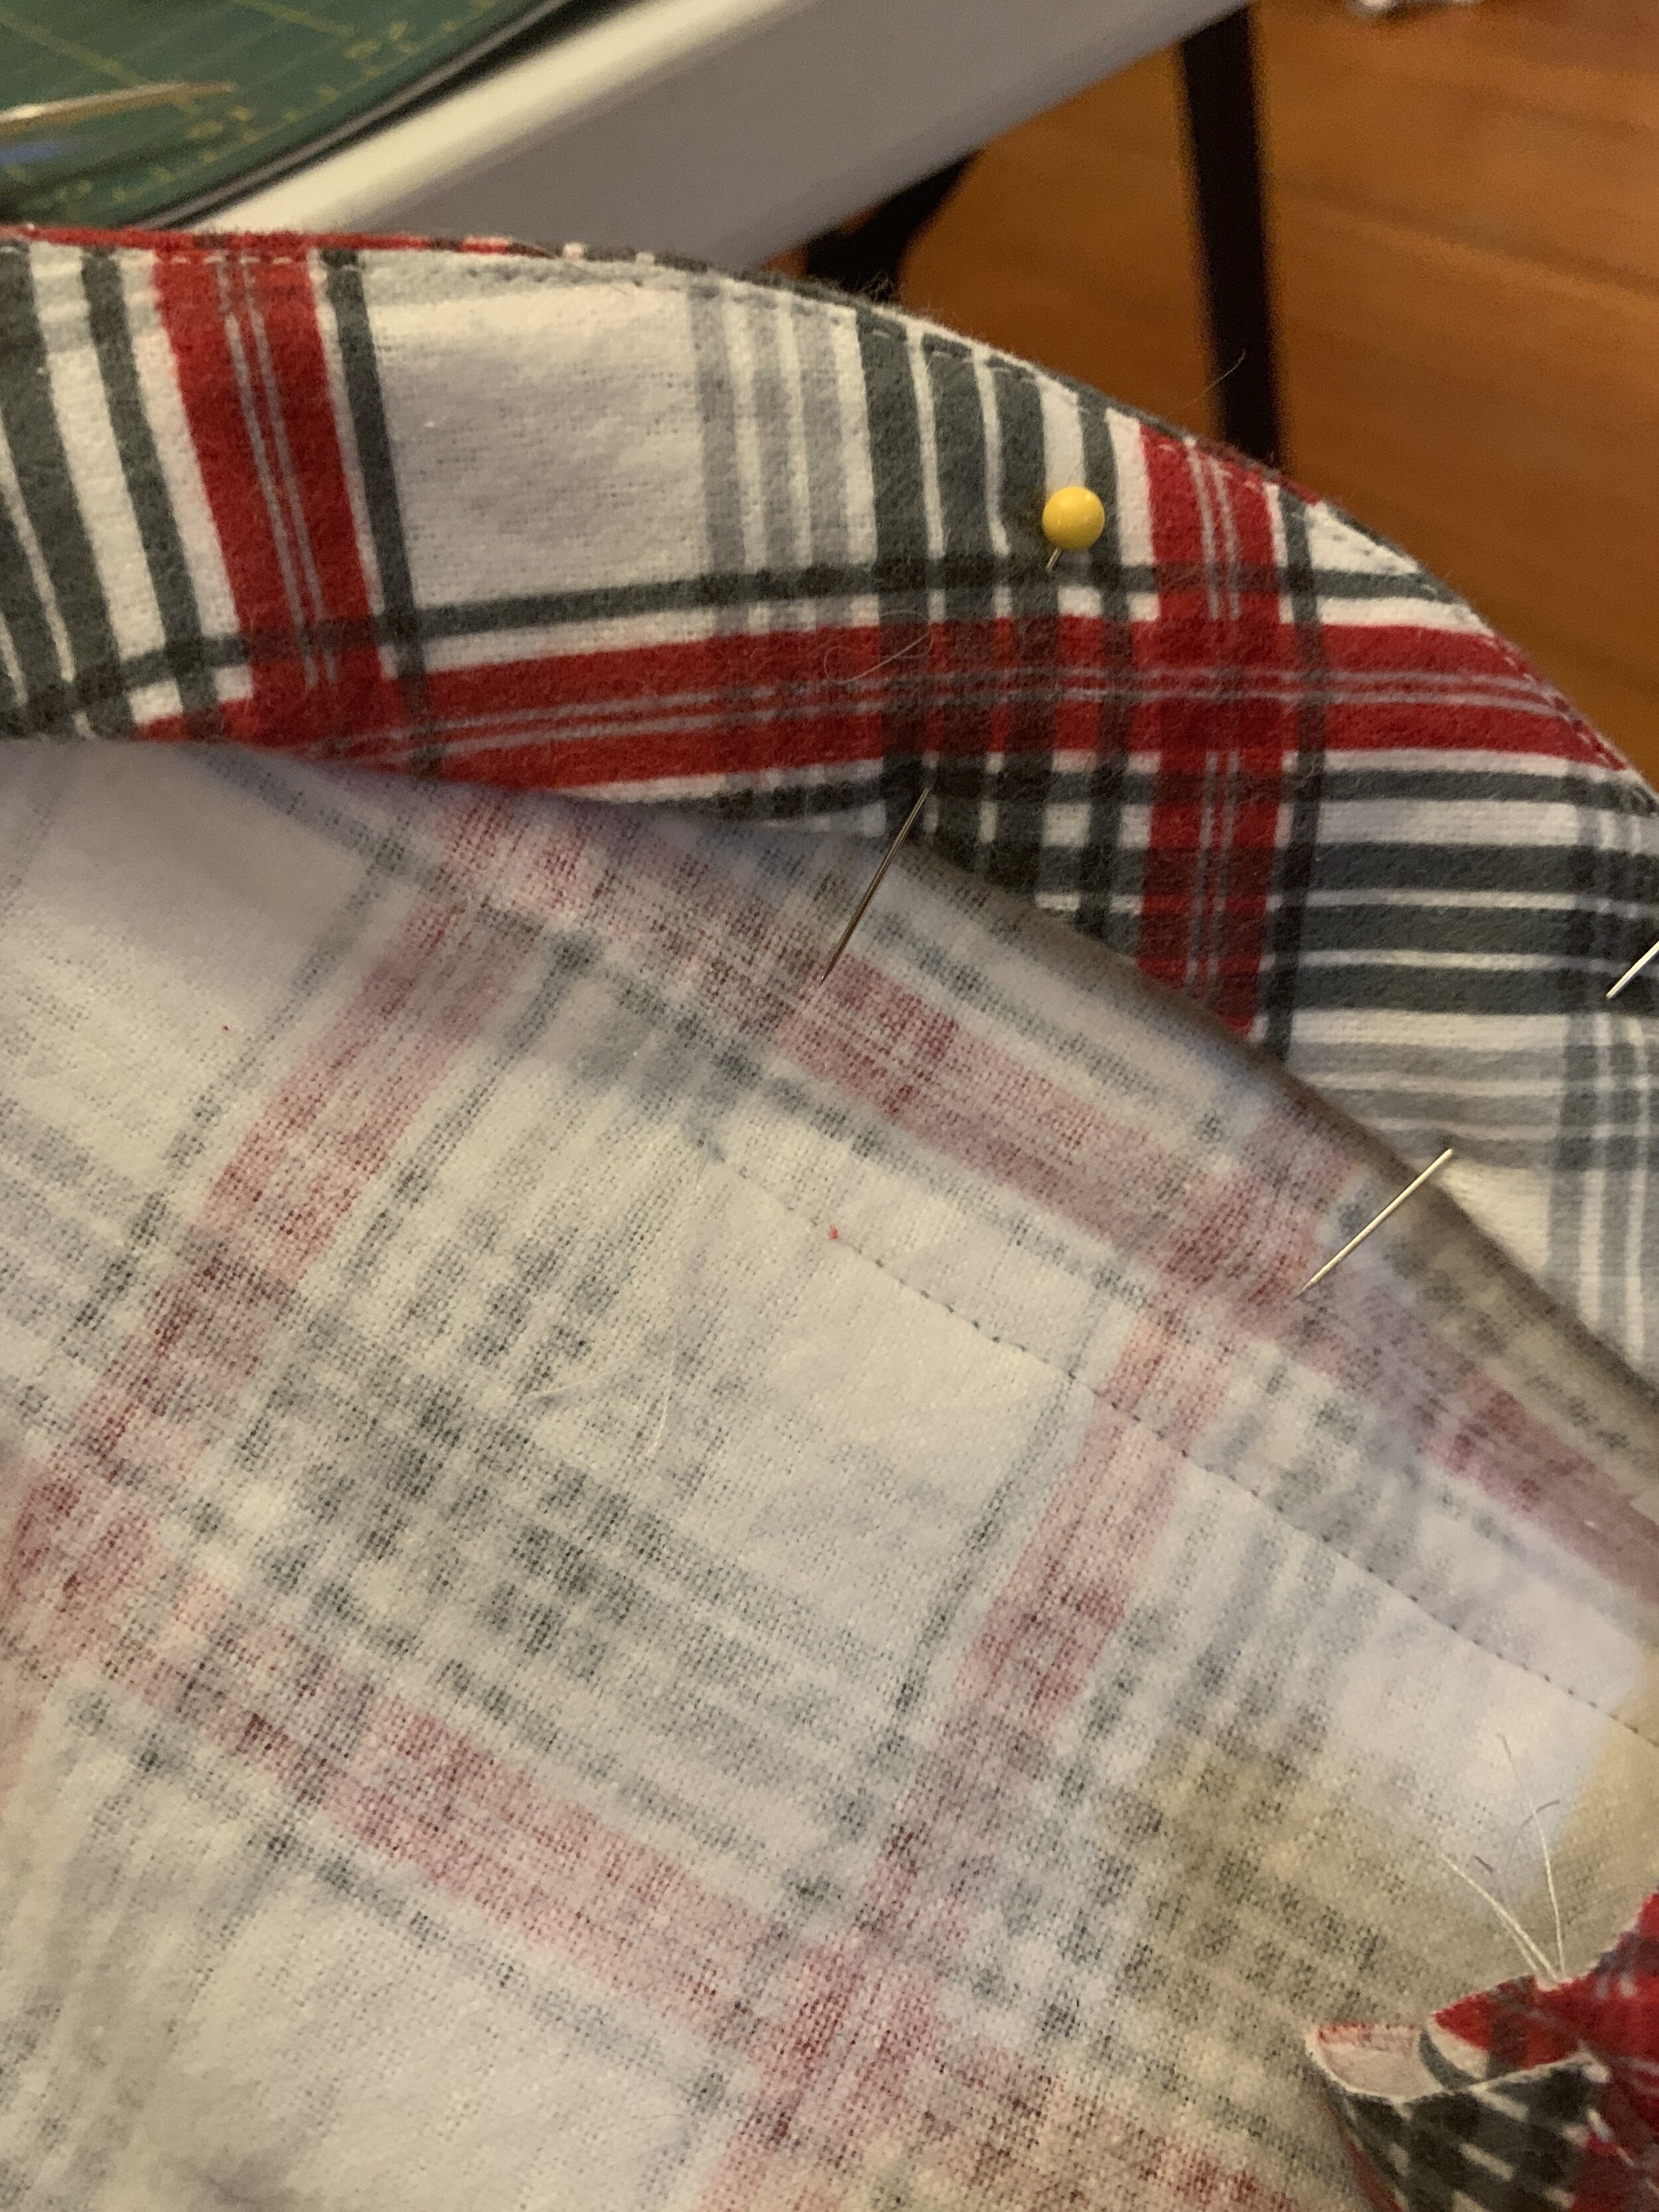
As you can see below when I attach the yoke to the back bodice seam, I am making sure that the stripes are matching! I also labeled my pieces really well so I wouldn’t confuse the sizes!

The pleat on the back bodice piece was sacrificed for matching because that is impossible, but I did manage to match the plaid on either side of that!

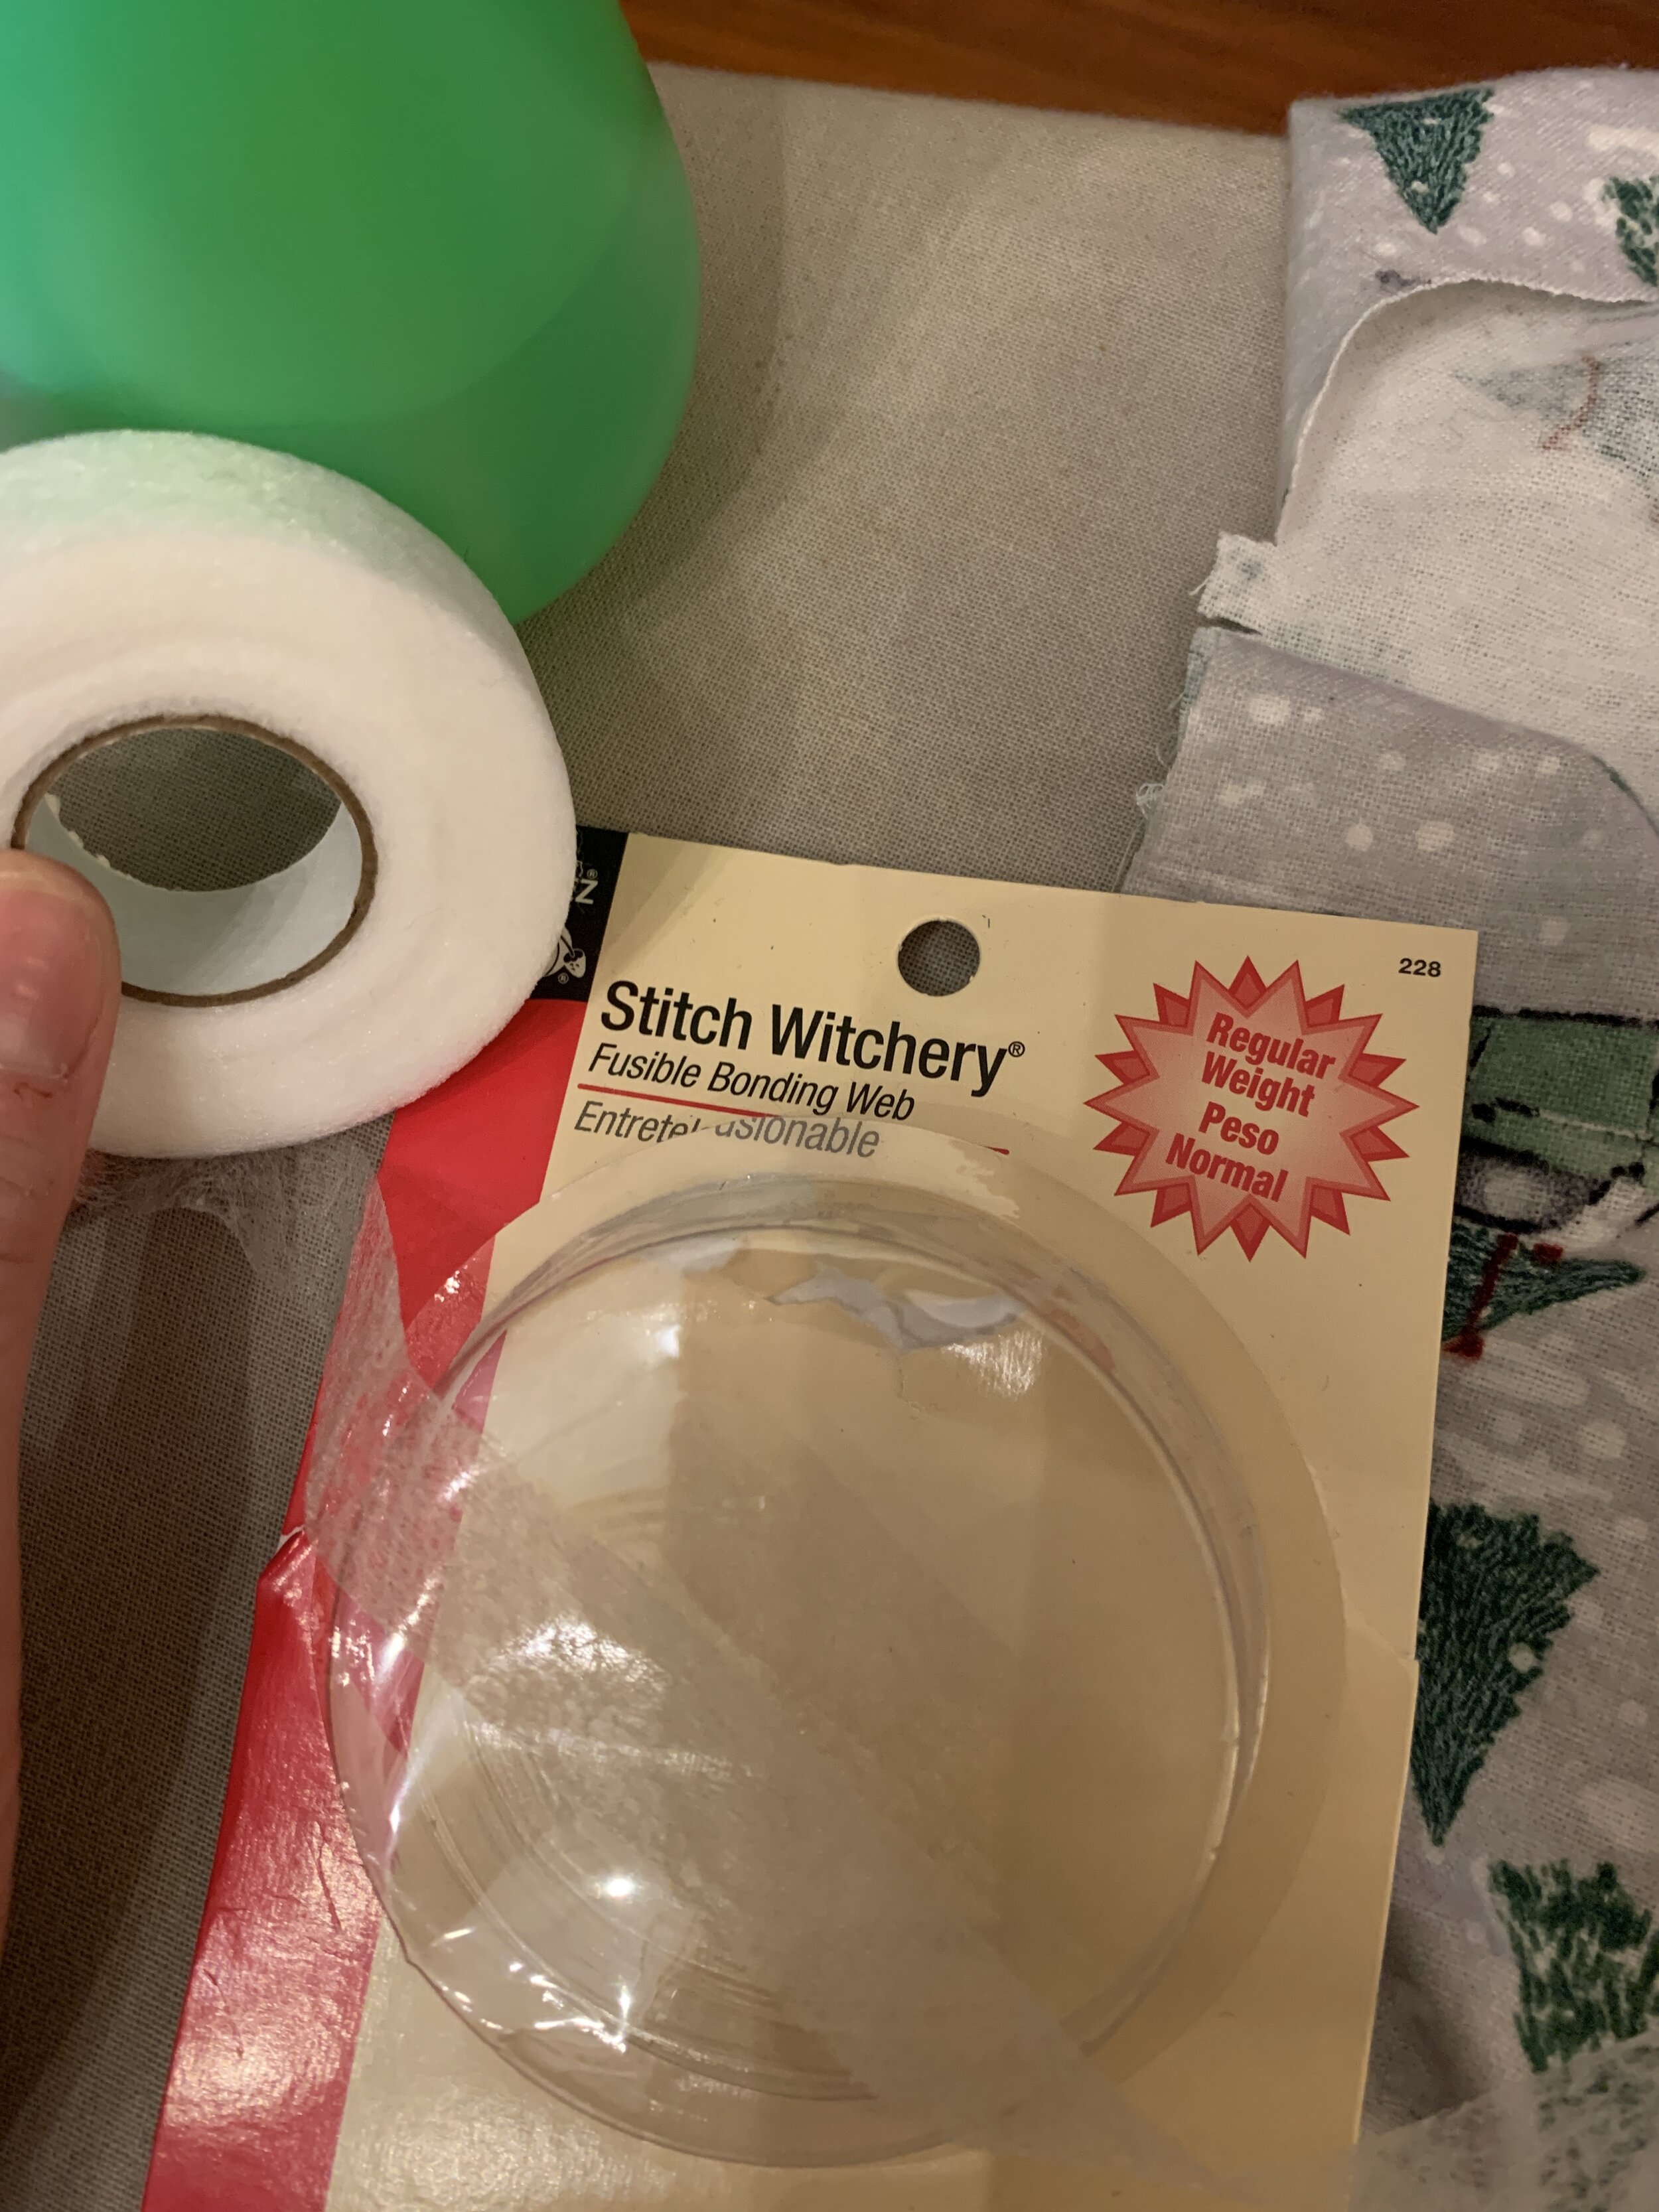
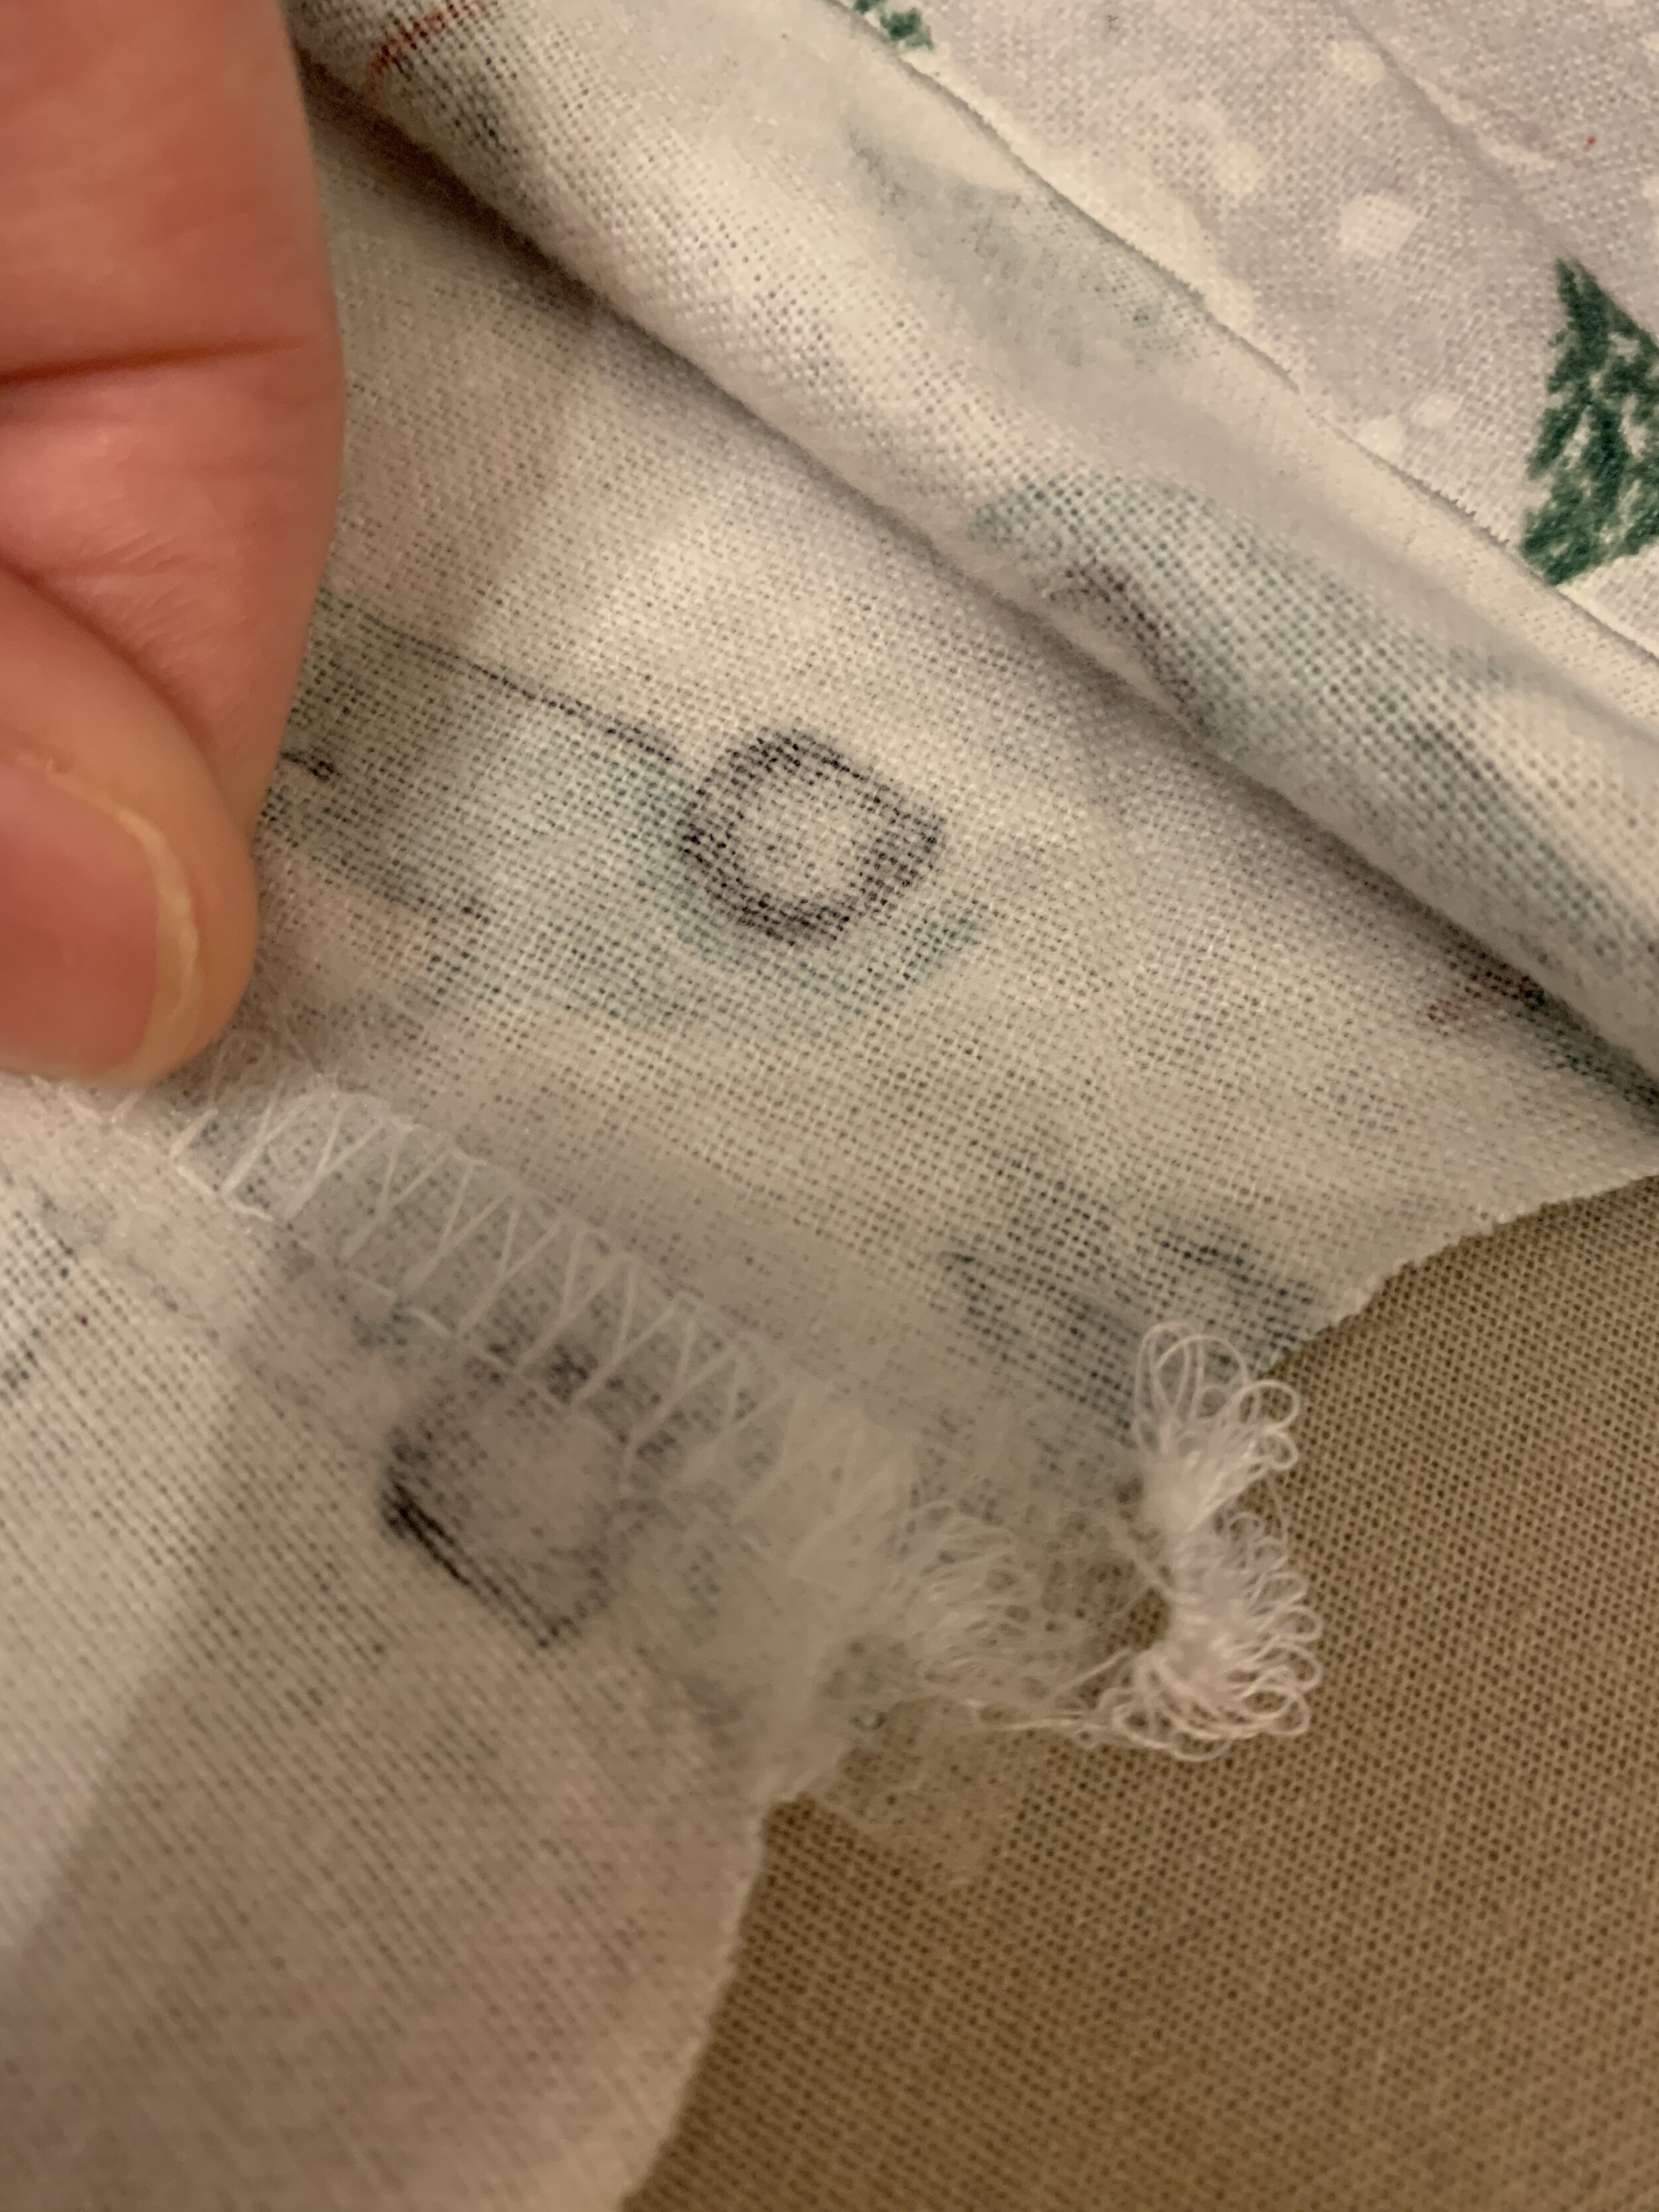
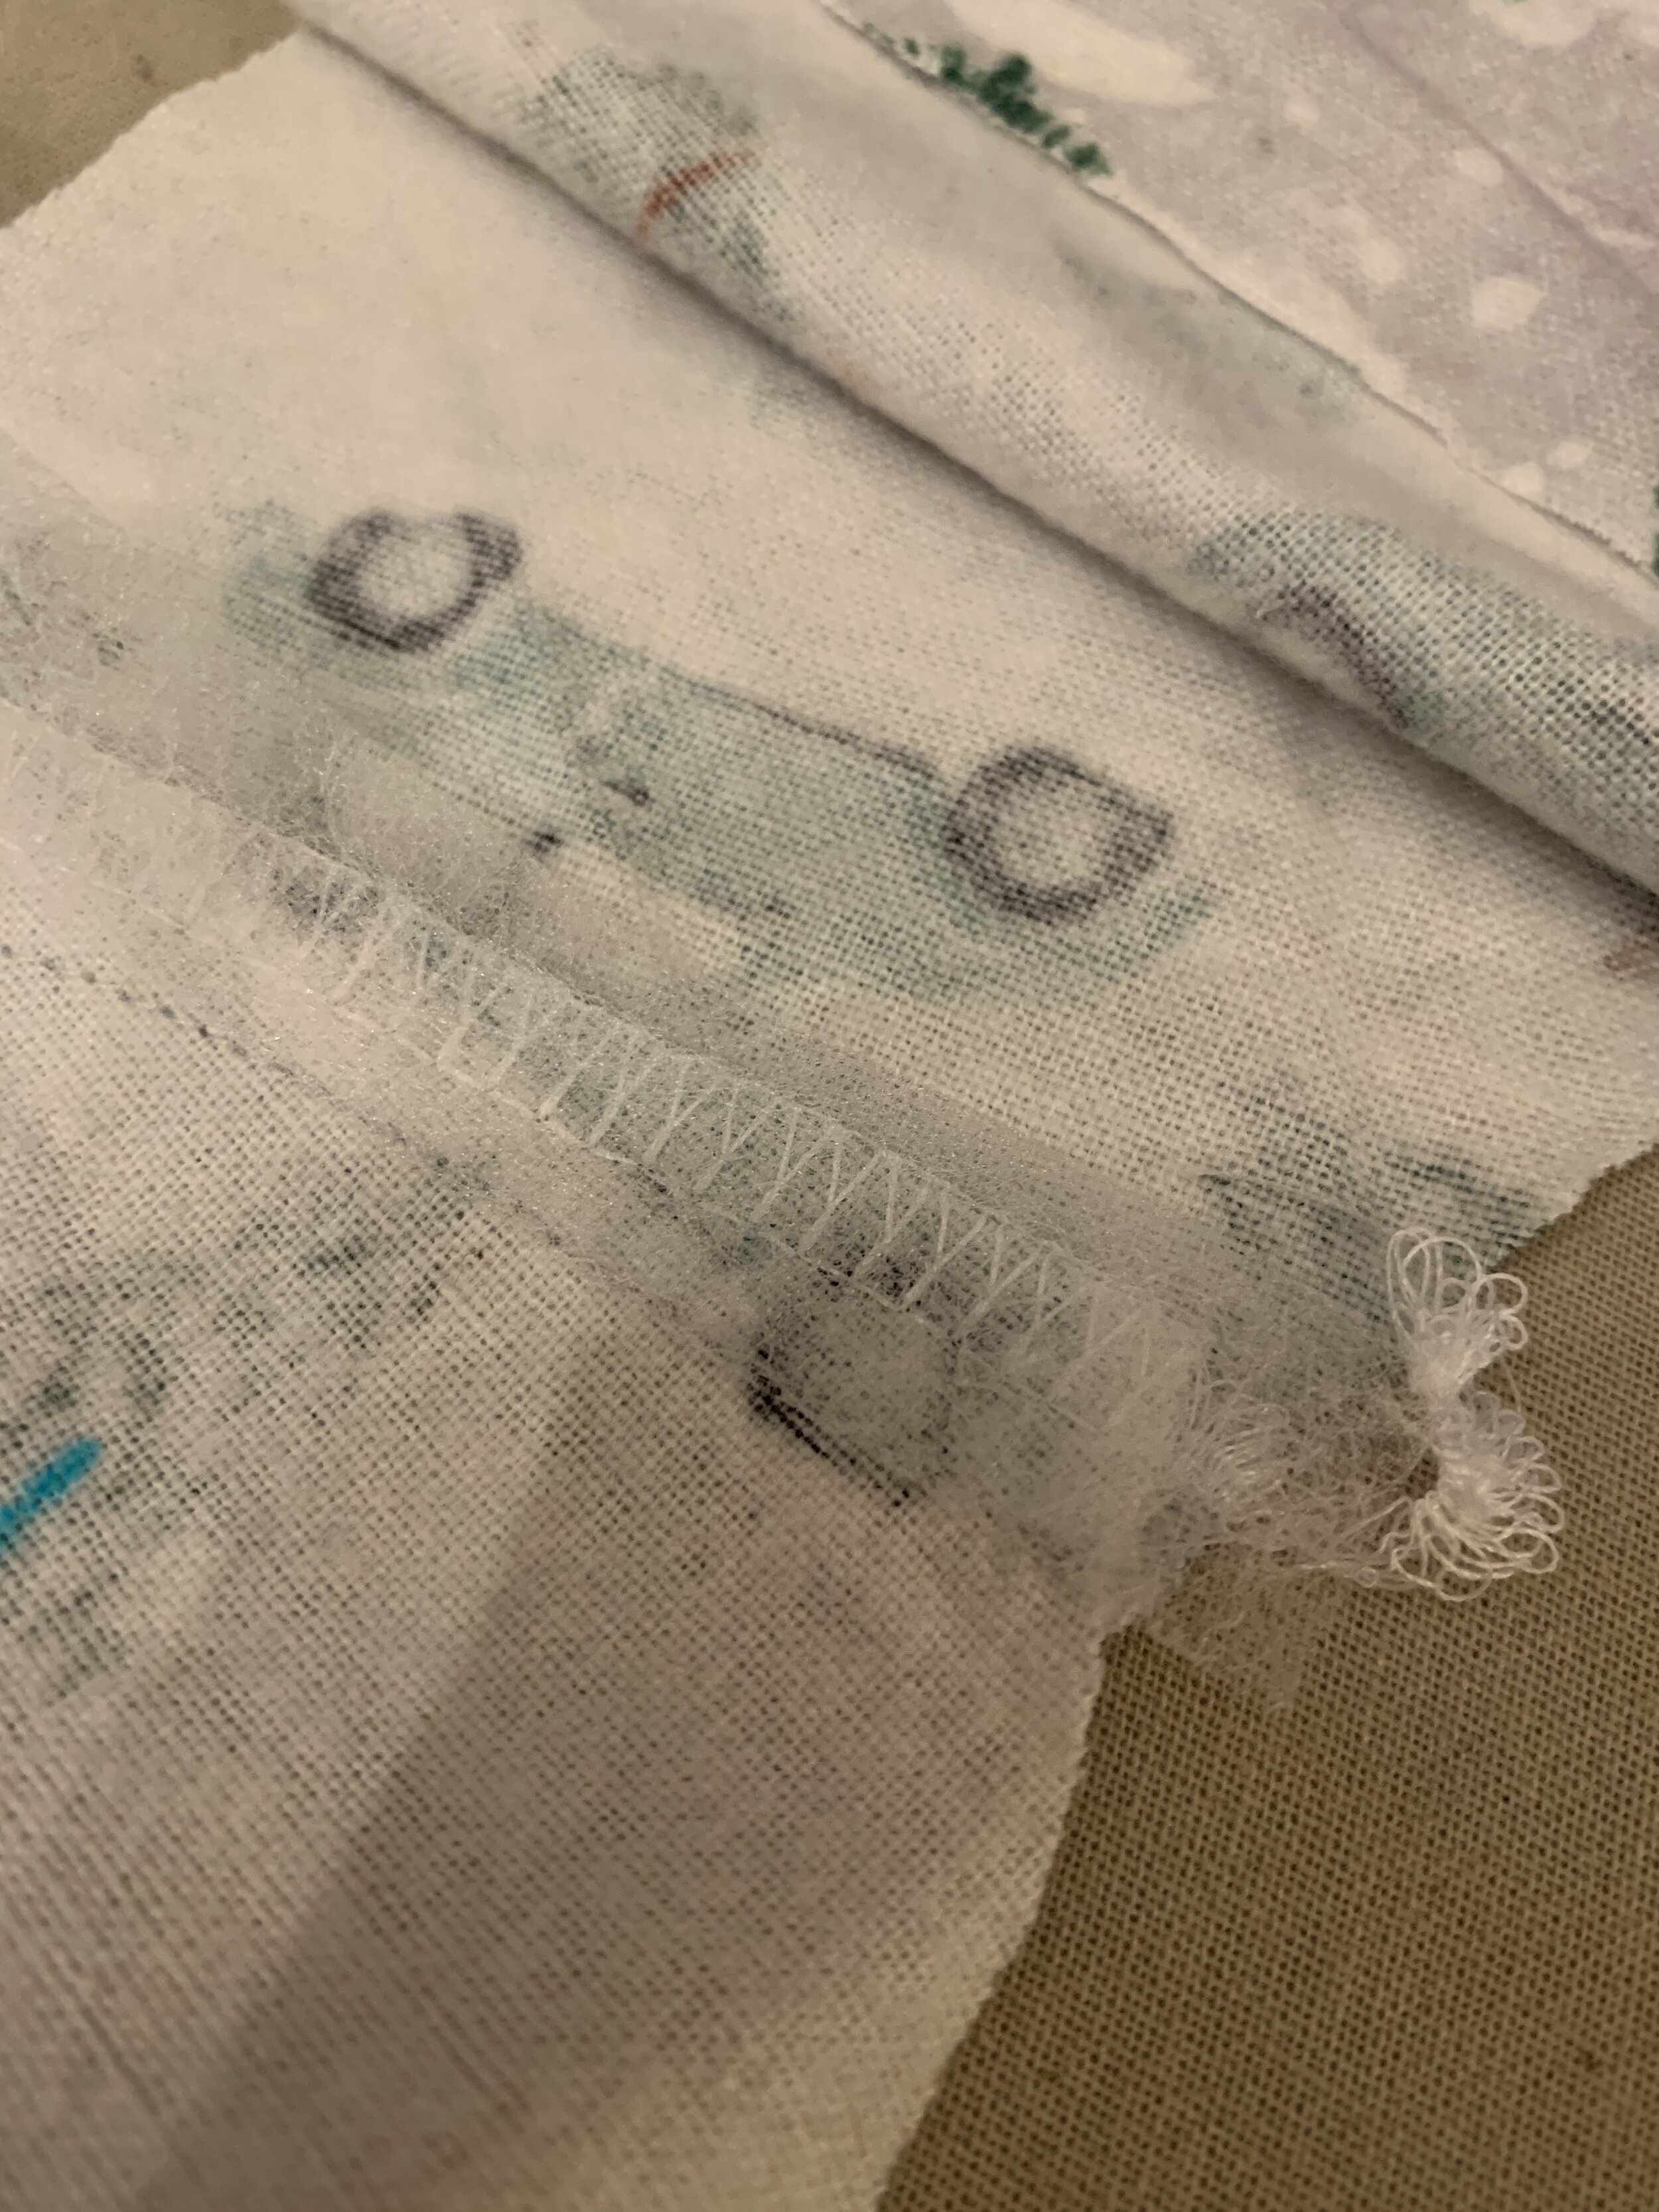
When it comes to attaching the inside yoke to the shoulder so that it covers the yoke/backbodice piece seams and the shoulder seam, you are supposed to hand stitch! However, I used Stitch witchery from amazon and it worked perfectly and is very secure! you basically iron it on by putting it in between the seam you want to set. I didn’t have time to hand sew 8 shoulder seams!! (one for each pair of pajamas!)
Here you see I have sewn all of the collar/facing pieces (including the interfaced one). I have piled them all on the ironing board so you could see how massive it is to have sewn that many! HA!

Make sure you clip the seam allowance of the interfaced facing while you are trying to fold the seam allowance up. This will help you achieve a nice fold.
When attaching these facings and following the steps in the pattern, I added a few steps of my own! I graded and clipped the seam allowances.


The pattern recommends to under-stitch, and this is really helpful to be able to turn the interfaced facing to the inside.

To close in the seam allowances and attach the inner interfaced facing to the inside of the garment, I did not hand-stitch. I went ahead and used pins to secure the fold just past the seam that you are covering. Then, I topstitched from the right side just inside the seam attaching the facing to the bodice. This allowed me to ensure I was catching the facing on the wrong side.
I have now crossed over the facing pieces in the order they should be crossed for the appropriate gender, or you can do whatever you want! I know my kids get grumpy if I is not on the correct side! Then, I stitched it on the inside to the triangle piece and topstitched from the right side.
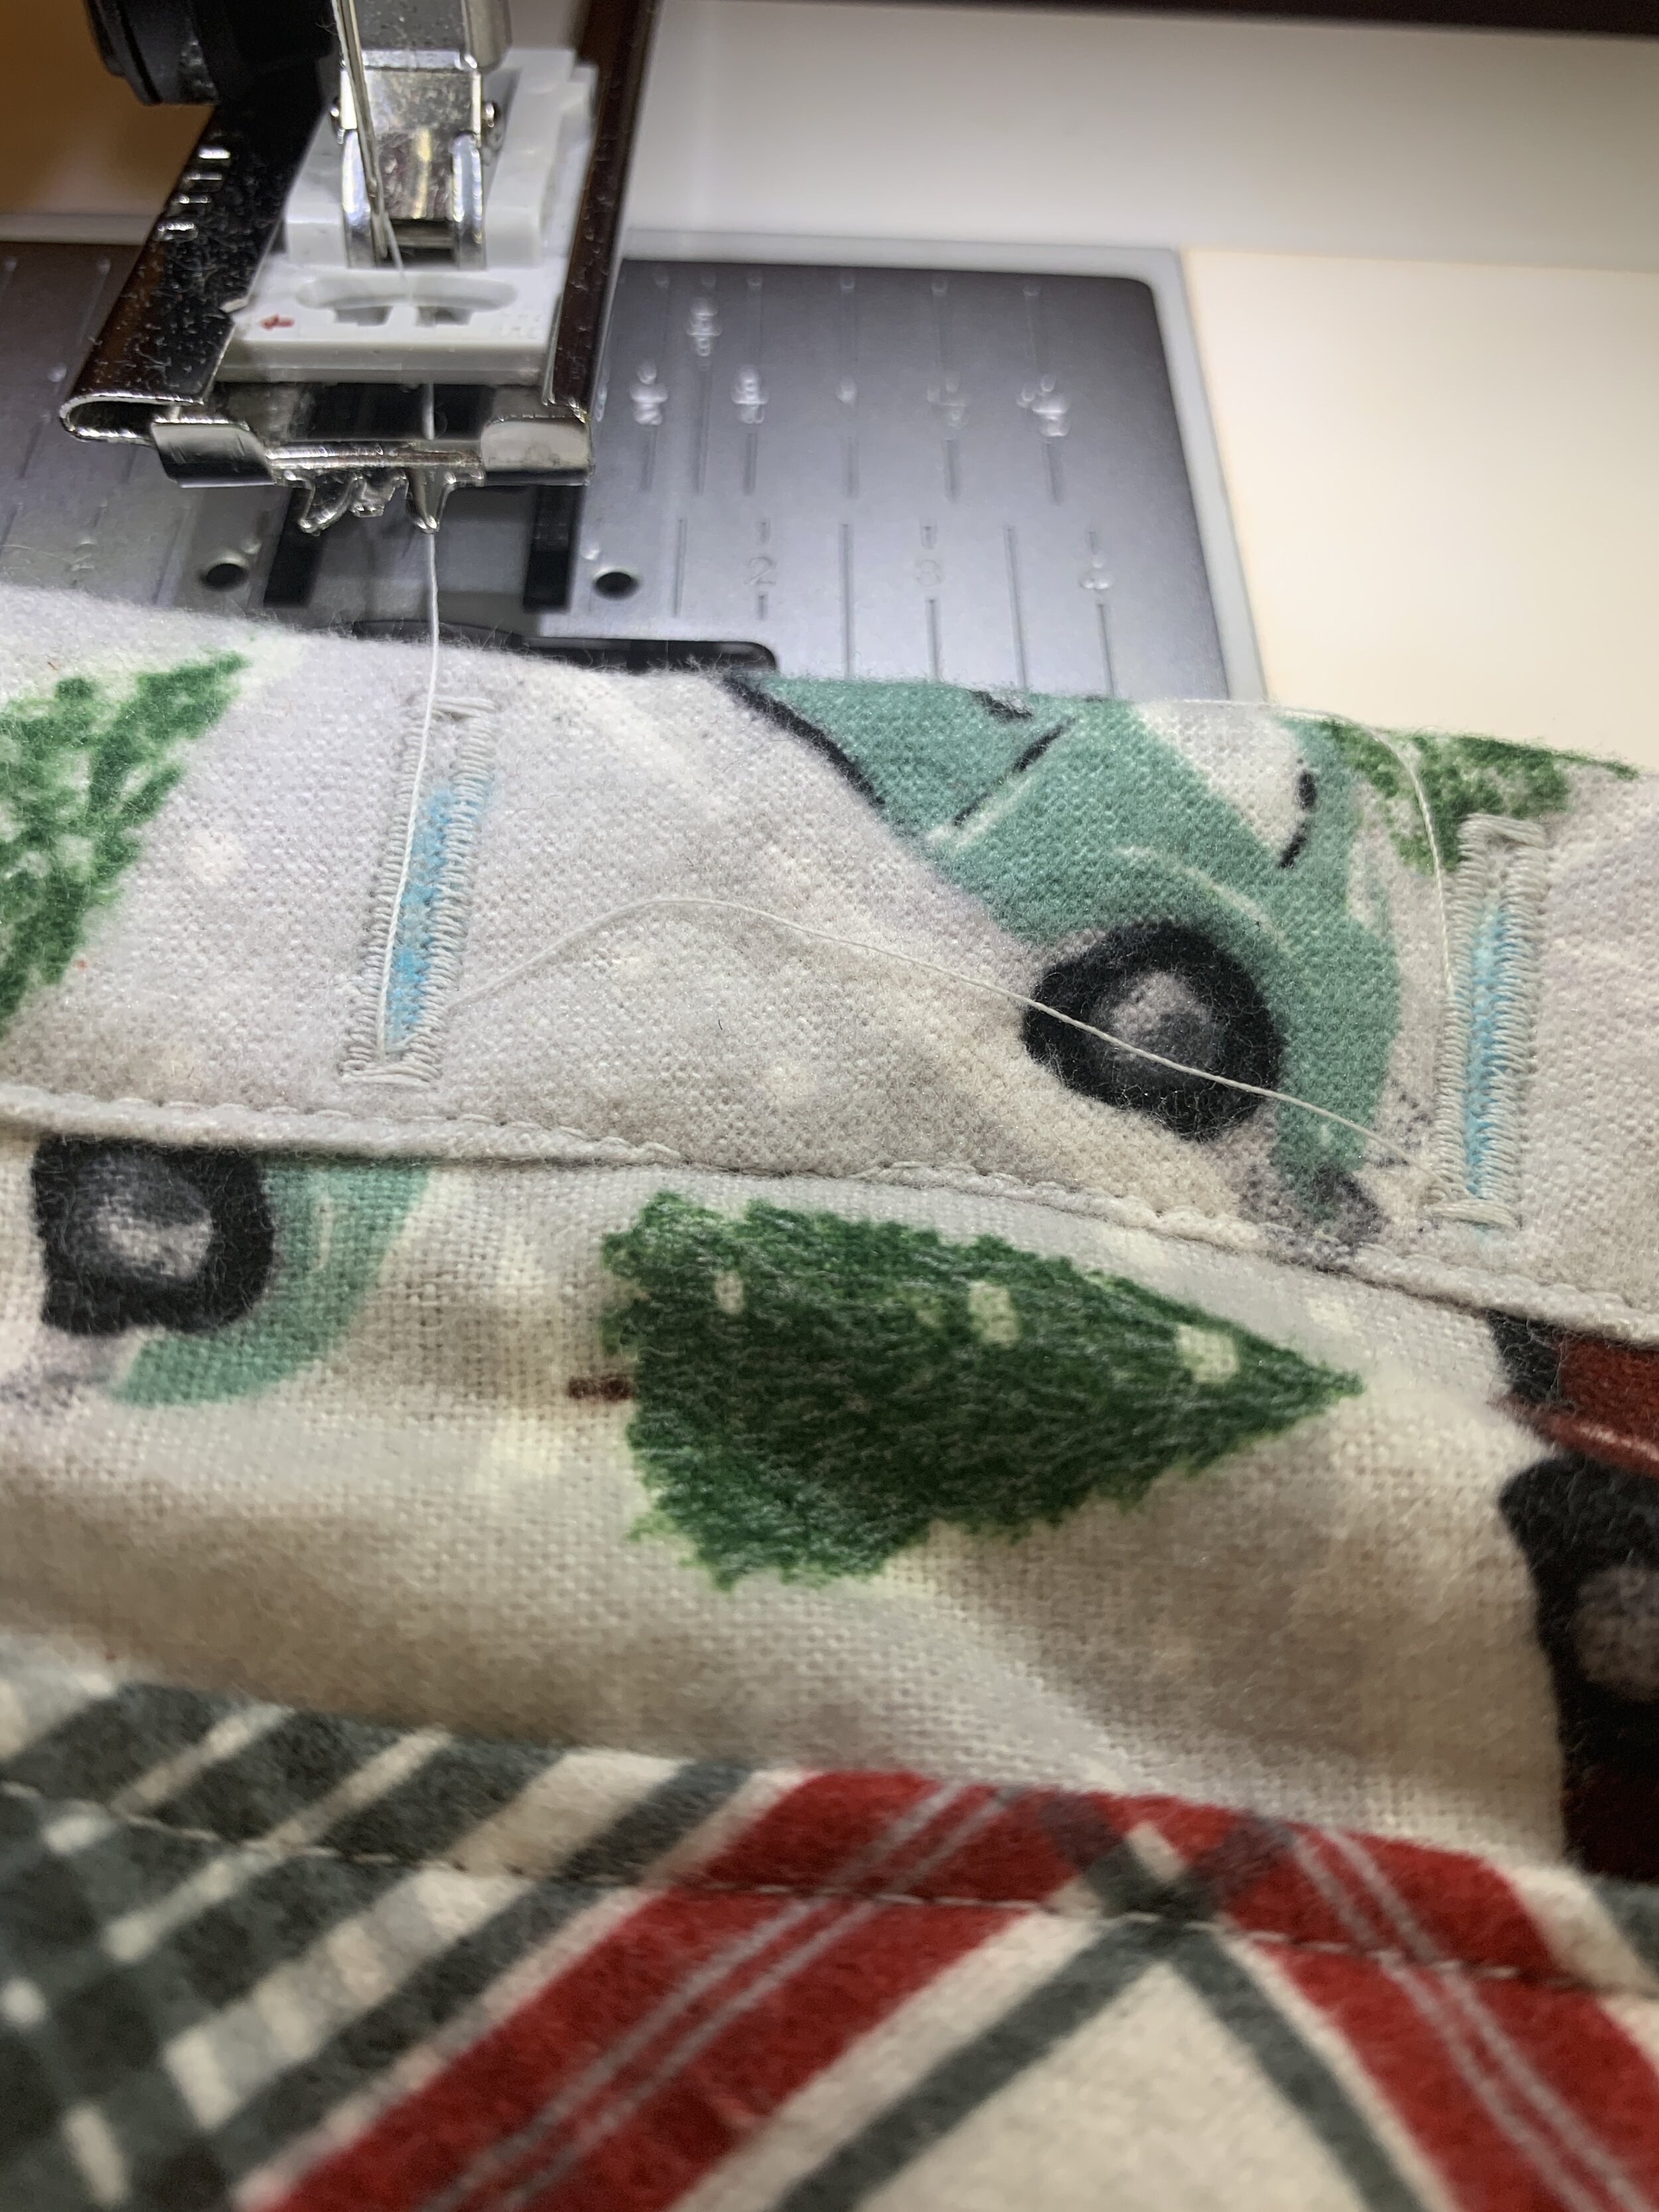
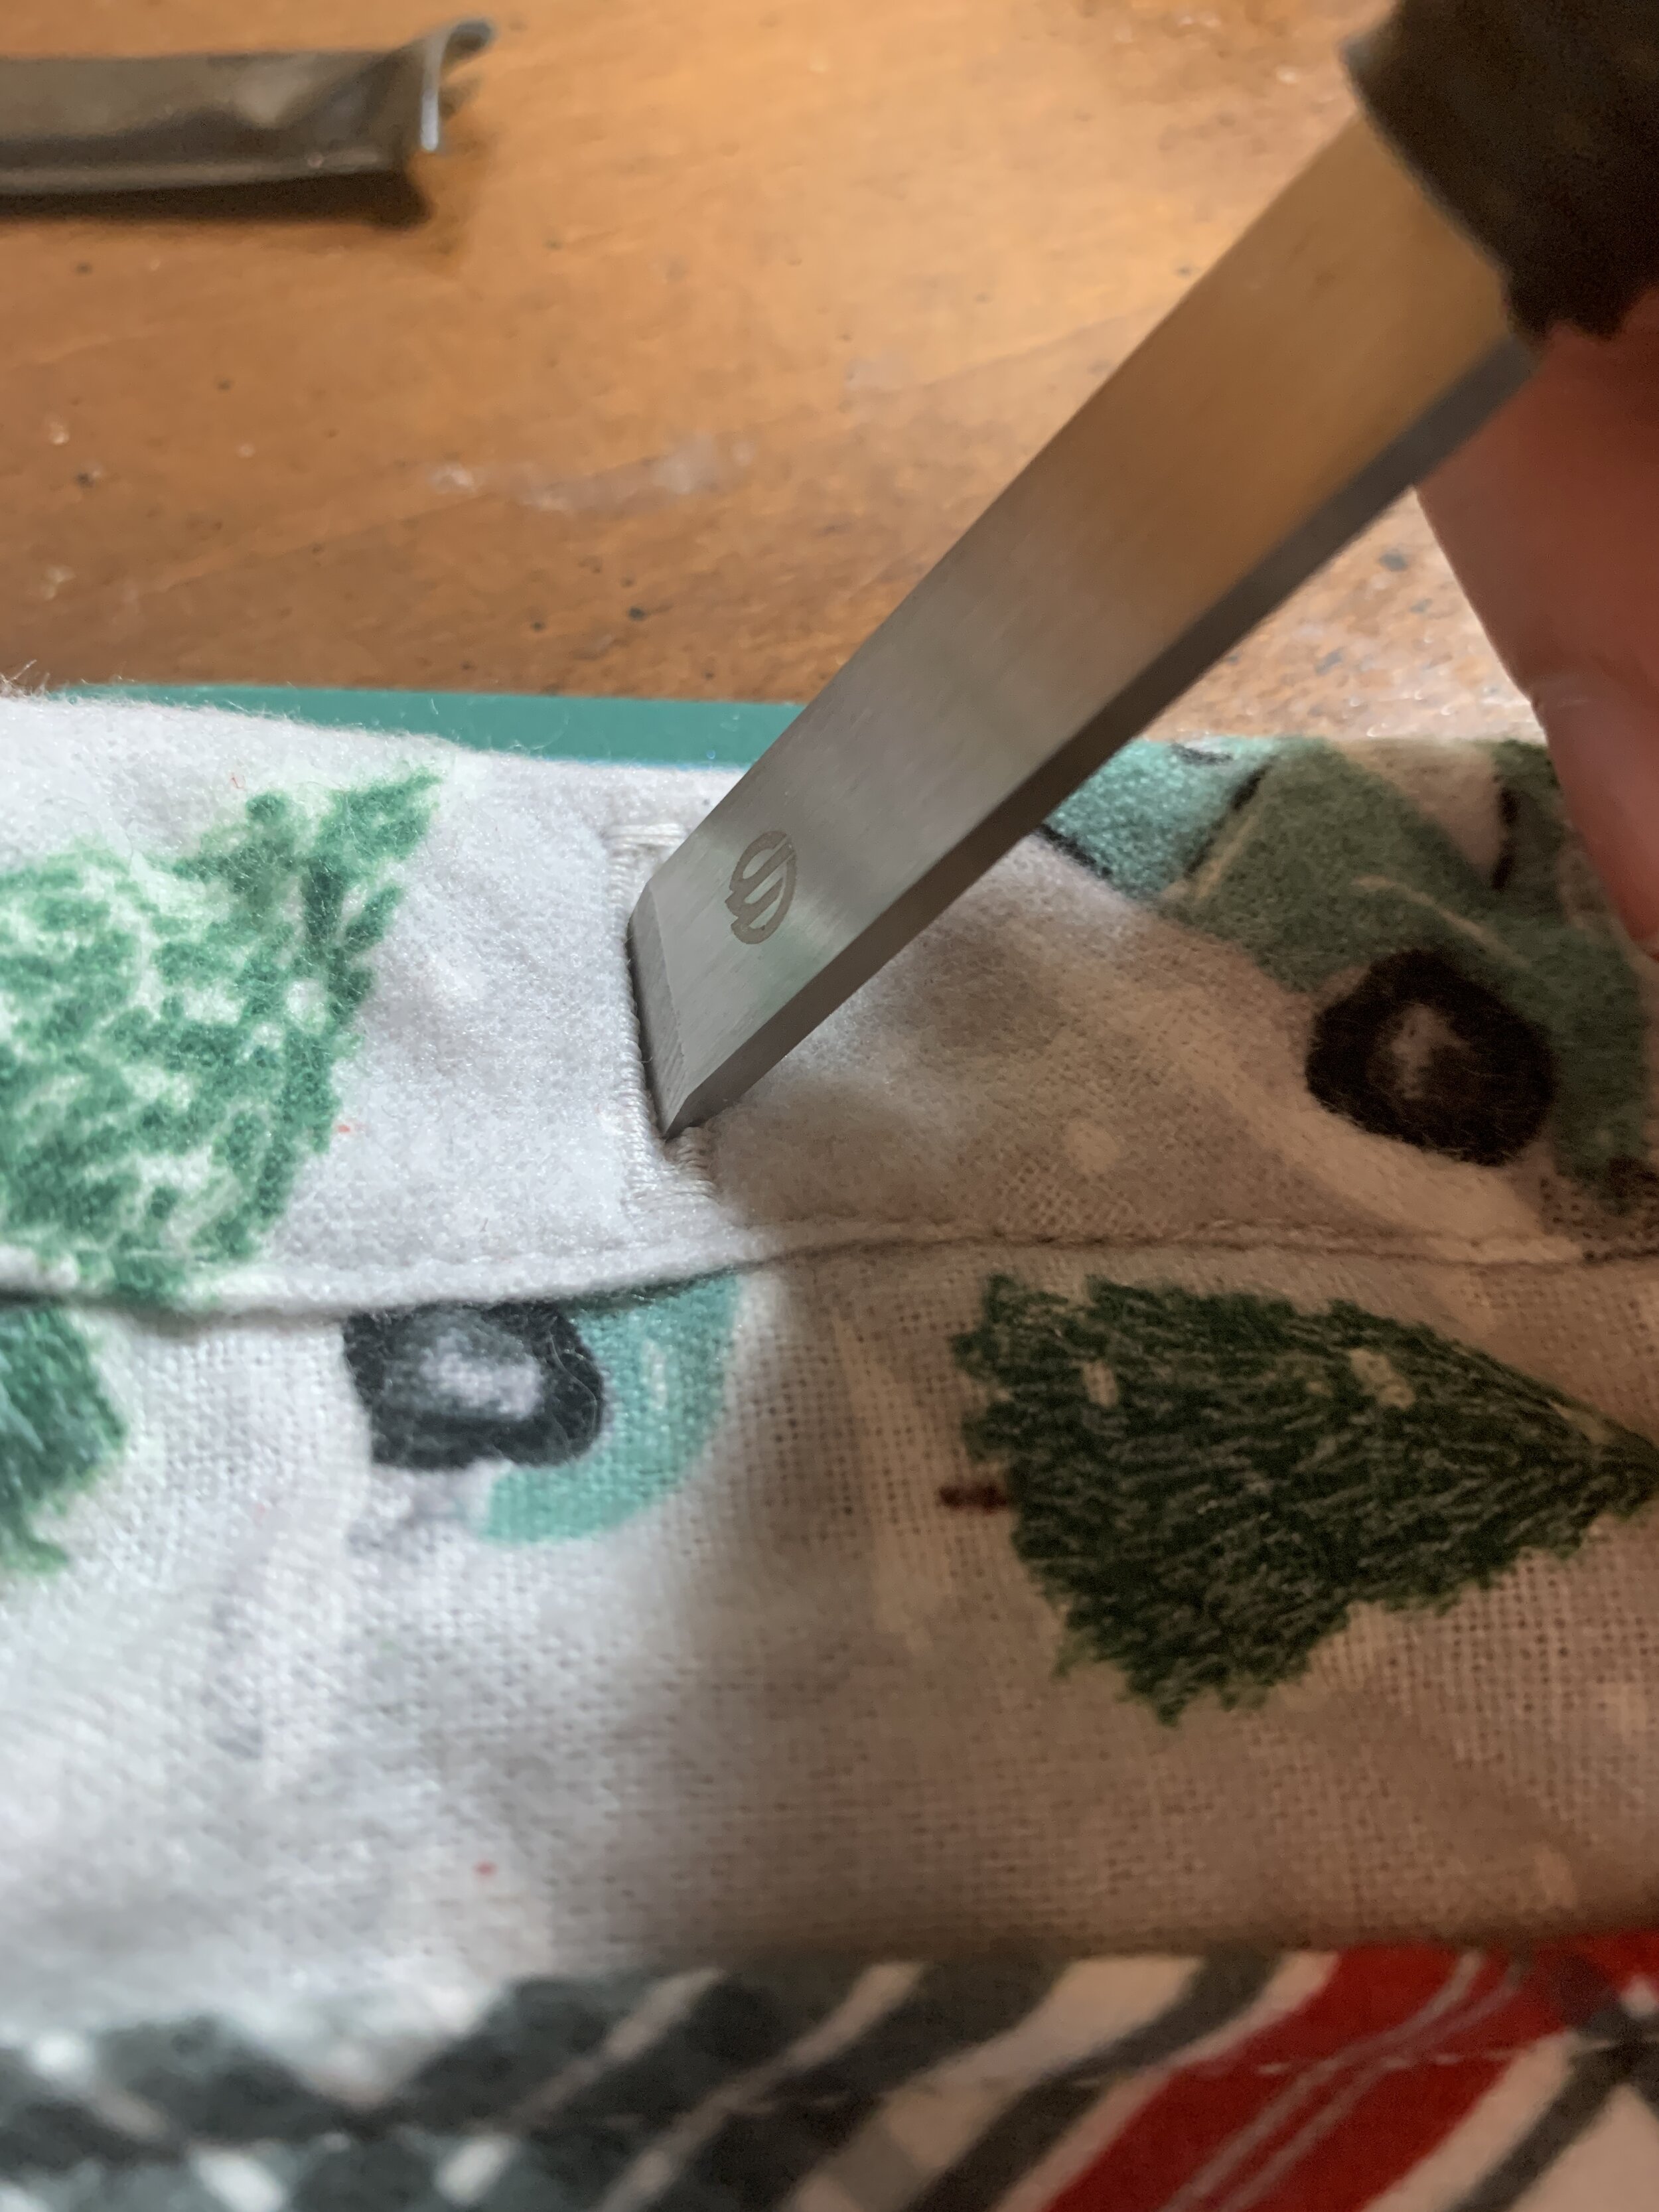
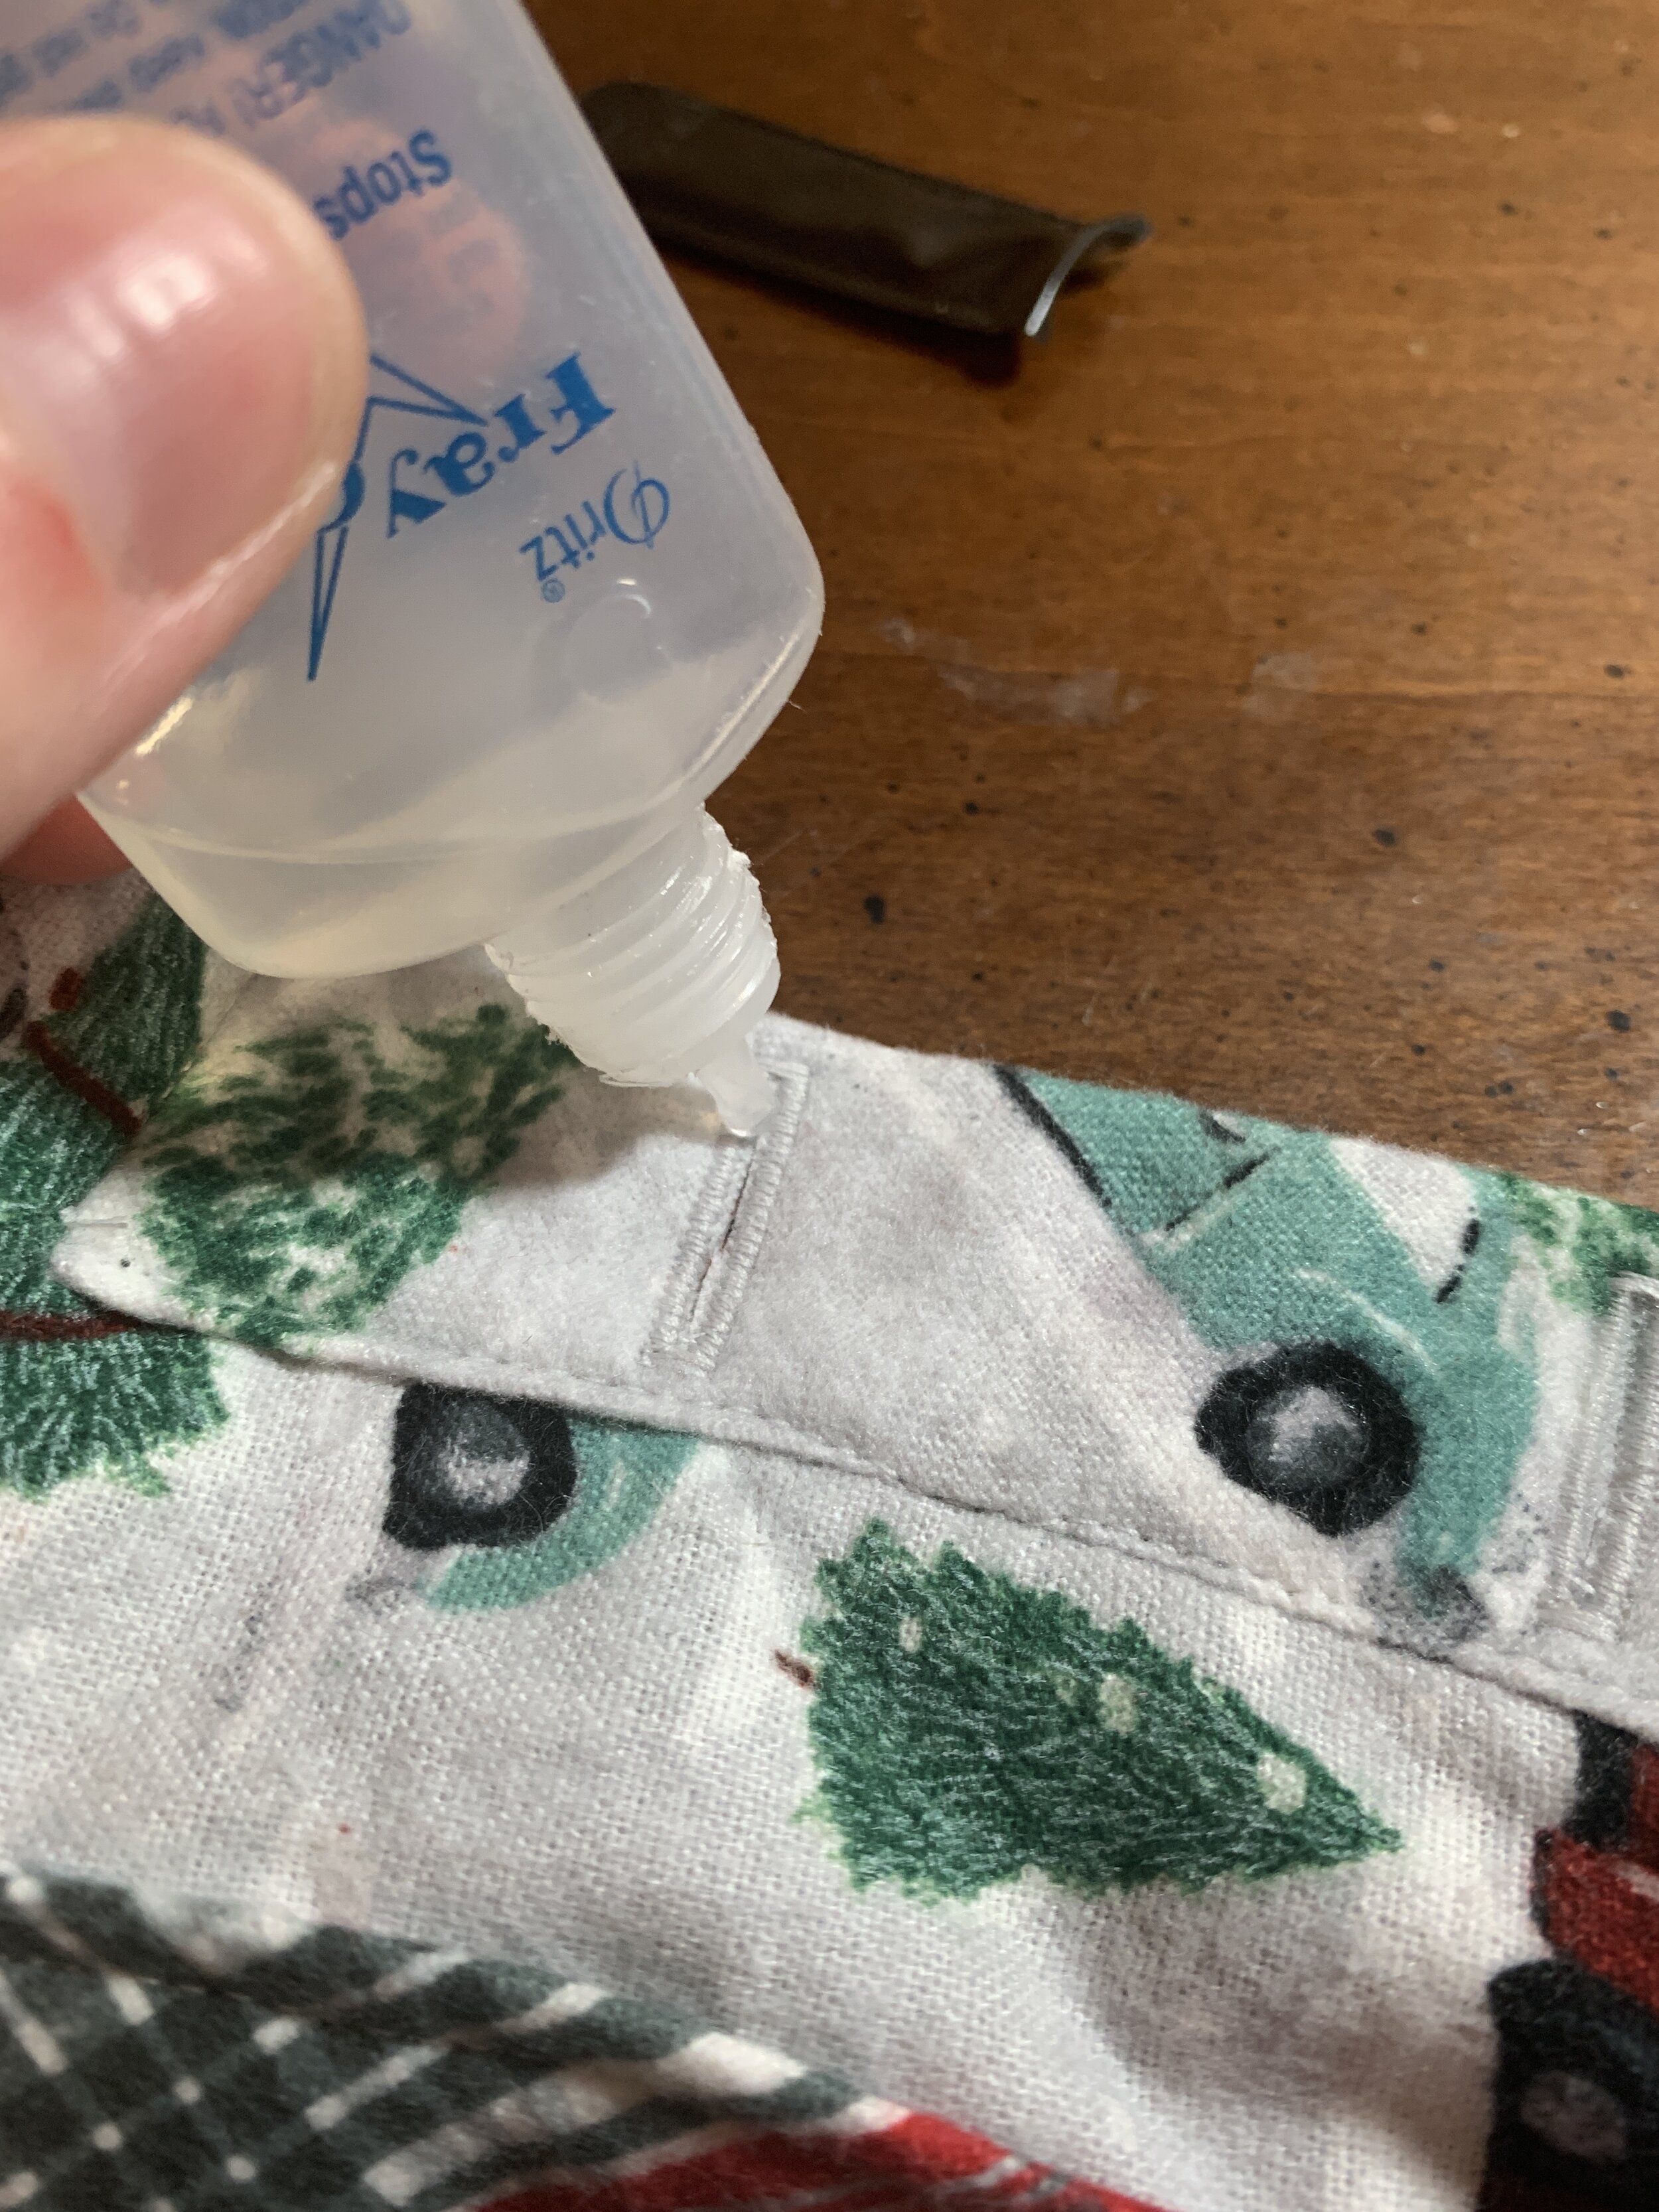
I did all the buttonholes for all four pairs of pajamas! I didn’t use the guidelines provided, but just eyeballed where I thought the buttons should go. I made all the buttonholes at once when I had my buttonhole maker on!! Then I used my buttonhole cutter from amazon and cut them all open! I also used Fray check to prevent the buttonhole from fraying.
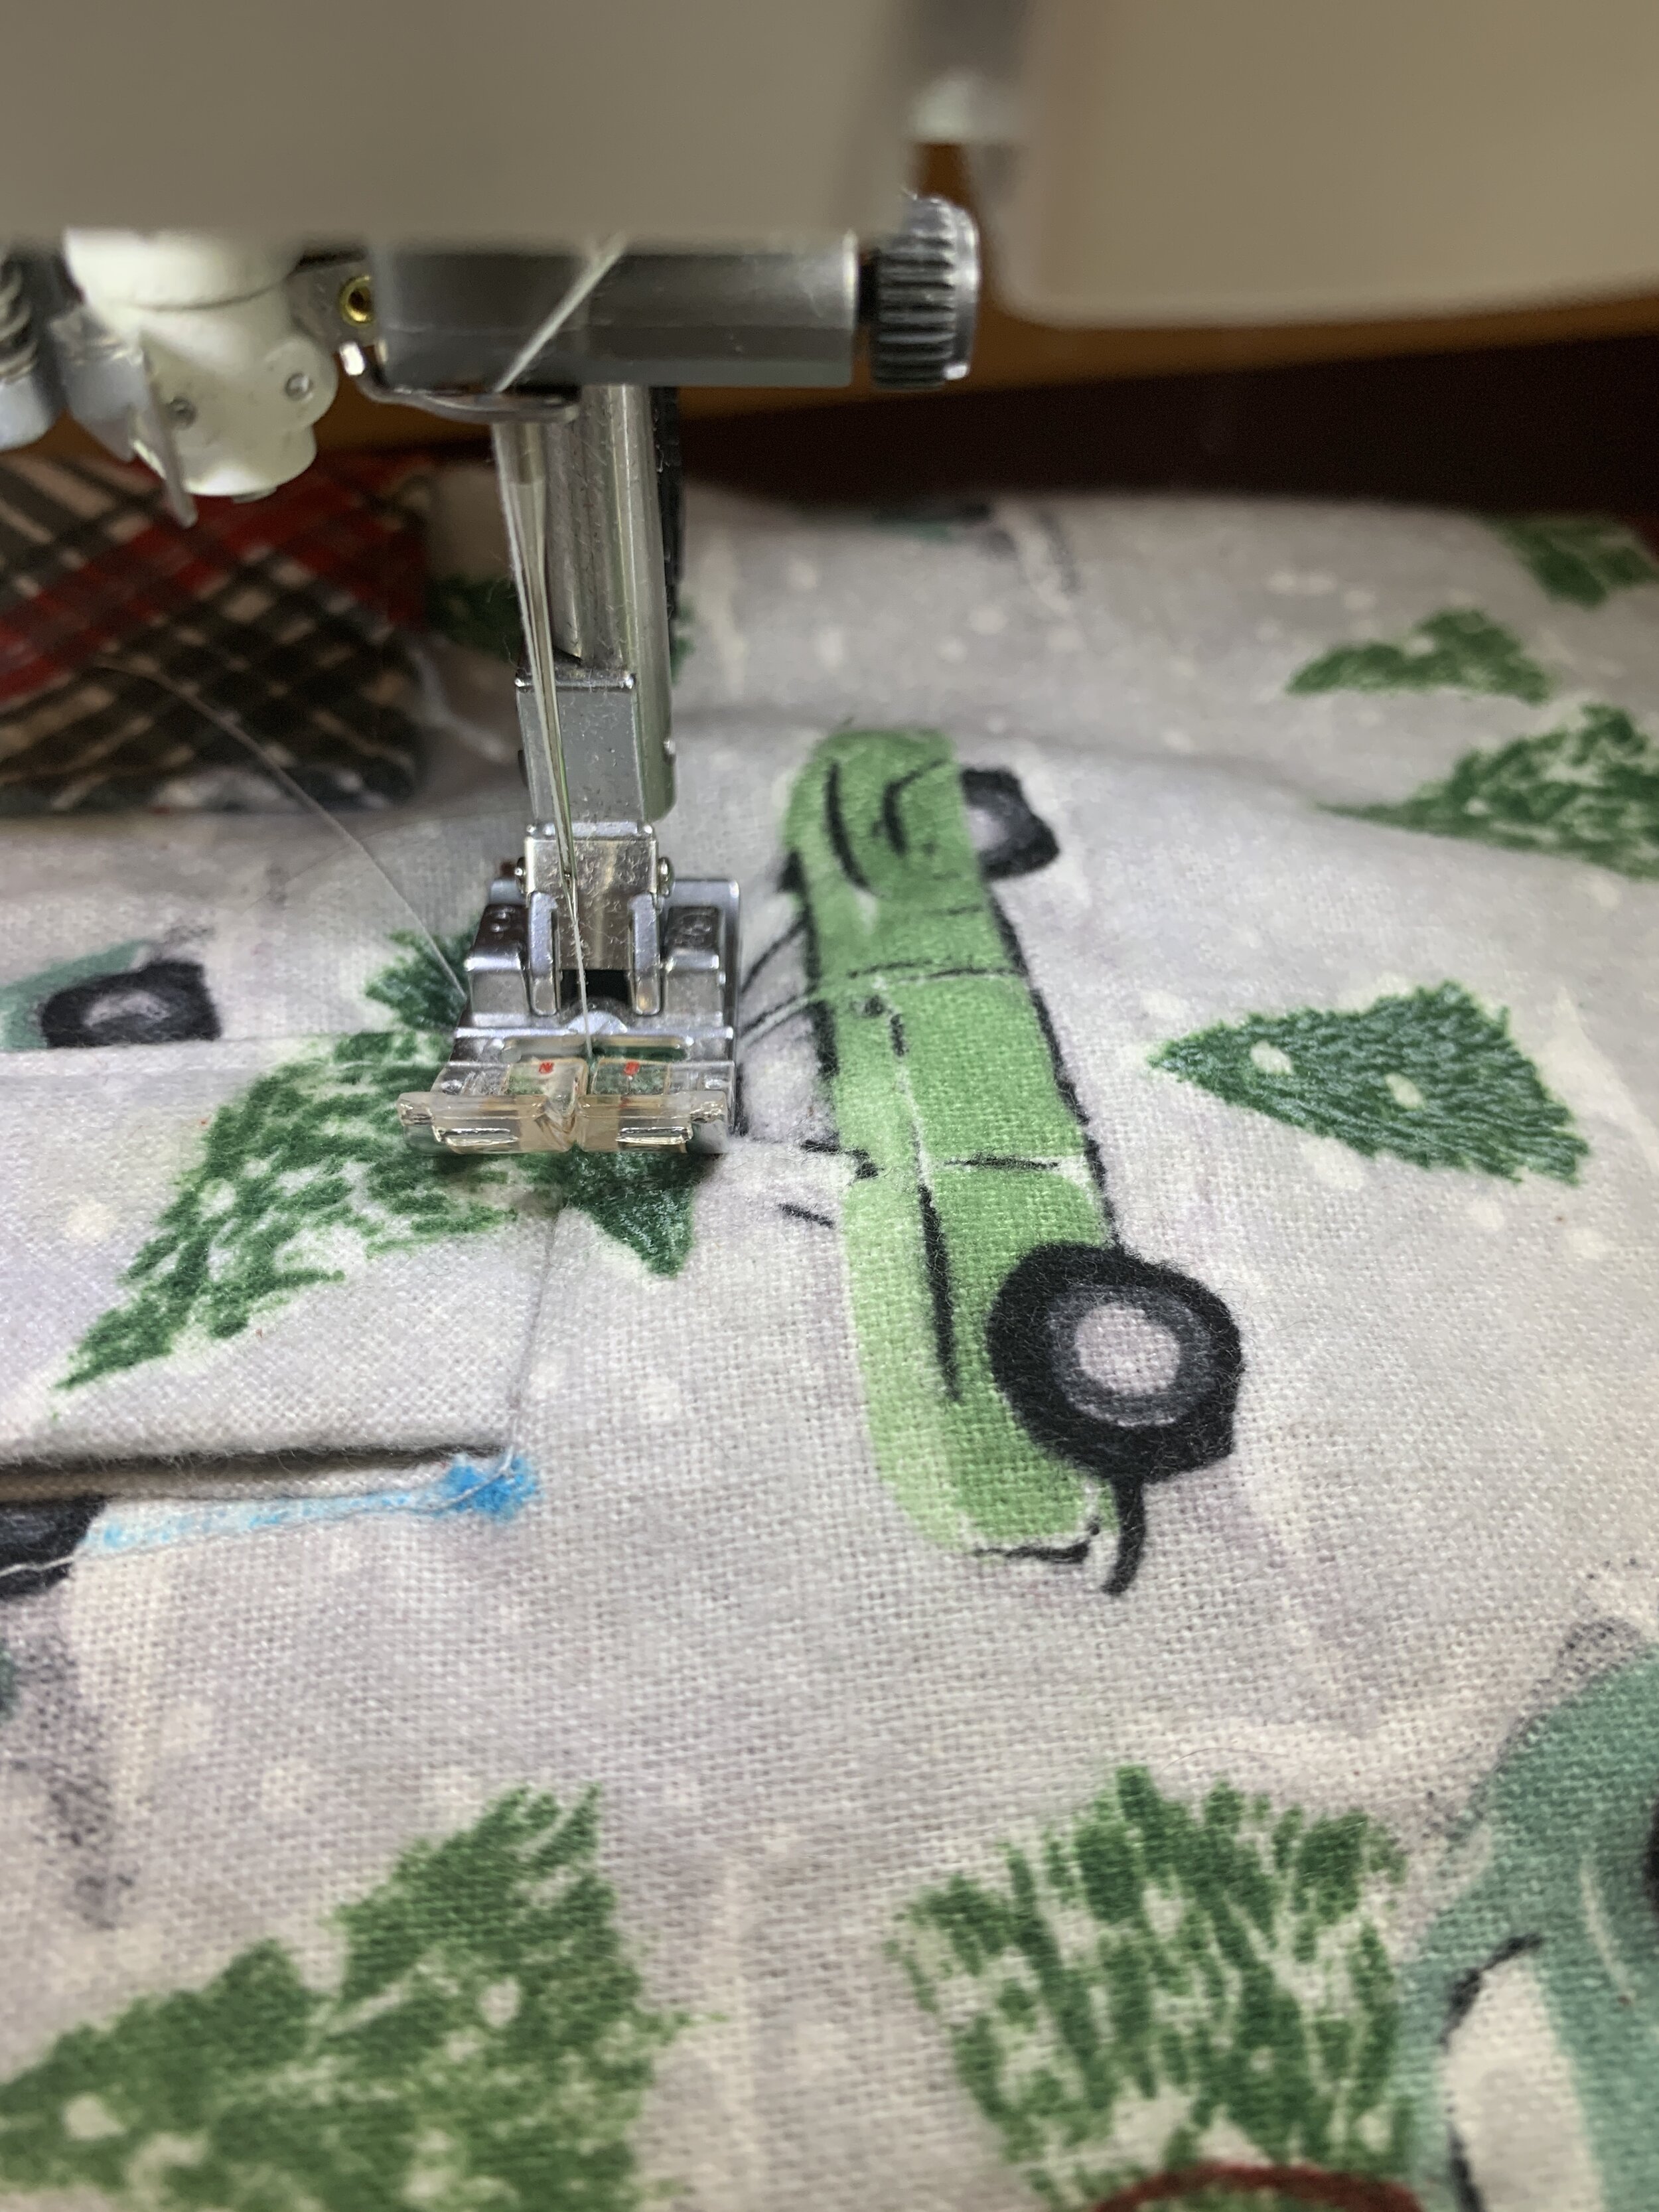
Continuing on with the pattern, be mindful of the pattern matching when working with the plaid!

I took a little shortcut when it came to hemming the top. I finished the bottom with my serger and then folded this up only and topstitched. Our family has rather long torsos so I didn’t want to take much of a hem.

Here are all of the cuffs together at the same time, being sewn and pressed open.

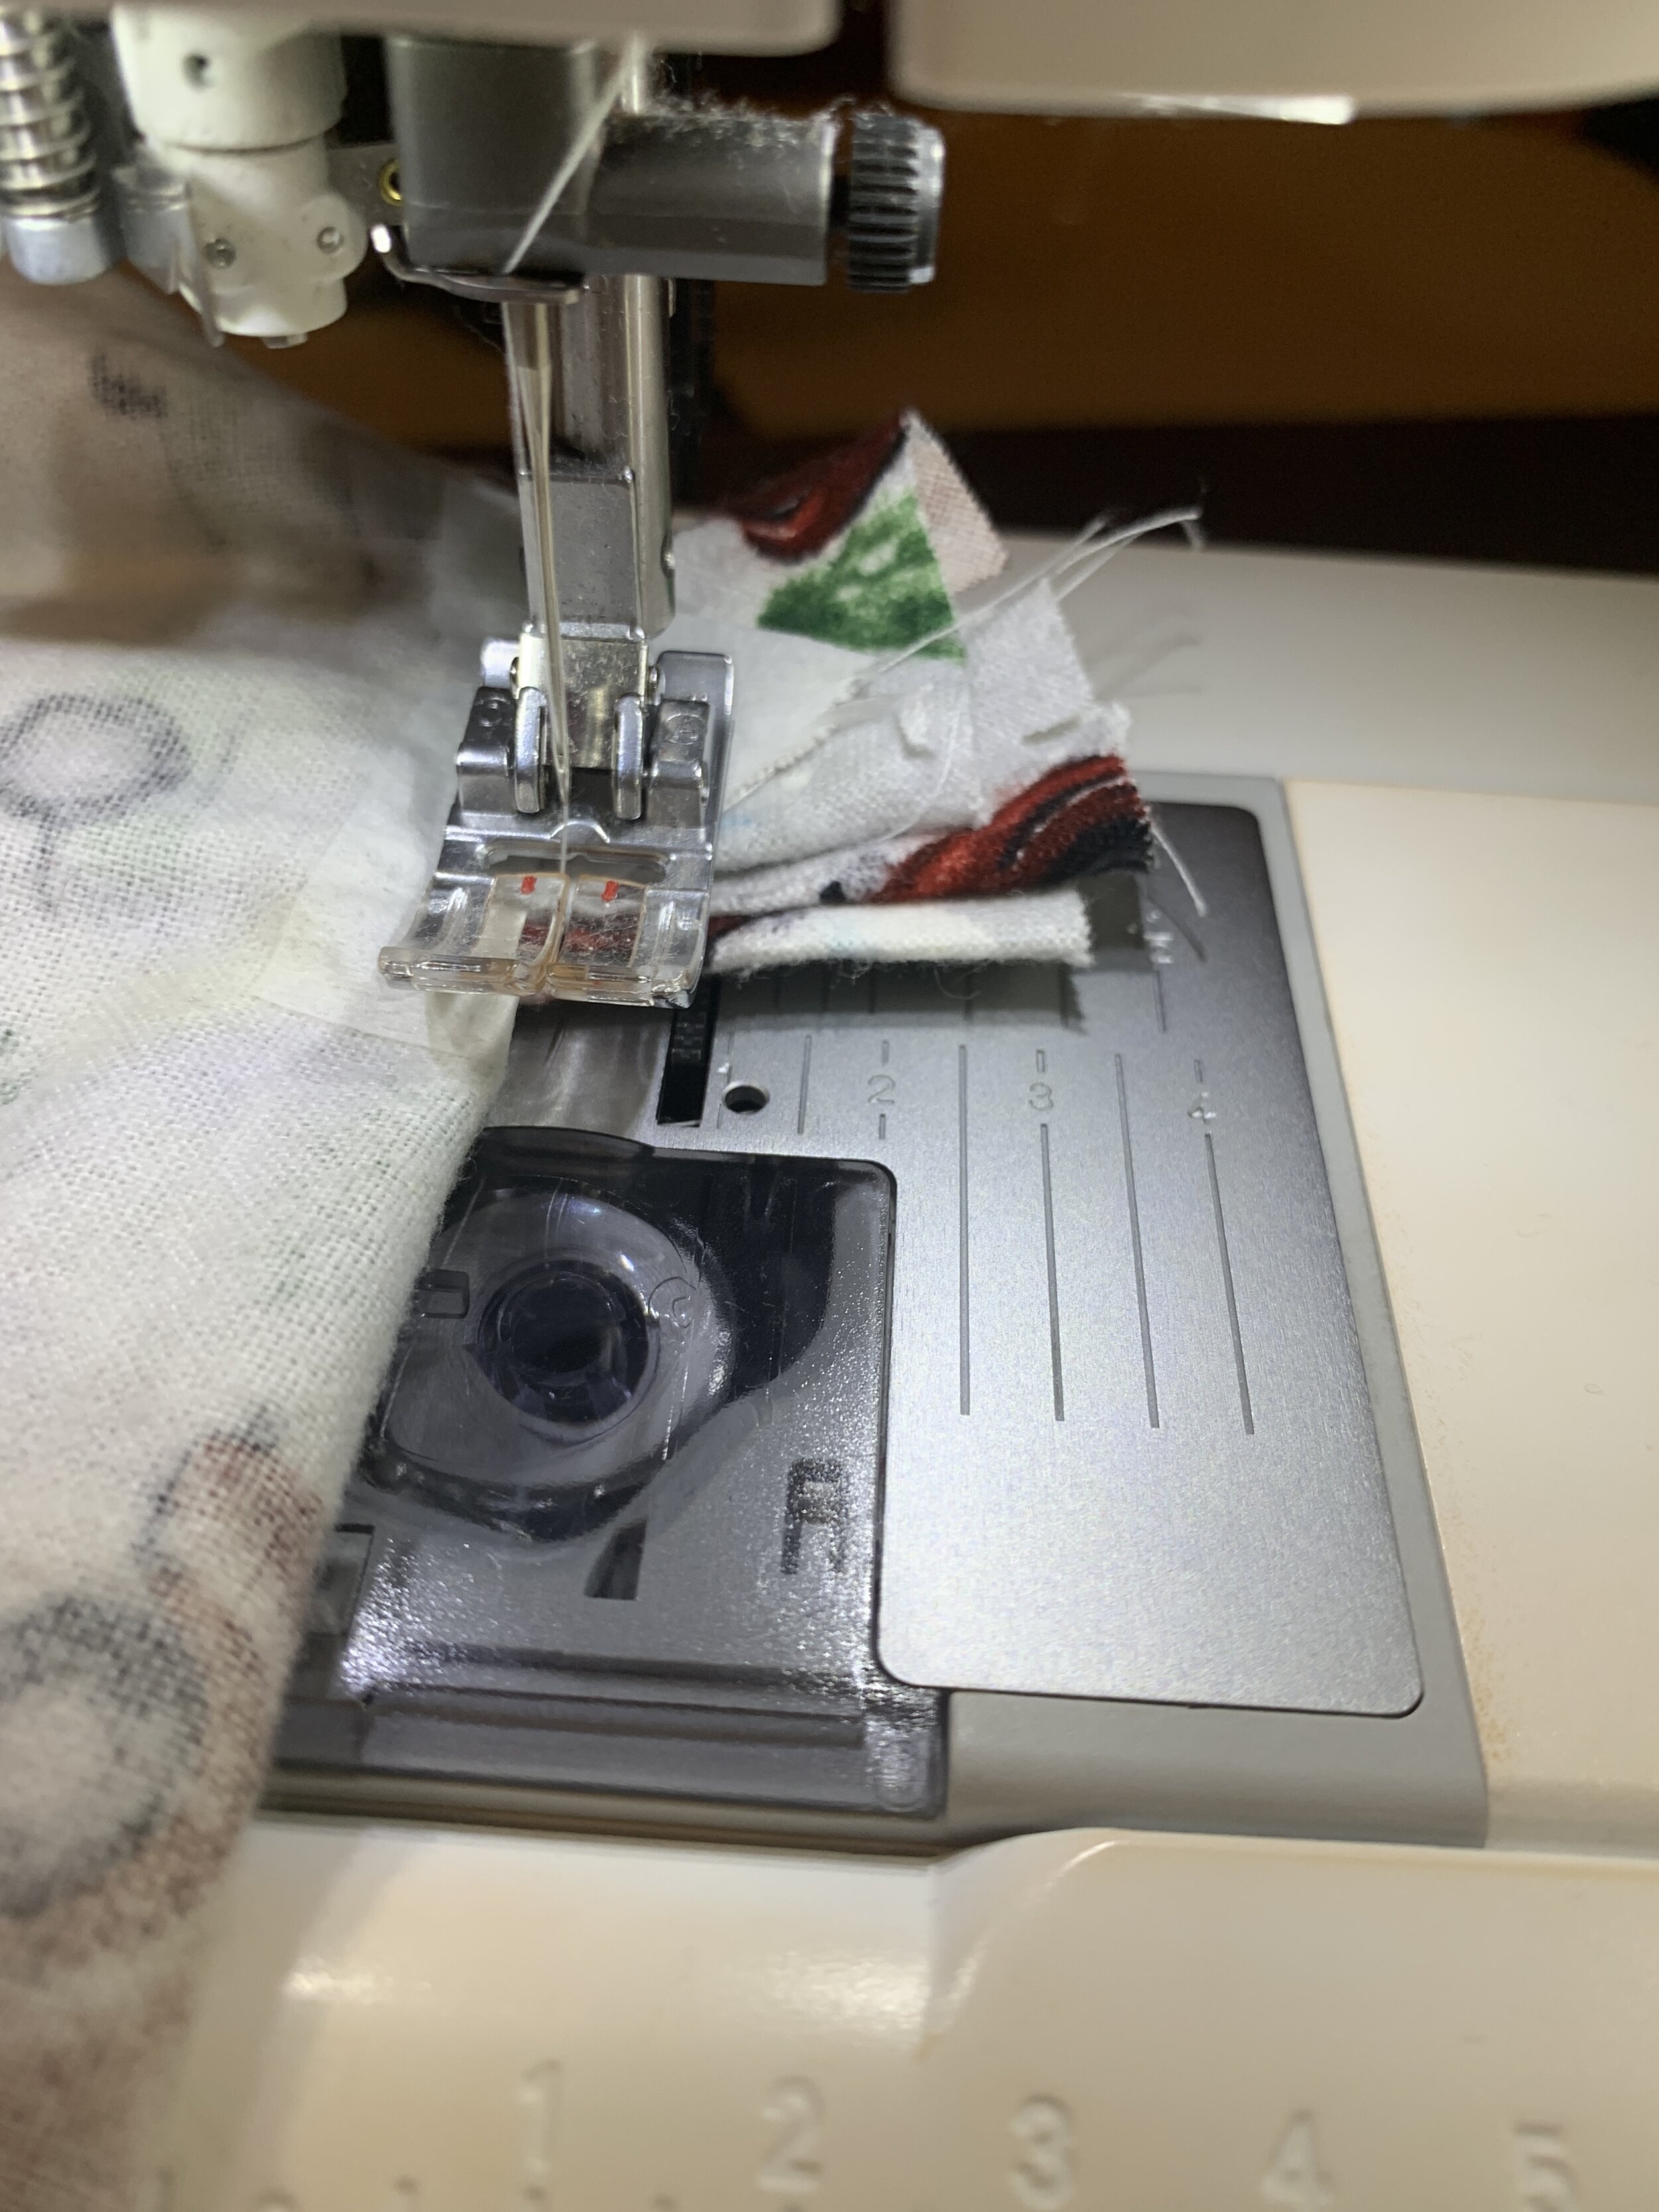
I am attaching the cuff to the sleeve here.

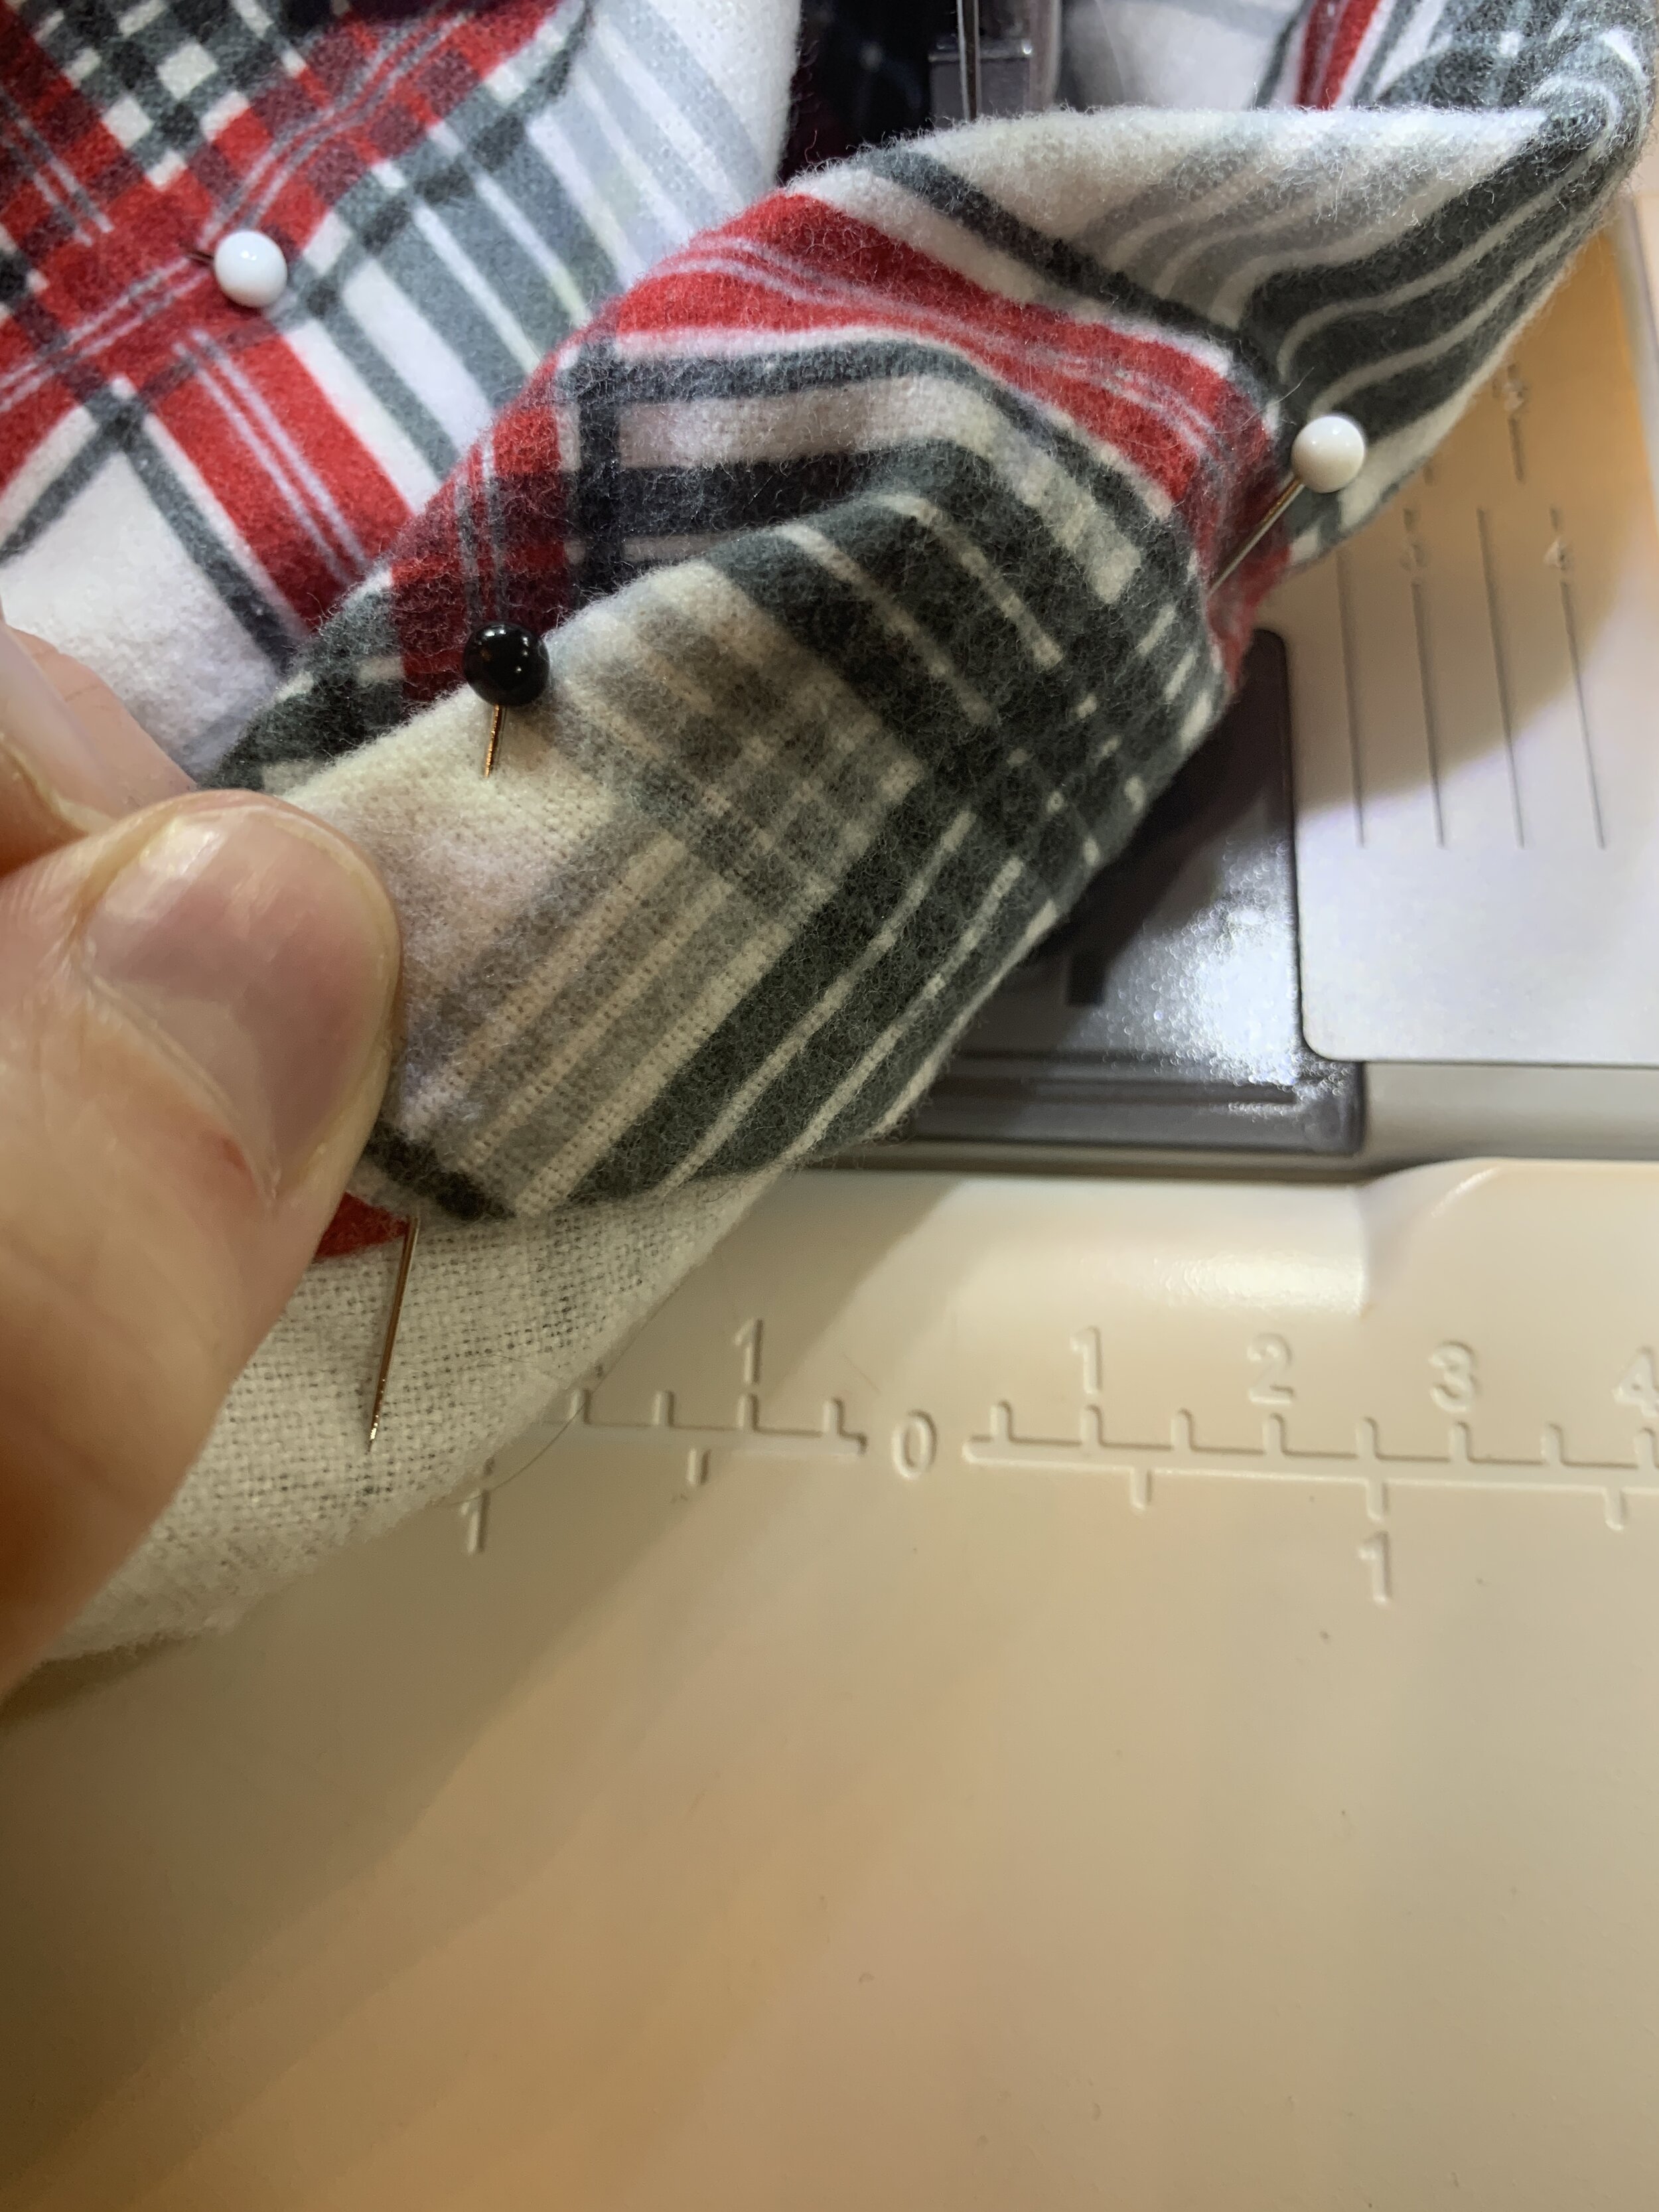
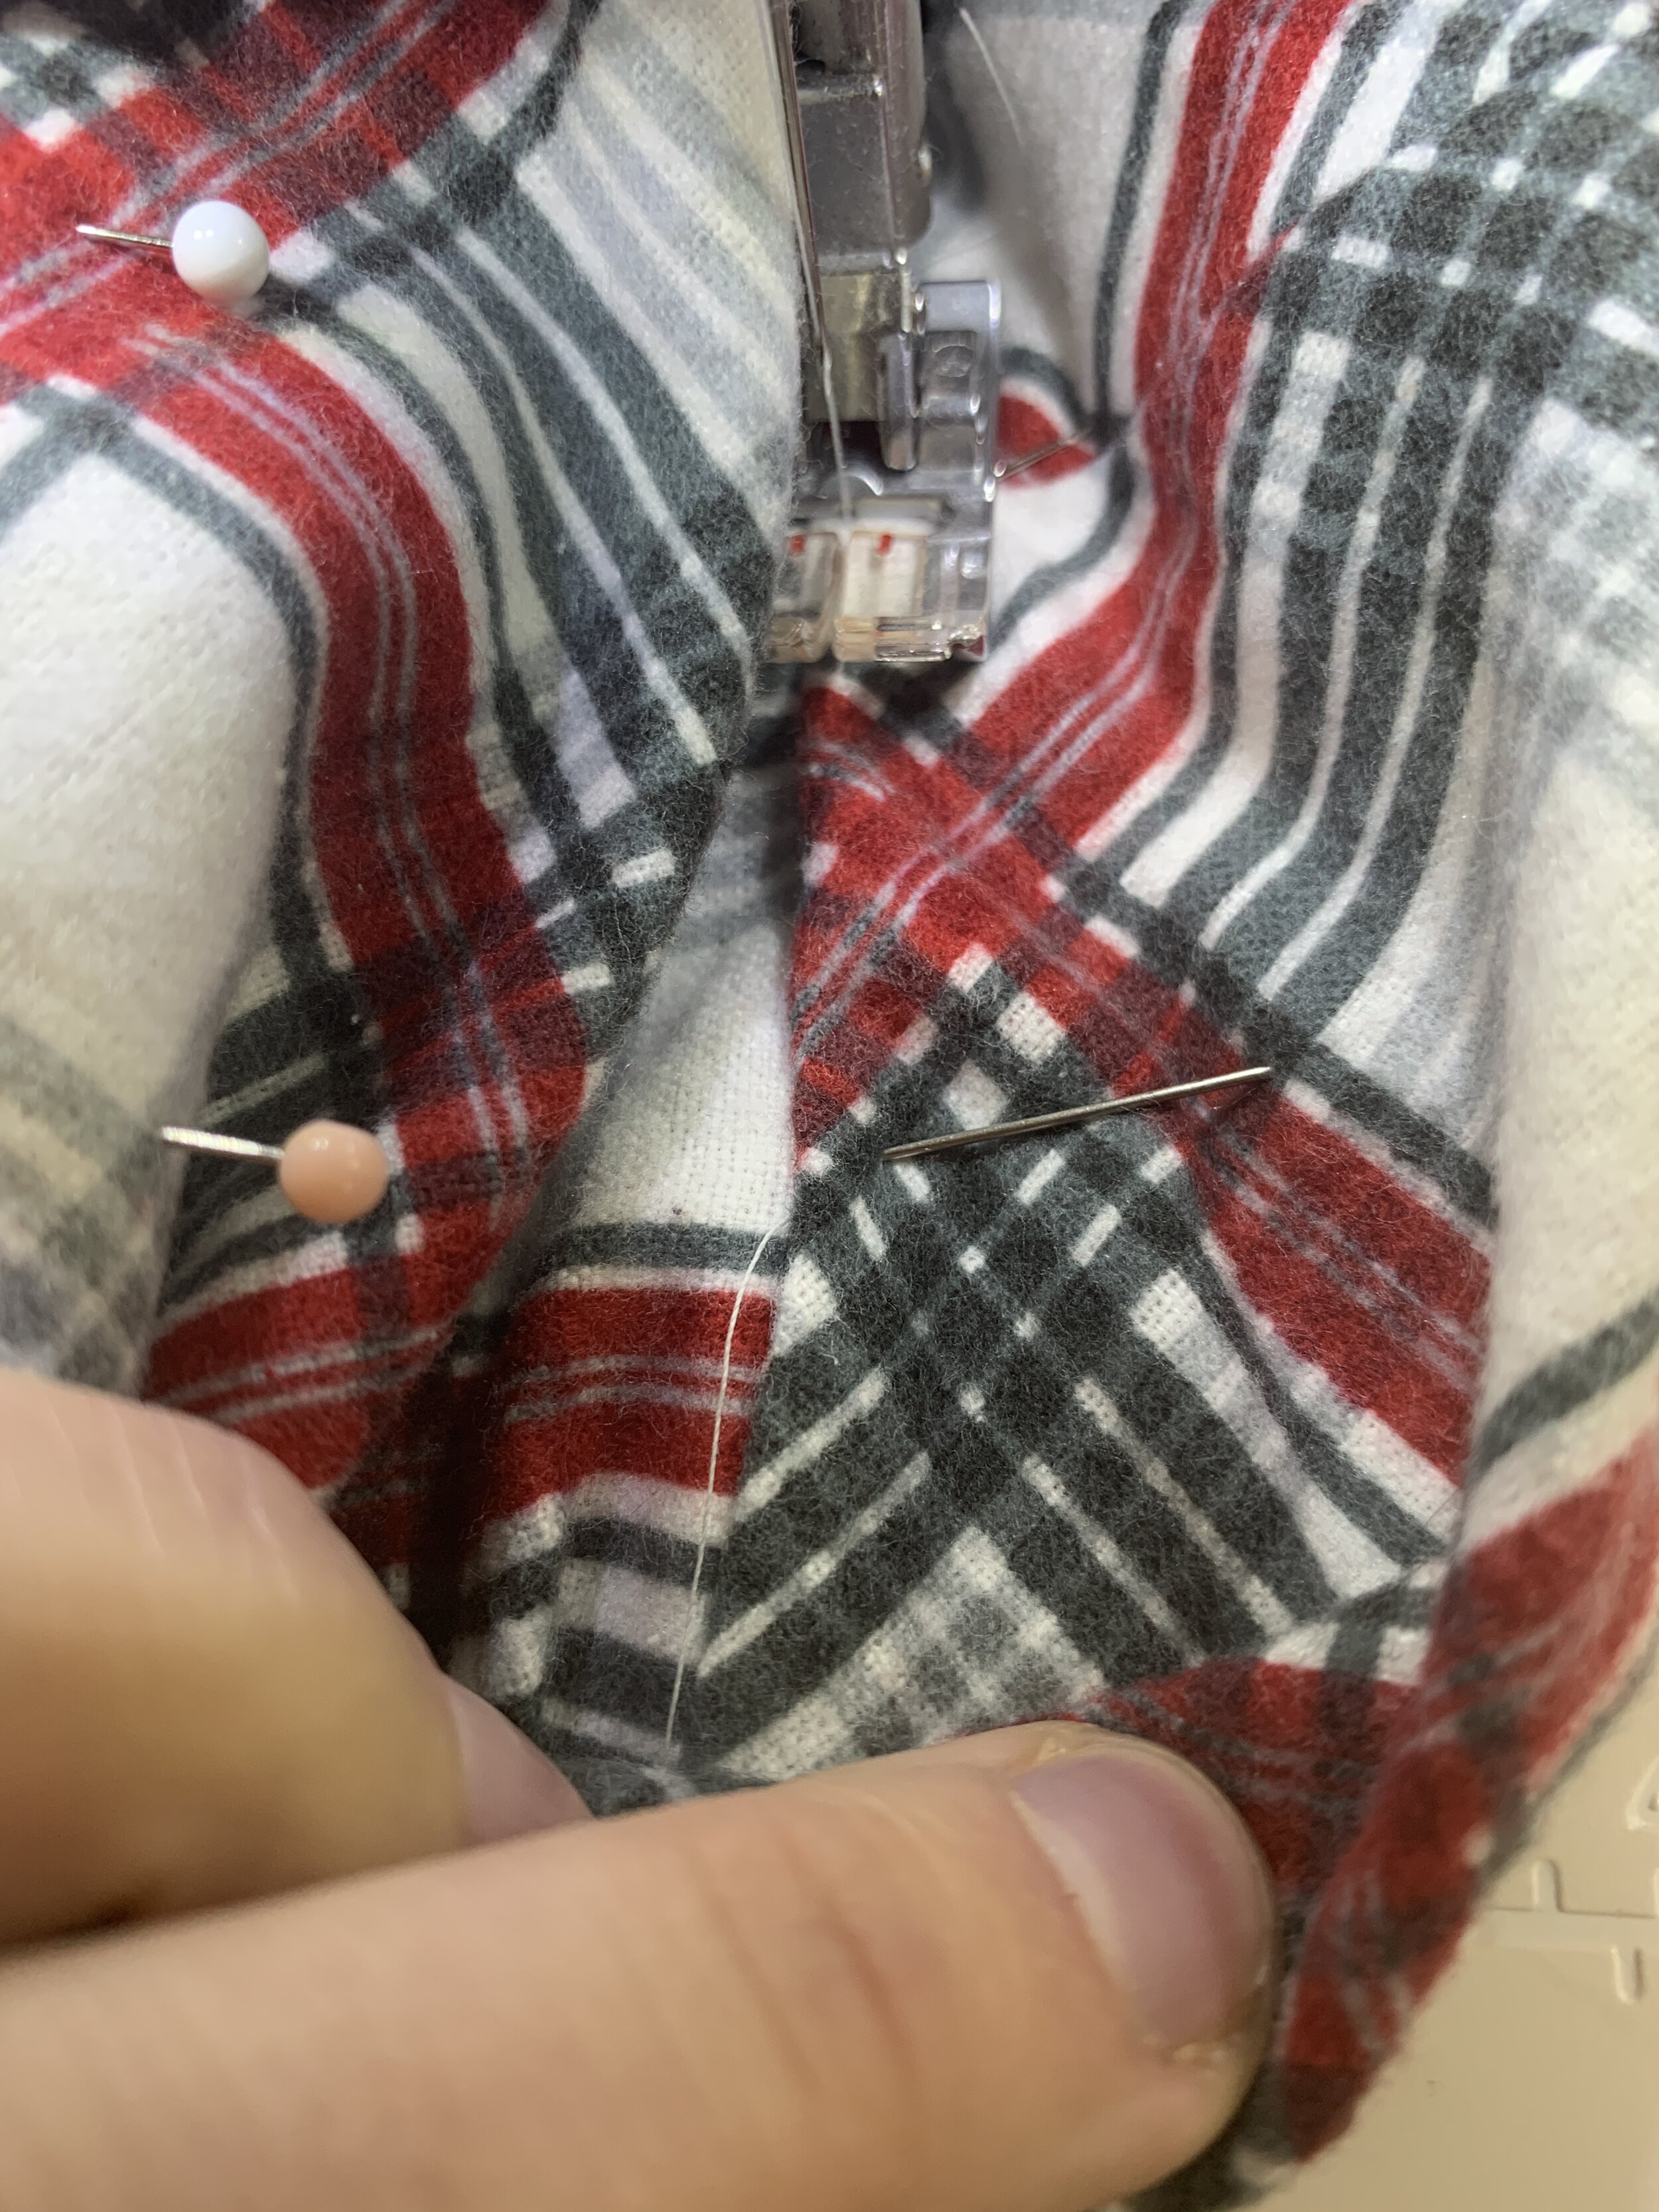
The next step in the pattern is where I changed it up a little bit. I did fold down the cuff to the inside after trimming the seam allowances. I covered the seam on the inside and overlapped the cuff over this by about 1/8 of an inch. Then I placed plenty of pins. I then top stitched this from the outside. This is the same method that I used for the facing. OF NOTE: in the picture below, i have the sleeve inside out in order to reach the place I wanted to stitch a bit easier.
I continued on with making the pants in the way that was instructed in the pattern. The pants are a little more simple than the top so I think you should have no problem. If you have any questions just let me know! I hope you all enjoyed the tips and tricks and found something helpful! Sometimes it is very satisfying to take sewing very slow; however, sometimes you have 3 little anxious kiddos waiting on you to finish their pajamas and you need to speed things up a bit. I feel like there is a time and place for shortcuts and for hand sewing! It all depends on the project and where you are in your creative journey! I cannot wait to see what you all do with this information! If you use these tips or enjoyed them, let me know! You can comment here and/or say hi to me on instagram and tell everyone what you have learned! I love to know about other projects and how I might have either helped or sabotaged you! HAHA either way would love to hear from you! Until next time…Au Revoir!

Pattern: Mccall’s M7299
Fabric: The fabric is from Joann Fabrics! The plaid flannel can be found here and the cars flannel can be found here!
YOUTUBE video with instructions and tips on how to complete the jammies as well!
Creative Christmas Family pajamas!
