Vanessa Pouzet La Boheme Skirt
This skirt is so gorgeous! Before I get too far in, I also have a YOUTUBE video as well!!! I absolutely love love how it turned out! I was scared to brave the French instructions, but together with Google translate and the diagrams, I was able to muddle through! It is a fairly simply constructed skirt, so it is possible! I was gifted this fabric by Karleen of Sewing Studio!!

I will briefly discuss:
-Fabric choice
-Sewing studio
-Pattern layout
-Modifications
-Pattern construction
-Pattern fit
-Styling your garment

Fabric choice:
I made a huge mistake with this! I did not realize that the pattern need a minimum width of fabric measuring at least 140 cm wide (55 inches). After washing and shrinkage, the fabric only ended up being about 39 inches wide, starting at about 41-43. This was not a huge problem, except I told her I only needed 3.5 yards when really I needed 5! Also the waistband+tie is cut into two long 55 inches wide pieces, plus and extra piece in the middle connecting those two depending on your size. What I did, was take the total length of this waistband piece and divided it by 3. I cut three equal lengths and used the same height as you normally would. I cut about 39x3, which was about 117 inches. I think the measurement I needed was a few inches longer than that, but I knew it was just for the ties, and it would be alright!
Sewing Studio Shop:
Shout out to my dear friend, Karleen, of Sewing Studio (@pdxsewingstudio). She saw me pining for this fabric from her website to make this skirt and she just sent me the fabric as a gift! She and I talk all the time and we have a real relationship over Instagram. I so enjoy her comments and she always makes me laugh. We even have a few inside jokes here and there! I feel like it was so enjoyable and easy to use this free fabric to make something I was already dreaming of making and to tell you about this wonderful lady! Could not have been easier to do! I shop from her often because of her prices, amazing fabric, and genuine personality! Can you tell how easy it was for me to talk about her shop!?

Pattern layout:
This is a little strange but not too difficult. The picture does a good job of showing how to lay everything out. You have to make sure you cut the mirror image of the pieces when the layout tells you to do so. You are laying out the pieces on a flat (unfolded) piece of fabric.
Modifications:
Explained above, I changed the way I cut out the waistband pieces. Other than that, I made several modifications to the construction listed below! But no more modifications to the shape or size of the pattern pieces!


Pattern Construction:
The ruffle hem-
Here is where I just went rogue and it was actually so so much fun! The first thing I decided to change was how I hemmed the ruffle of the skirt. I believe you are supposed to hem it before you attach it to the skirt. I decided to do a rolled hem! I had pretty close matching serger thread and decided to try out my rolled hem on the serger for the first time ever! There are many tutorials online that can help you do this and you can also do it on a regular sewing machine with the proper pressor foot. I will briefly explain what I did for my machine (Babylock eclipse serger), but it is very different depending on your machine!!!!
This all may sound like a foreign language to some people but if you have ever tried to do a rolled hem on your serger, then you may have heard the term stitch finger. In a lot of machines, you have to remove the stitch finger to make a rolled hem and it is kind of scary. Refer to your manual to do this!!! Most machine manuals are very helpful on teaching you how to do a rolled hem. For my babylock eclipse, I did not have to remove anything. If you understand how a rolled hem is being created and you understand your machine a little, it makes sense when you look at the steps you need to take for a rolled hem.
On my machine, all you do is remove the left needle and thread, Then, you shorten the stitch length to rolled hem, I left the stitch width the same, (about a 4-5 but it is different on most machines- again refer to your manual). Another important step is to loosen your upper looper a little and tighten your lowerlooper to about 6-7. This pulls the stitch tighter on the bottom and helps to roll the fabric under. Your machine will also cut the seam allowance off as well with the blade, if you position it correctly, so you don’t have to worry about your seam allowance adding length to the skirt (1cm or 3/8 inch in this case). I didn’t do a lettuce hem, where you change the differential feed on the machine and this makes the fabric stretch, however I wanted it to be a little wavy to make the skirt ruffle look more substantial. The rolled hem did this beautifully! I am really happy with it!
Attaching the ruffle to the skirt-
Of note, I continued the rolled hem up the side of the skirt for the rest of the way past the end of the ruffle. I also used a rolled hem that was a little bit of a longer stitch length for attaching the ruffle to the main body of the skirt. The manual was saying that this is a good stitch for delicate fabrics and is something to consider if you were going to have to do a French seam for fraying fabric.
Attaching the waistband-
The next thing I changed was how I attached the waistband. For the first step, I decided to sew it right sides together as instructed. Then, the pattern instructs to iron the seam allowances in (tucking them into the inside) and to sew it together, wrong sides together. This would look totally fine but I decided to make it differently! I decided to fold it right sides together and sew all around the length of it leaving only the inner waistband unattached. I used a tool to turn the straps right side out and then made sure the seam allowance of the inner waistband was pressed in, wrong sides together. I then attached the waistband like I do every other waist band! By attaching the inner waistband to the inside just 1/8 inch past the inner seam and seam allowance. Pinning it very well and stitching from the ditch from the right side! I am sorry if I just made you more confused haha! I didn't get any good pics of this step, but I do talk about this in a lot more detail in my video.
Of note, I also added a bit of interfacing to the waistband. Just a small strip on the section that would be the future outer waistband!

Pattern fit:
Fit is really very easy! I put the skirt on and then wrapped it how I would be wearing it, deciding what side I was going to put in front and where I wanted the “slit” to be. Once you find this out, you can decide where you want your button hole to be where you pass one of your straps.

Styling:
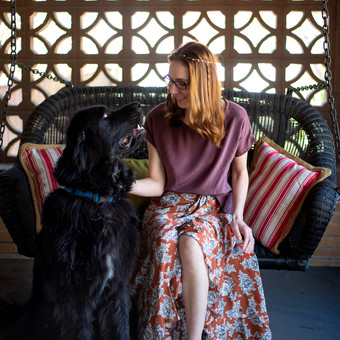
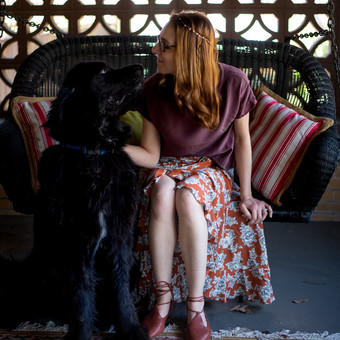
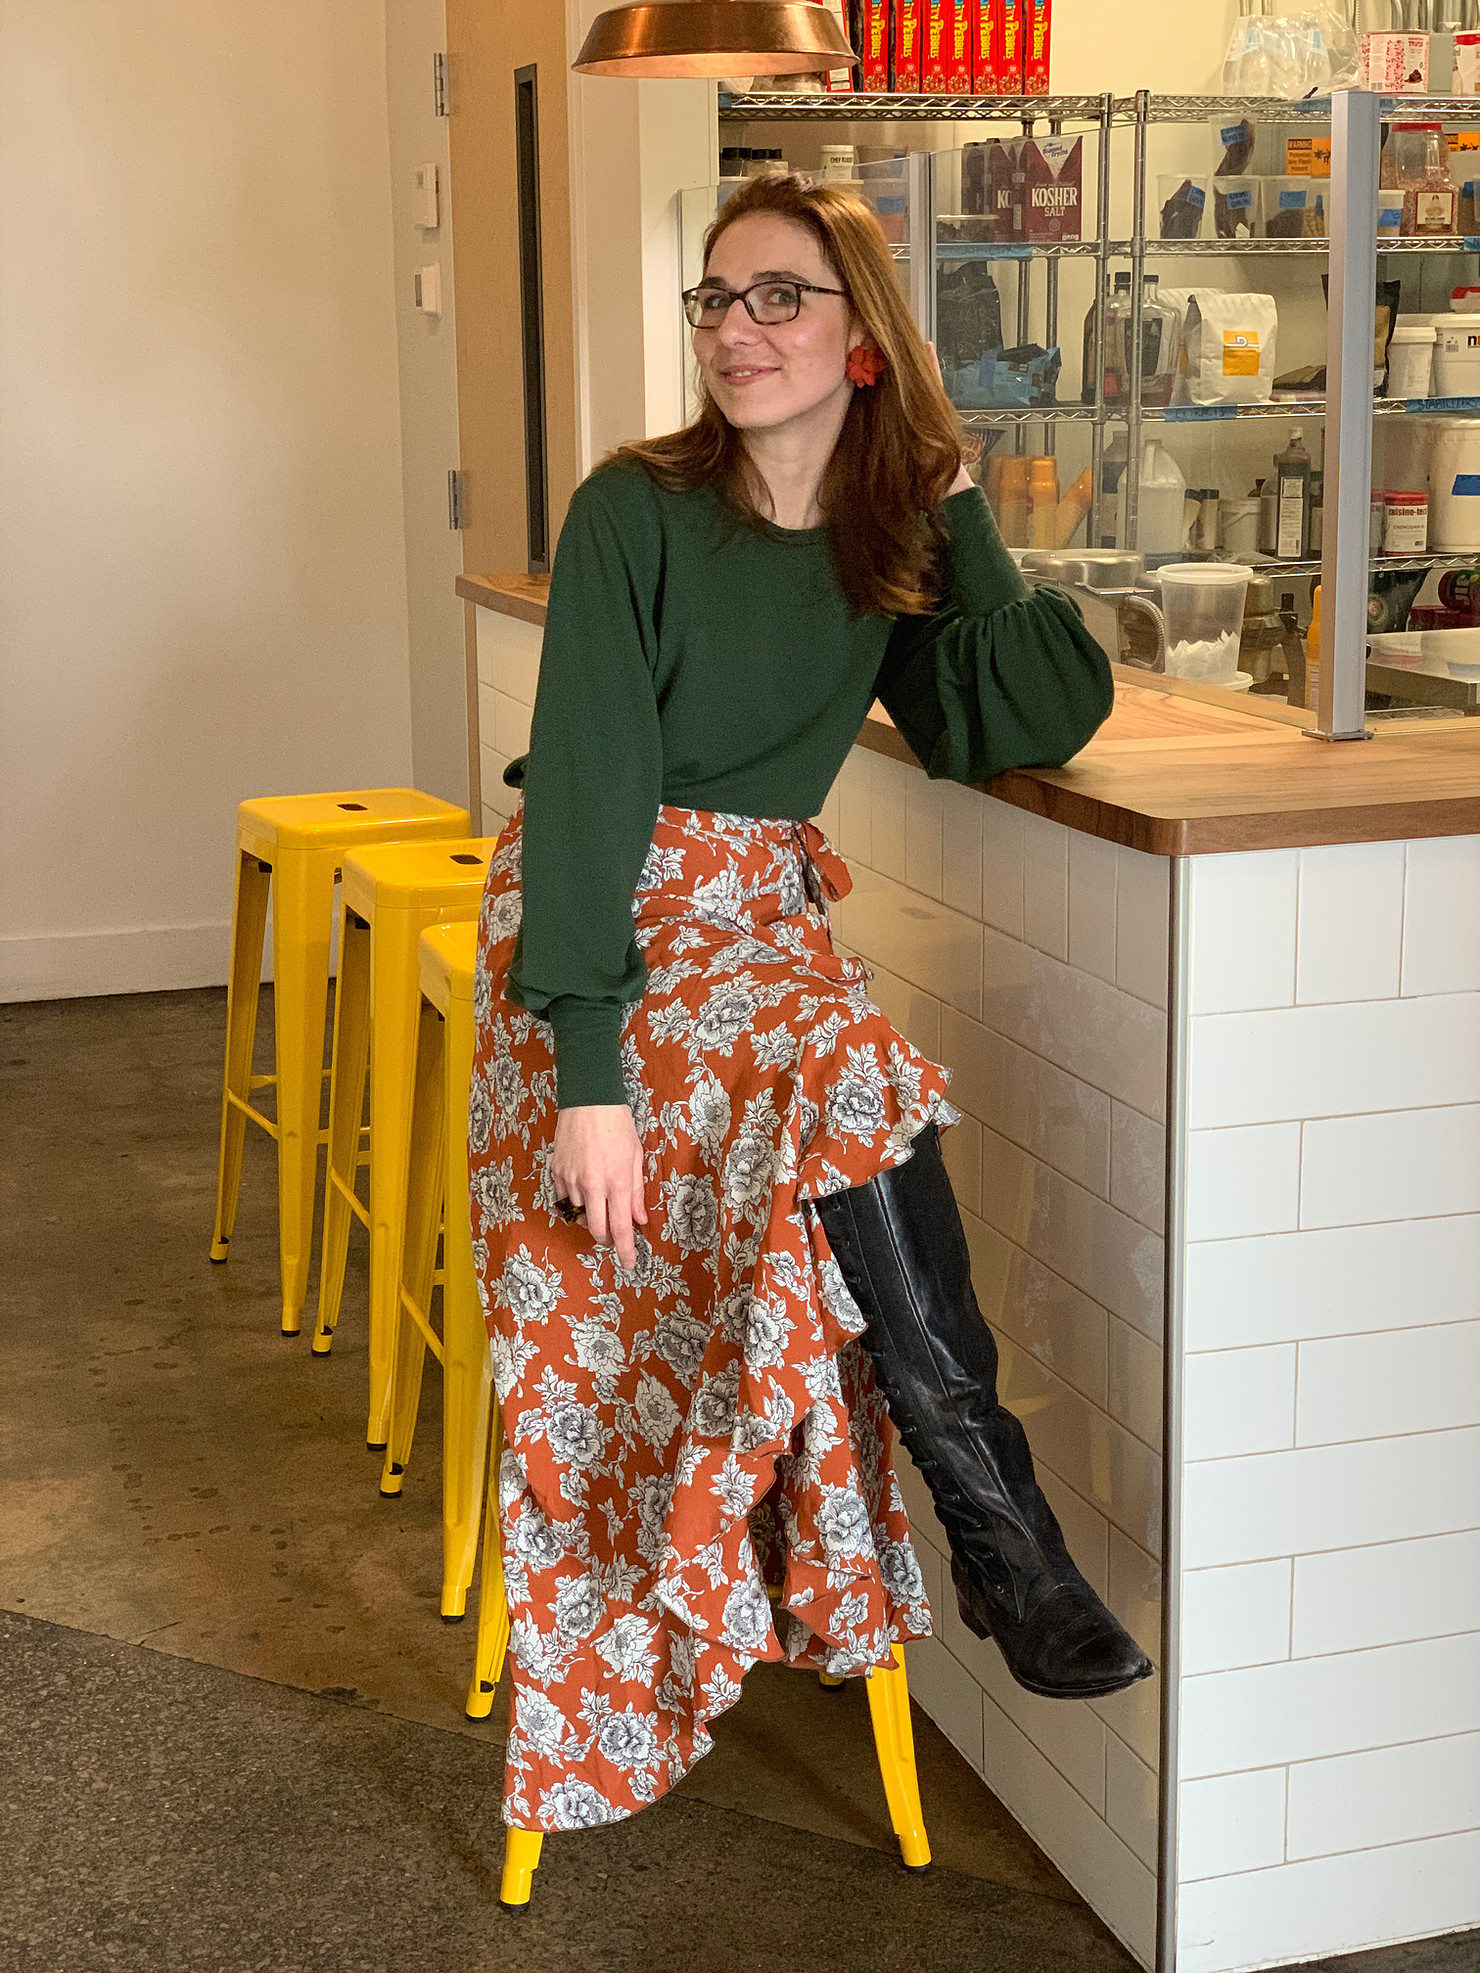
I think this skirt can be worn in the winter and the spring! It is the perfect fabric for both. I have pictures with it in a long sleeve shirt and with tall boots, and then I think you could go for a more romantic feel. Like barefoot, short sleeve drapey casual shirt or cami and flowers in your hair! It can go either way! Have fun with it. It is so versatile.
In conclusion, some of the instructions didn’t translate well with google translate, I just had to go with what I know and kind of wing it, but it is so beautiful, its worth it!

Pattern: La Boheme skirt by Vanessa Pouzet
Fabric: Copper Floral Rayon Crepe from Sewing Studio
Shirt: Strata top, Sew Liberated, Silk from sewing studio, blog post here
Shoes: Can't Remember!!!!!