Sewing Stripes
Where to start with stripes? It’s mostly a love/hate relationship! I try to avoid them, but at the same time, I can’t stop buying them! Here, I am going to list a few quick pointers to go about cutting out your fabric the smart way. Almost all of these tips have come from my own experiences and things I have learned from mistakes I have made. There are several blog posts out there about stripes, and I am very sure that their tips are similar, but I learned these all on my own for the most part.

Pattern:
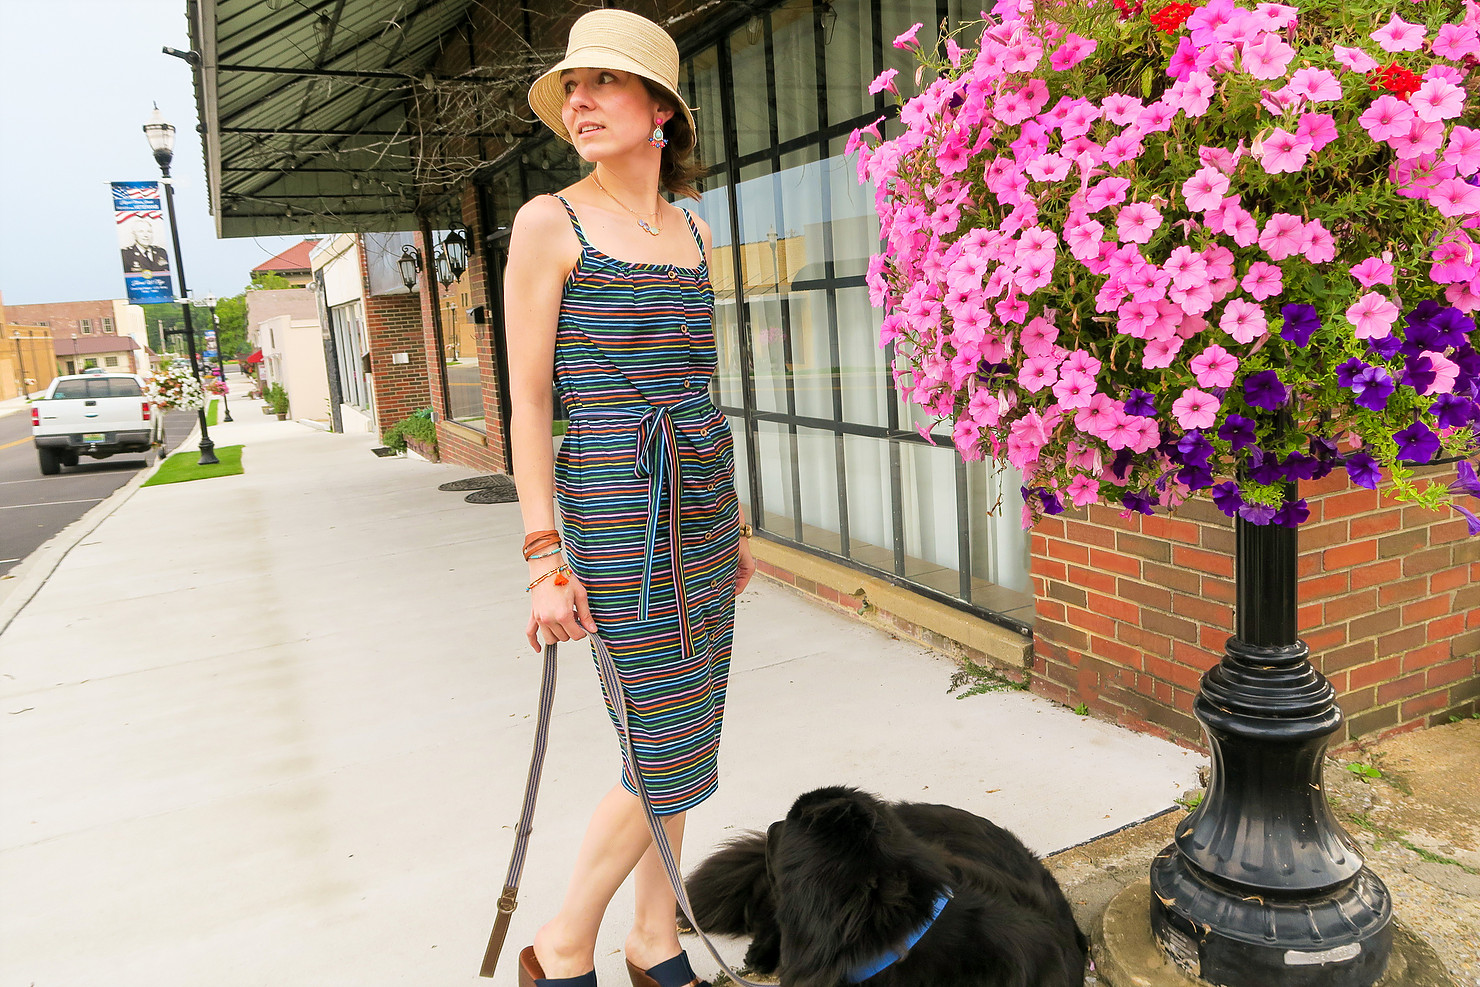
This is the Lottie dress by Sew Over It! I absolutely love this dress and thought this would be a great way to talk about matching stripes.

Fabric:
This fabric is the Amalfi Collection by Cotton and Steel. It is a wonderful cotton lawn. Very easy to work with and very high quality.

How to sew stripes:
What kind of stripe are you working with?
Iron your fabric
Lay your fabric out flat.
Check your grainline
Quality of fabric
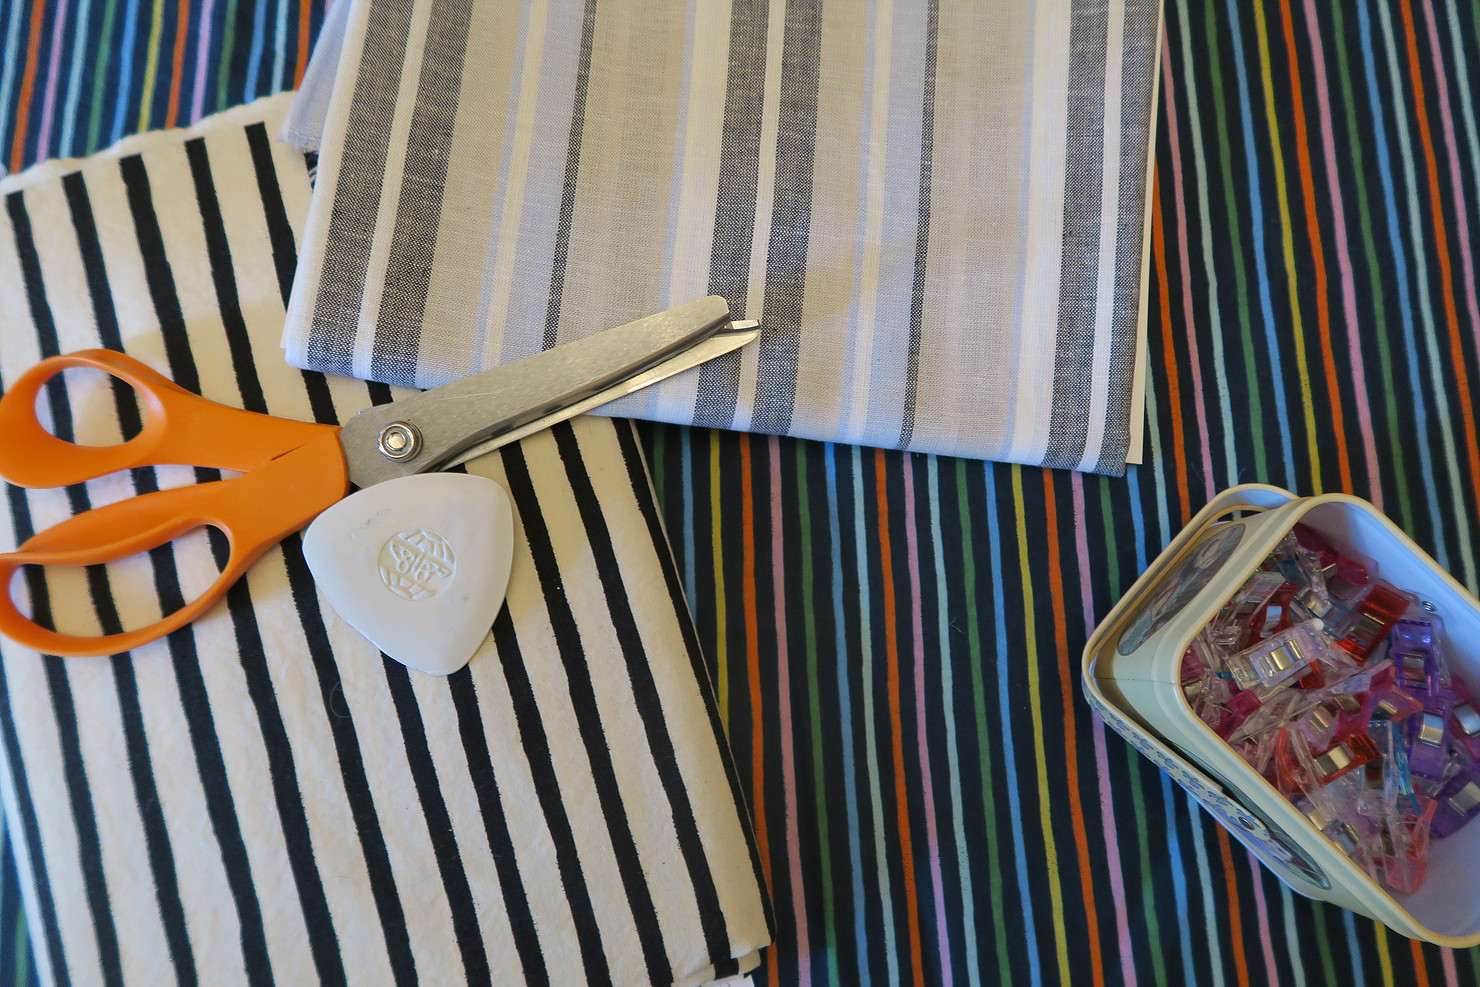
Using a rotary cutter
Matching side seams
double check notches
Lay pattern pieces on one another
Knit stripes! eek!
Marking buttonholes
Assembling the garment unevenly!
What kind of stripe are you working with?
You may just have a plain stripe that alternates between two colors, or you may have a set of repeating stripes. My fabric here has a sequence of 11 colors that repeat. This can be difficult to determine at times. Sometimes the pattern changes in the width of stripes. The easiest way to match up stripes with a pattern like this is to cut as many pieces as you can horizontally. That way you can just start and stop at exact same stripe horizontally.
Iron your fabric!
Make sure you have ironed your fabric. You really need this to help with precision. Not much else to say about this!
Lay your fabric out flat
You will not be able to cut any pieces on the fold. You will have to cut one side, mark the middle of the top and bottom and then flip the piece over that middle section. I like to mark a horizontal and vertical line making an "L" shape. Also, lay an object on top of the part that says cut on the fold because you really don't want to cut down this line. Place something there so that you can remind yourself! Unfortunately, I have made this mistake!!

You will be flipping the piece over at the fold line and using your L shaped marks to guide you! You will cut out the rest of the piece with the pattern piece right side down. This can be difficult if there are many pattern markings or notches. I typically mark over all of my notches with a permanent marker so I can see them through the other side, if it is paper.

Make sure your pattern pieces are flat. Sometimes the paper can get wrinkly, so use weights to get it as flat as you can!
Check your grainline
Measure the distance between the grainline on the pattern piece to the selvage. Make sure these distances are the same so that you know your pattern piece is laid out correctly.

If you want to mark a grainline on your fabric, this is possible as well. If your selvage is too far from the grainline mark on your pattern piece you can just make another "selvage" by drawing a line parallel to the selvage. Creating a new faux selvage! All of this to make sure your grainline on your pattern piece is parallel to the grain.

If you have a pattern piece with a straight top or bottom, also make sure that your pattern piece is exactly perpendicular to the grain. This pattern piece should be running along the same stripe. Some patterns have a little bit of a curved bottom, so this may not apply.

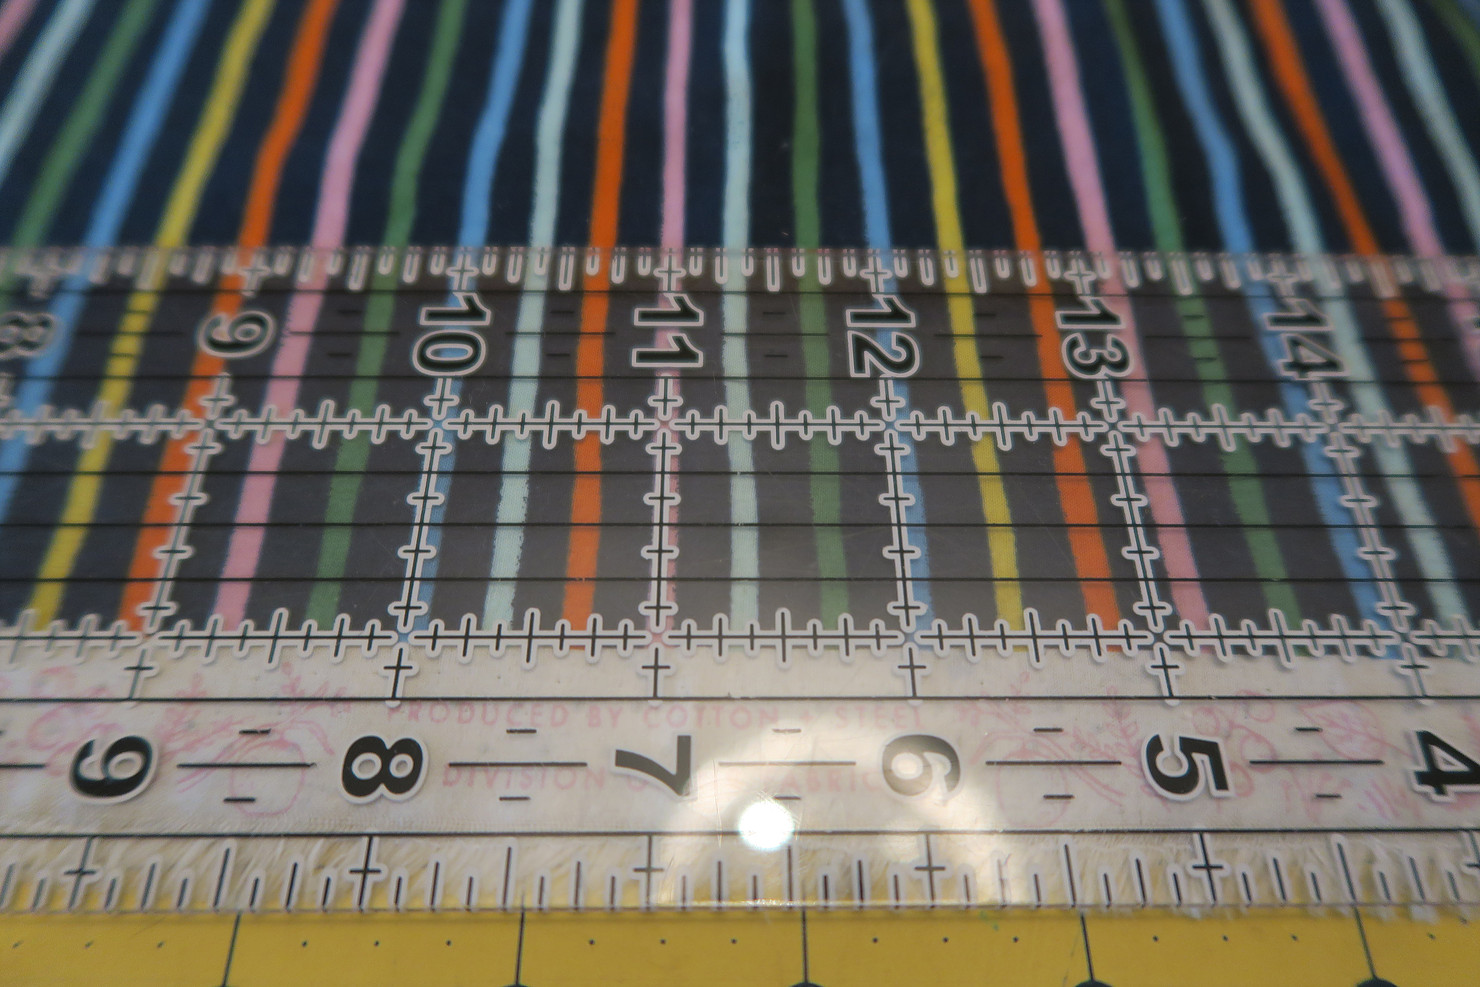
Quality of fabric
I cannot stress enough that it helps that the fabric is high quality and printed on grain! This made my life so much easier. If your fabric is printed a little crooked, aka your stripes are not perpendicular to the grain line or selvage, this will make cutting out your pieces difficult. You can tell by putting a clear ruler over the selvage and see if a cross point lines up with both lines! If it is not on grain, it will be more difficult. If you want to make the garment despite this, then just make sure your stripes are perpendicular to the grain line on your pattern so that you don't make a shirt with crooked stripes! Even if it makes you cut your pieces of the grain a tiny bit!! You don't want horribly crooked stripes on a shirt or dress just to have your pieces cut on grain!
Cutting out the fabric with a rotary cutter
Use a rotary cutter so that you can be sure your fabric does not move. It is critical that it does not move! Another option is to trace your piece and then cut.

Matching side seams
The best way to think about cutting stripes is to make sure your seams will match. You need to determine what parts of the pattern will touch or be together eventually. It's a good idea to read over your pattern and determine this early. Sometimes, assembly of the garment will surprise you. Pattern pieces can come together in unexpected ways. If you are cutting out a piece with a side seam, make sure that it is starting on the same stripe as the other piece that will match that side seam. The bottom line is that you will be sewing these seams together, so they must start and end at the same stripe. Again, if your fabric is wide enough you can just cut your pieces horizontally across, lining them up exactly. If not, you will need to carefully notice how the matching seams are to be cut.

Double check
Before you cut, notice where your notches will be and make sure your seam lines that will sewn together have matching notches. In other words, notice what stripe the the notch falls between or lays on and make sure the matching notch, or the other piece you cut out lands on the same spot with its notch. This is so important and will prevent you from making a huge mistake. Before you decide that it doesn’t match, double check the placement of your notches on your pattern pieces and make sure they actually were marked correctly on the pattern piece, and they are intended to match.

Triple check
After you cut one pattern piece, you can match the seams together to the next piece you are about to cut out and make sure the stripes will match. That way you know that second piece will be matching.

Knit stripes
Sometimes fabric can warp! Especially if it is a jersey knit or rayon knit. If you are working with a knit fabric that has a stripe pattern you will need to be careful with how you handle this fabric. Be very gentle because it can stretch and make it impossible to match stripes. If the pattern states to stay stitch, then you need to do that. When you dry the fabric, lay flat to dry or tumble dry according to the fabric care instructions. When you lay the fabric out to cut, you may want to place muslin, or some scrap fabric underneath to keep the fabric from sliding on your cutting board. It will help the fabric stick and not wiggle around--especially important with stripes! You will be cutting through this fabric as well if you are using a rotary cutter, but it won't matter if it's scraps! Or you can trace the pattern piece and then lift your fabric up and cut so that you don't cut the muslin. Again, never cut on the fold. Lay the fabric out flat.
Marking buttonholes
If you want to mark button holes, it can help to notice where you mark the buttonholes relative to the stripes and make sure it matches the buttons markings later on. Usually you can just mark where the buttons will go after the buttonholes are finished and you place the fabric over the other side and mark through the buttonhole. However, with stripes, its nice to be able to know your garment will line up! You have an extra sense of security. Don’t forget, its better to mark buttonholes on the right side of the fabric (not the wrong side), when you are cutting out fabric.

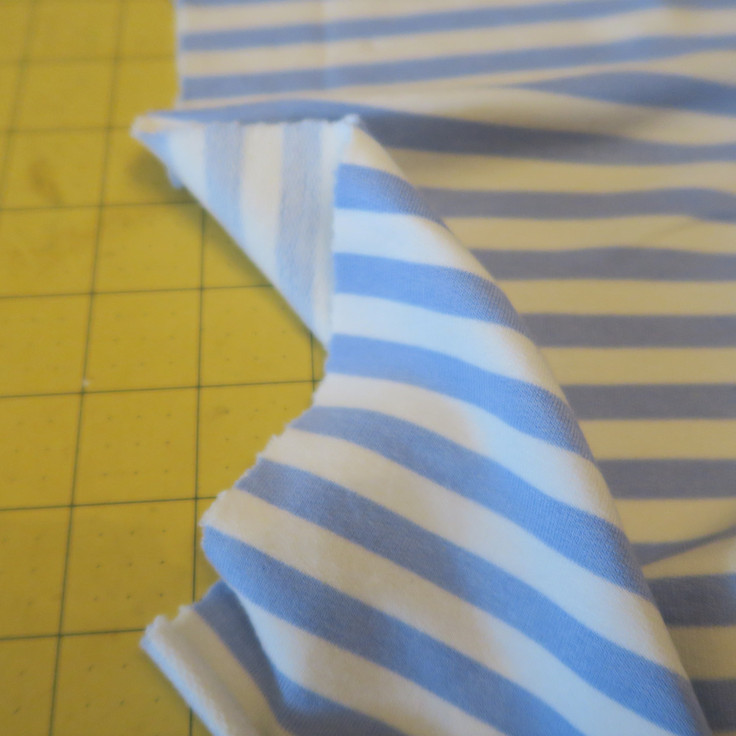
Assembling the garment unevenly!
When sewing the fabric together and matching up side seams, I leave the bottom piece poking out about 1/8 inch or less so that I can see the stripe on the bottom piece and match it with the top. In most of my sewing, my human error is probably more than this adjustment will do. So, it hasn't made much of a difference in the fit of anything. This method will work assuming I can see the stripes through the fabric! This is very very helpful!

This image is an exaggeration and I moved the bottom piece further to the right to illustrate the technique
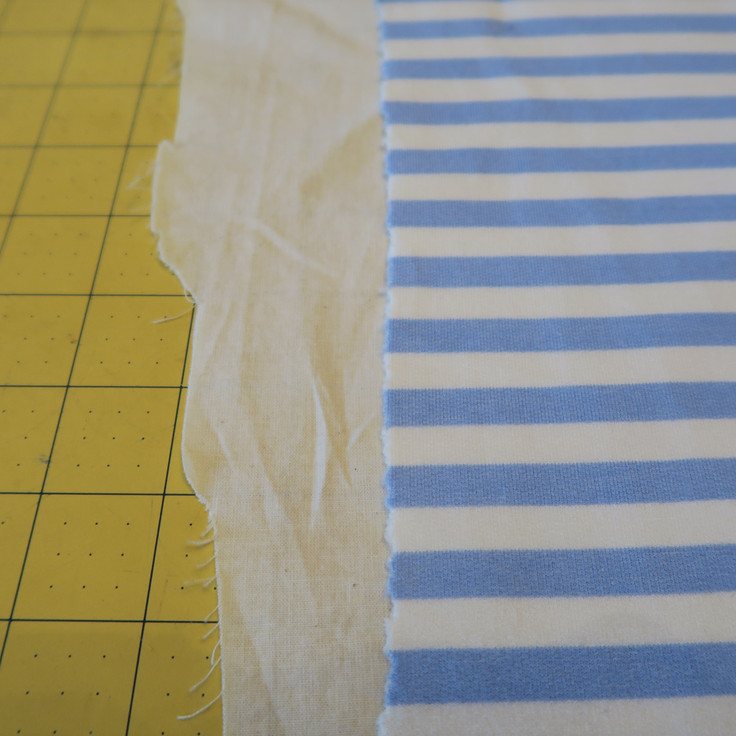
If you cannot see the stripes through the fabric on the wrong side, then you can fold the seam allowance back and pin. As long as everything is perfectly lined up then you can either lay the piece down and re-pin or you can start sewing and fold it back down as you remove pins. Up to you!

I know this list is crazy, but if your fabric is expensive and you want to triple check it will all be ok, then this list will help!
Matching sleeves with stripes is nearly impossible for me! Luckily, this dress does not have any sleeves! If there are sleeves present, all I do are make sure the sleeves are cut the same way, so that they match each other.

Matching bias binding. I don’t know how to match this and didn’t even try! There it is! But I did know that this would possibly be a problem and just decided to let it go. If it really was going to bother me, I could have found binding in the background color or I could possible do single fold bias tape. But I loved it the way it turned out!