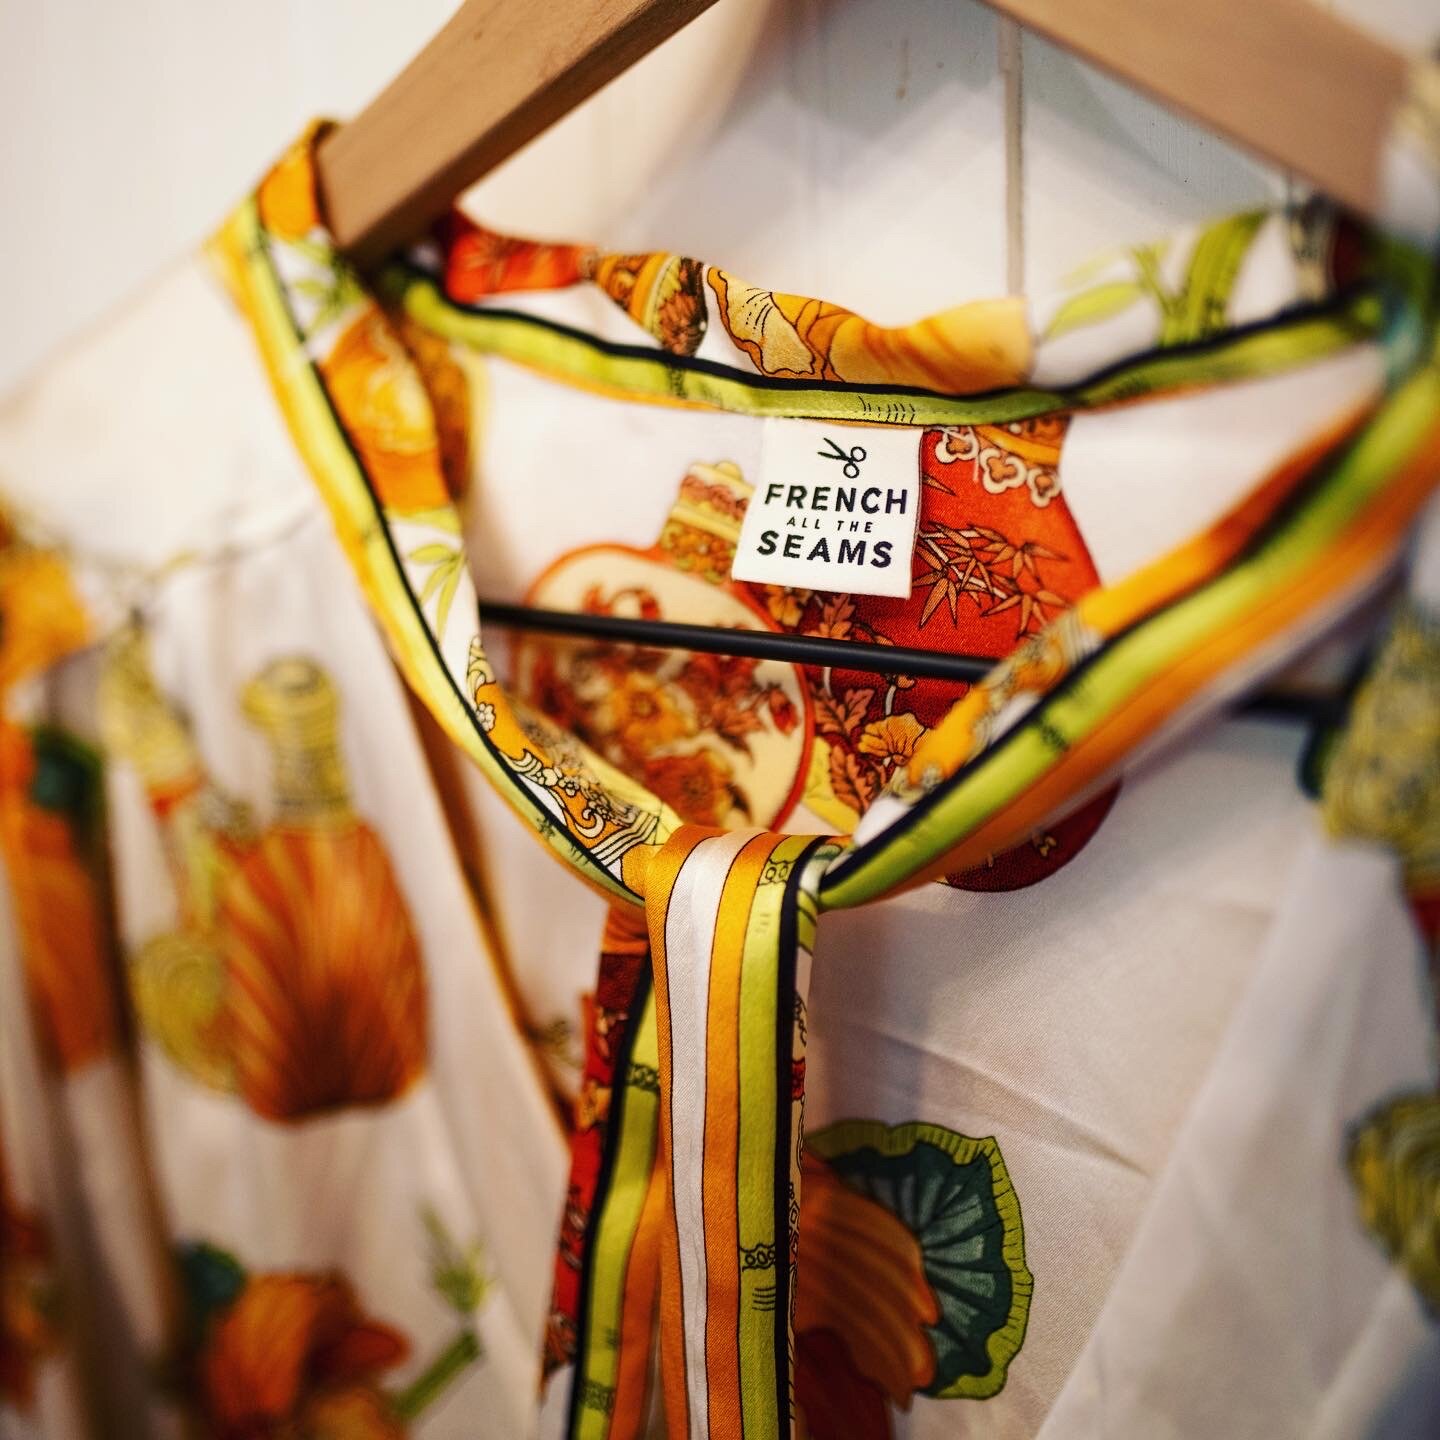
Reina shirt in Silk panel fabric with french seams

This shirt was a complete labor of love! I was so attached to this fabric from Promenade Fabrics that it was a miracle that I took it from it’s hoarded shrine and decided to use it! ! When we went there last May, I browsed several of their printed silks and completely fell in love with this one! I bought this fabric from their physical store which is different from their online store. They have lovely fabric online also!!! This is a paneled silk fabric from Italy and it is divine!

The pattern is the Reina shirt from Pauline Alice. She has lovely French patterns in English! I have several pointers for working with this fabric that I would love to share! These include, needle choice, turning tiny loops, and French seams!
I briefly discuss:
Hand washing your fabric
Needle choice
Using paneled fabric
Border print
Loop turning
Pattern review
Hand washing: A note on hand washing silk. I gently placed this fabric in my washer and used the gentle cycle with low spin. There was nothing else in the washer that could catch on my silk. You can also put it in a washable garment bag that you would use for lingerie. I hung the silk to dry over a ladder in our closet and then made sure it was hanging on grain. It came out beautifully and just needed a very light dry press to get out any wrinkles. I set my iron to a 2, which is very low and meant for silk. You can also use a press cloth.

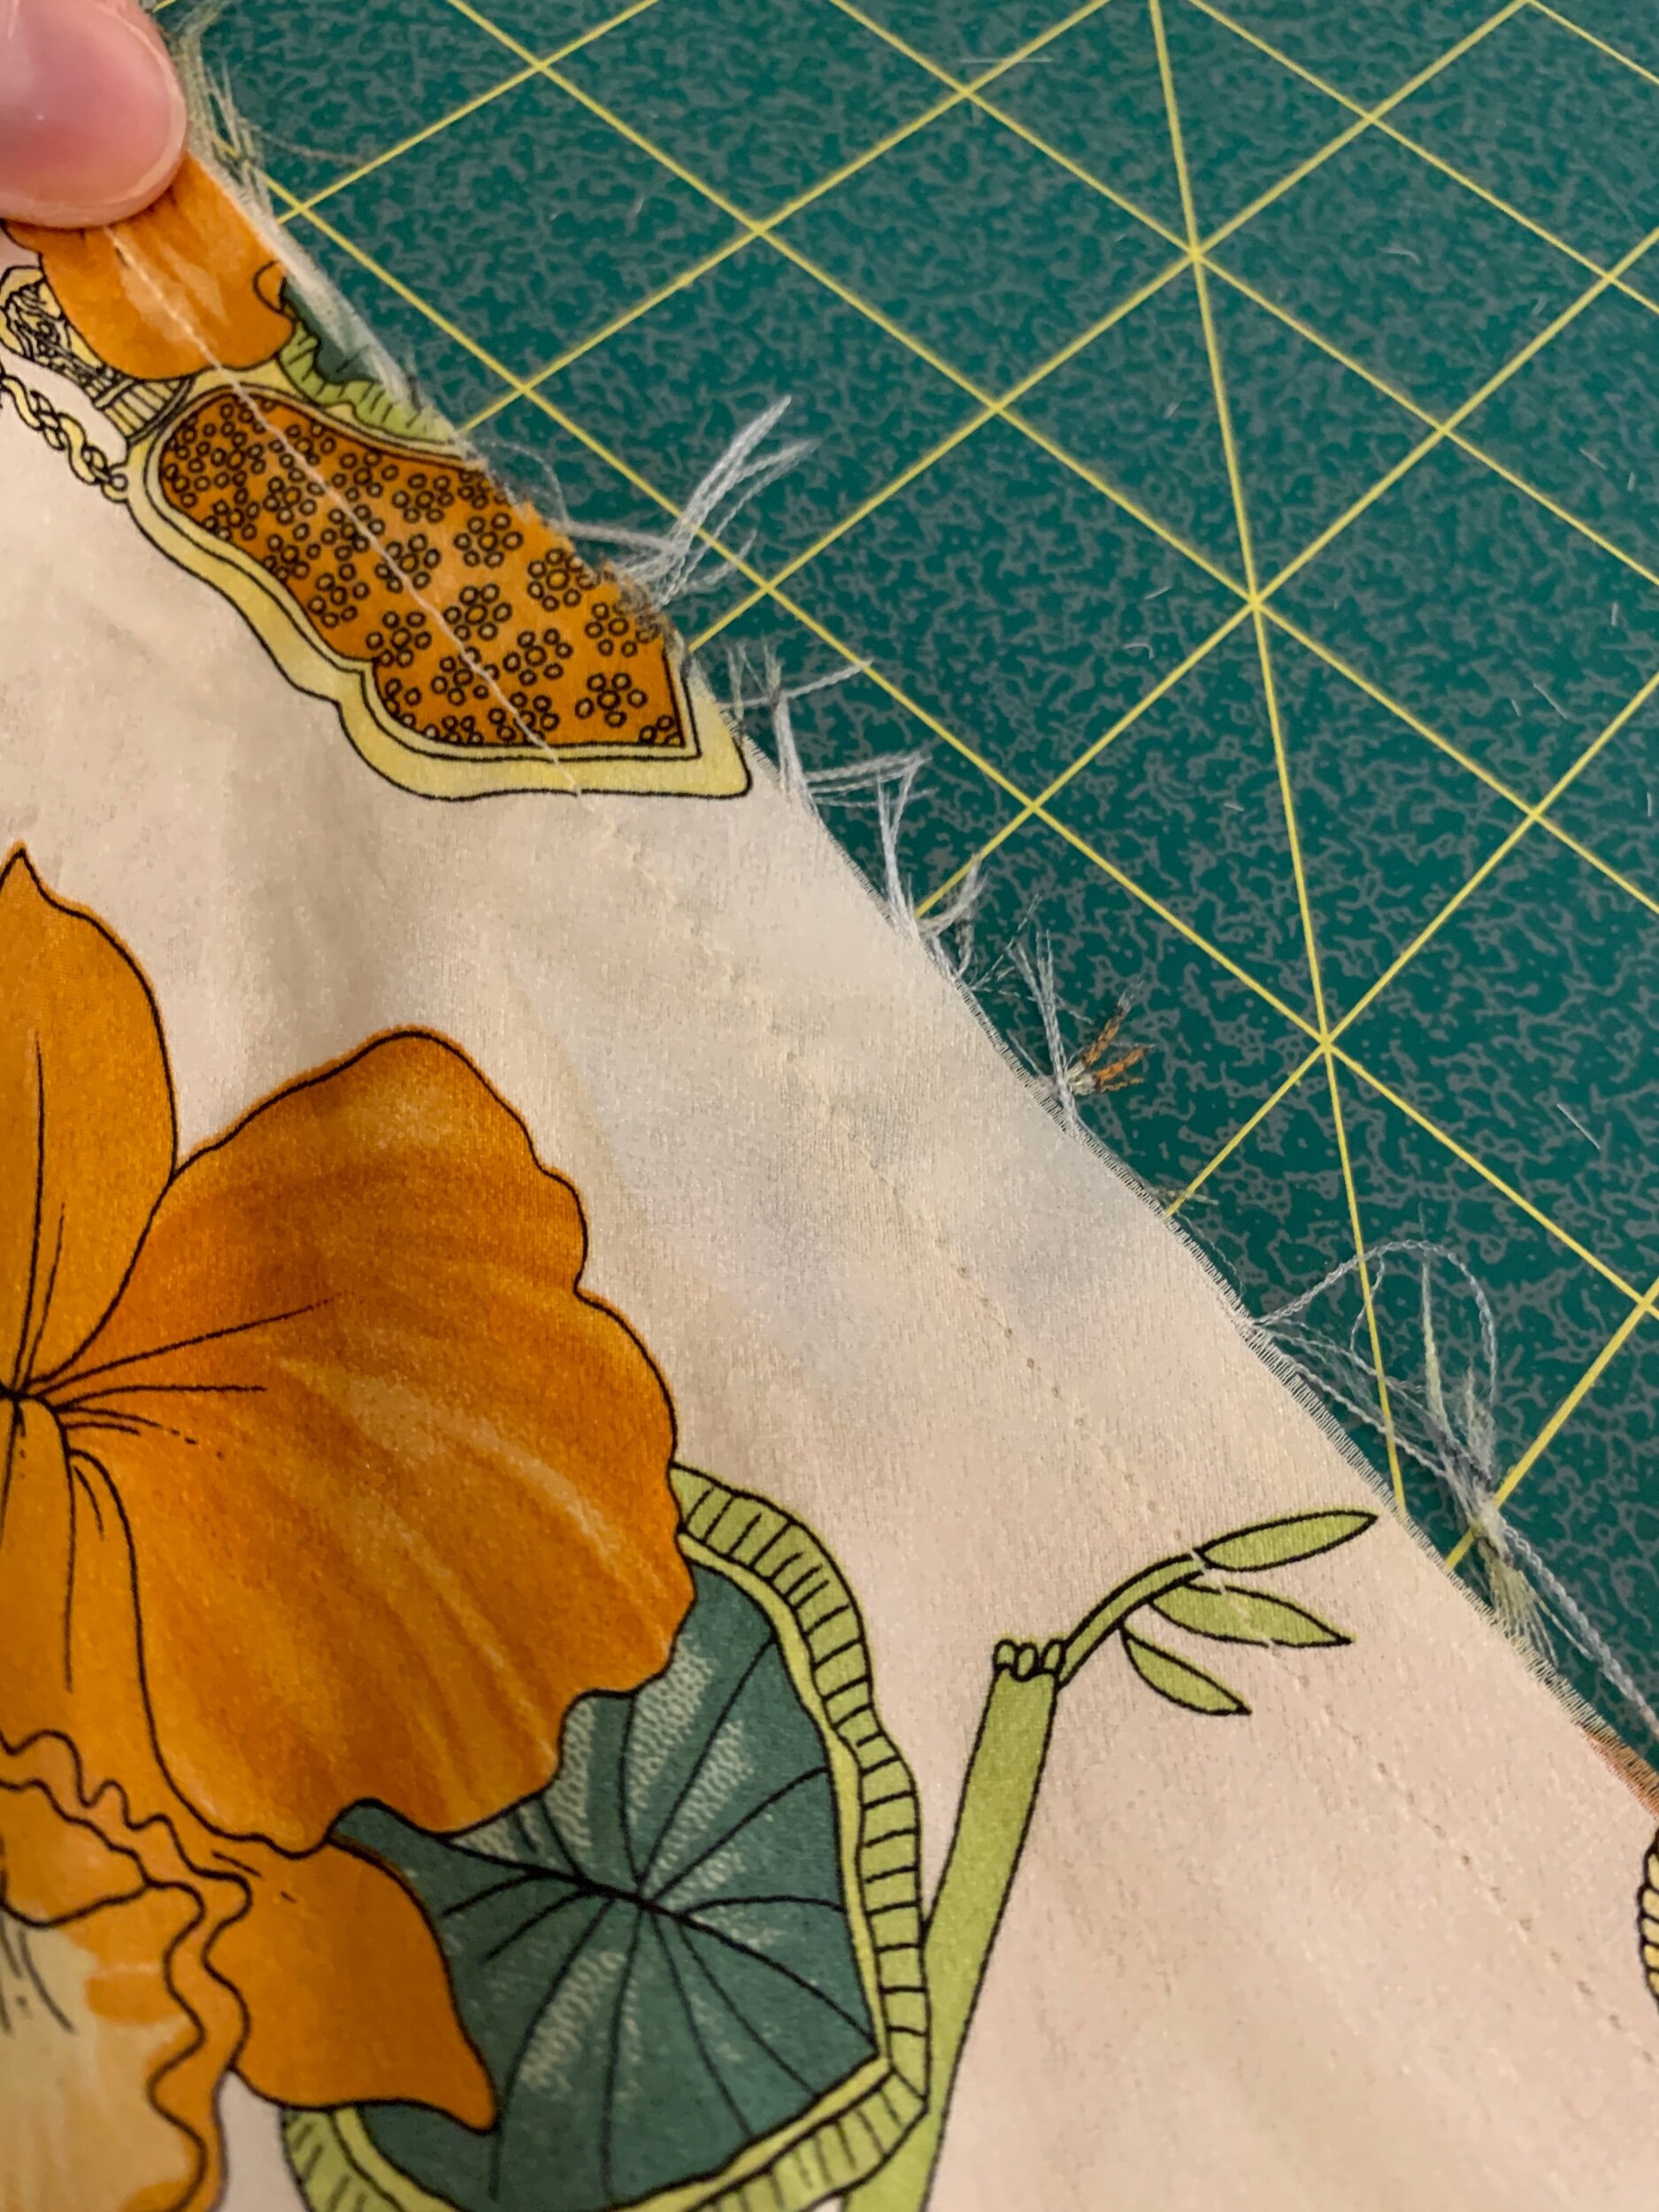
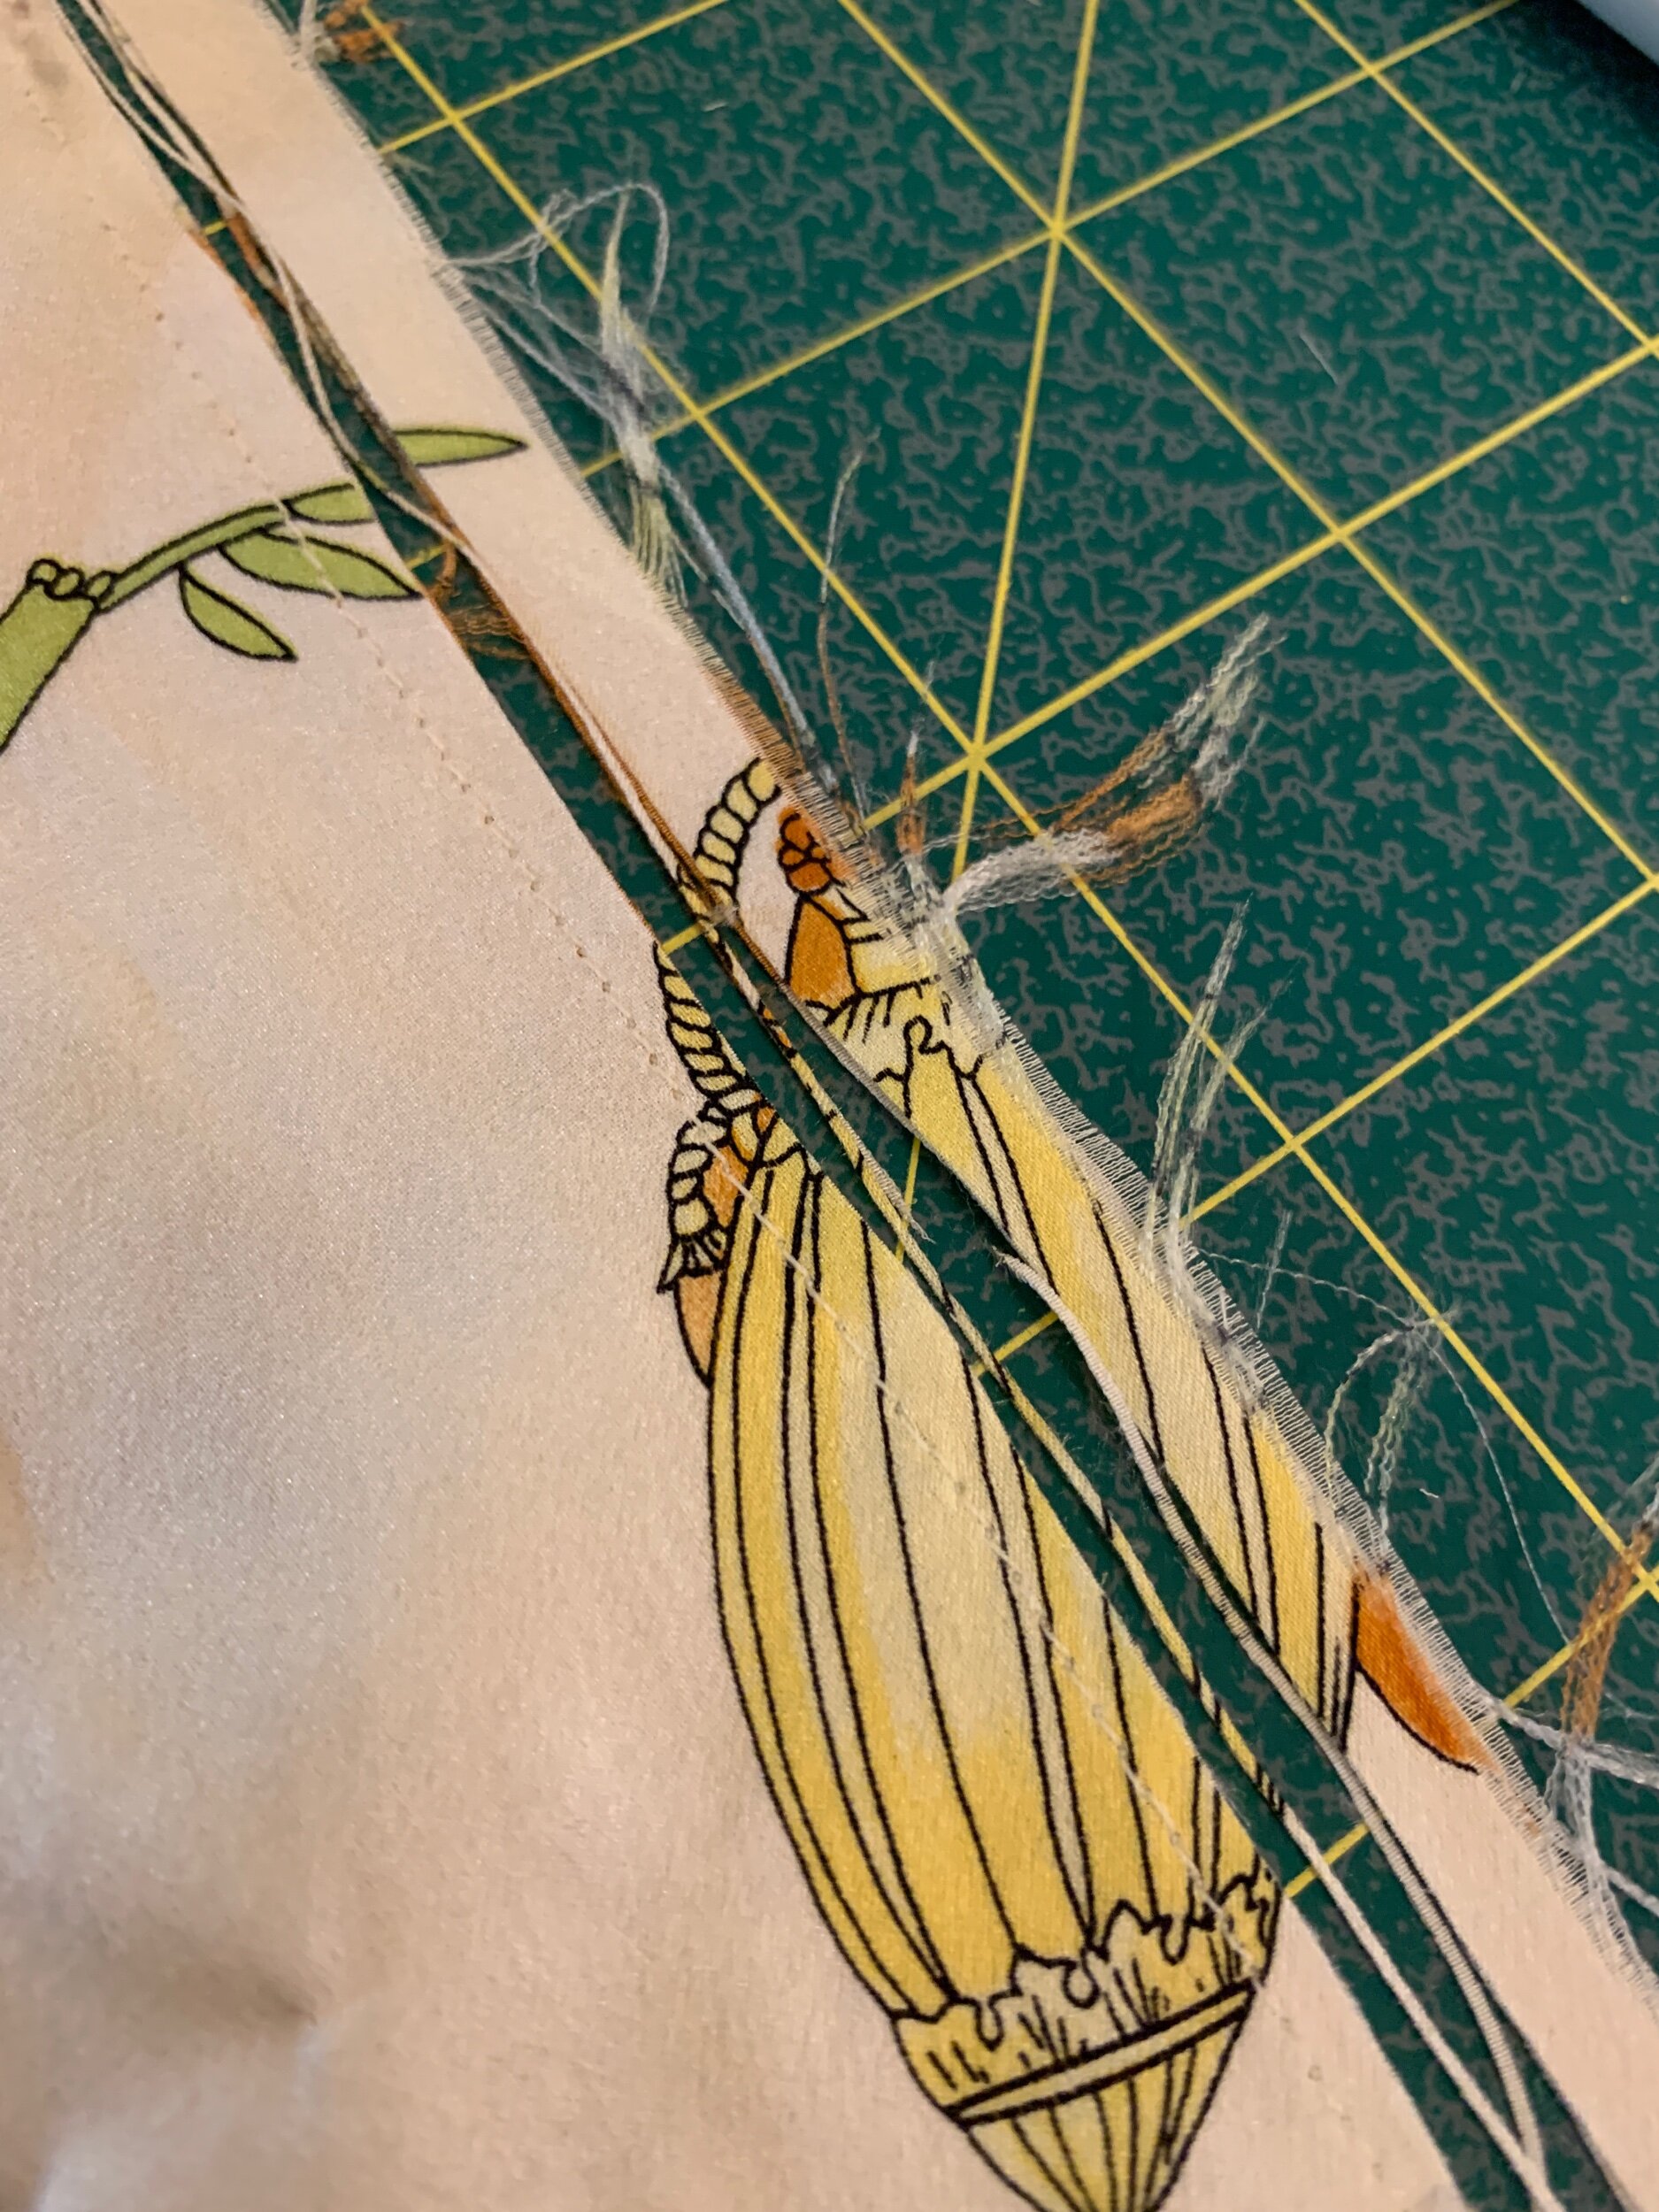
Needle Choice: To start with, I used a “sharp” needle that was a 70/10 size as this was delicate fabric. However, silk can be very tightly woven, so I went ahead and opted for a “sharp” needle.
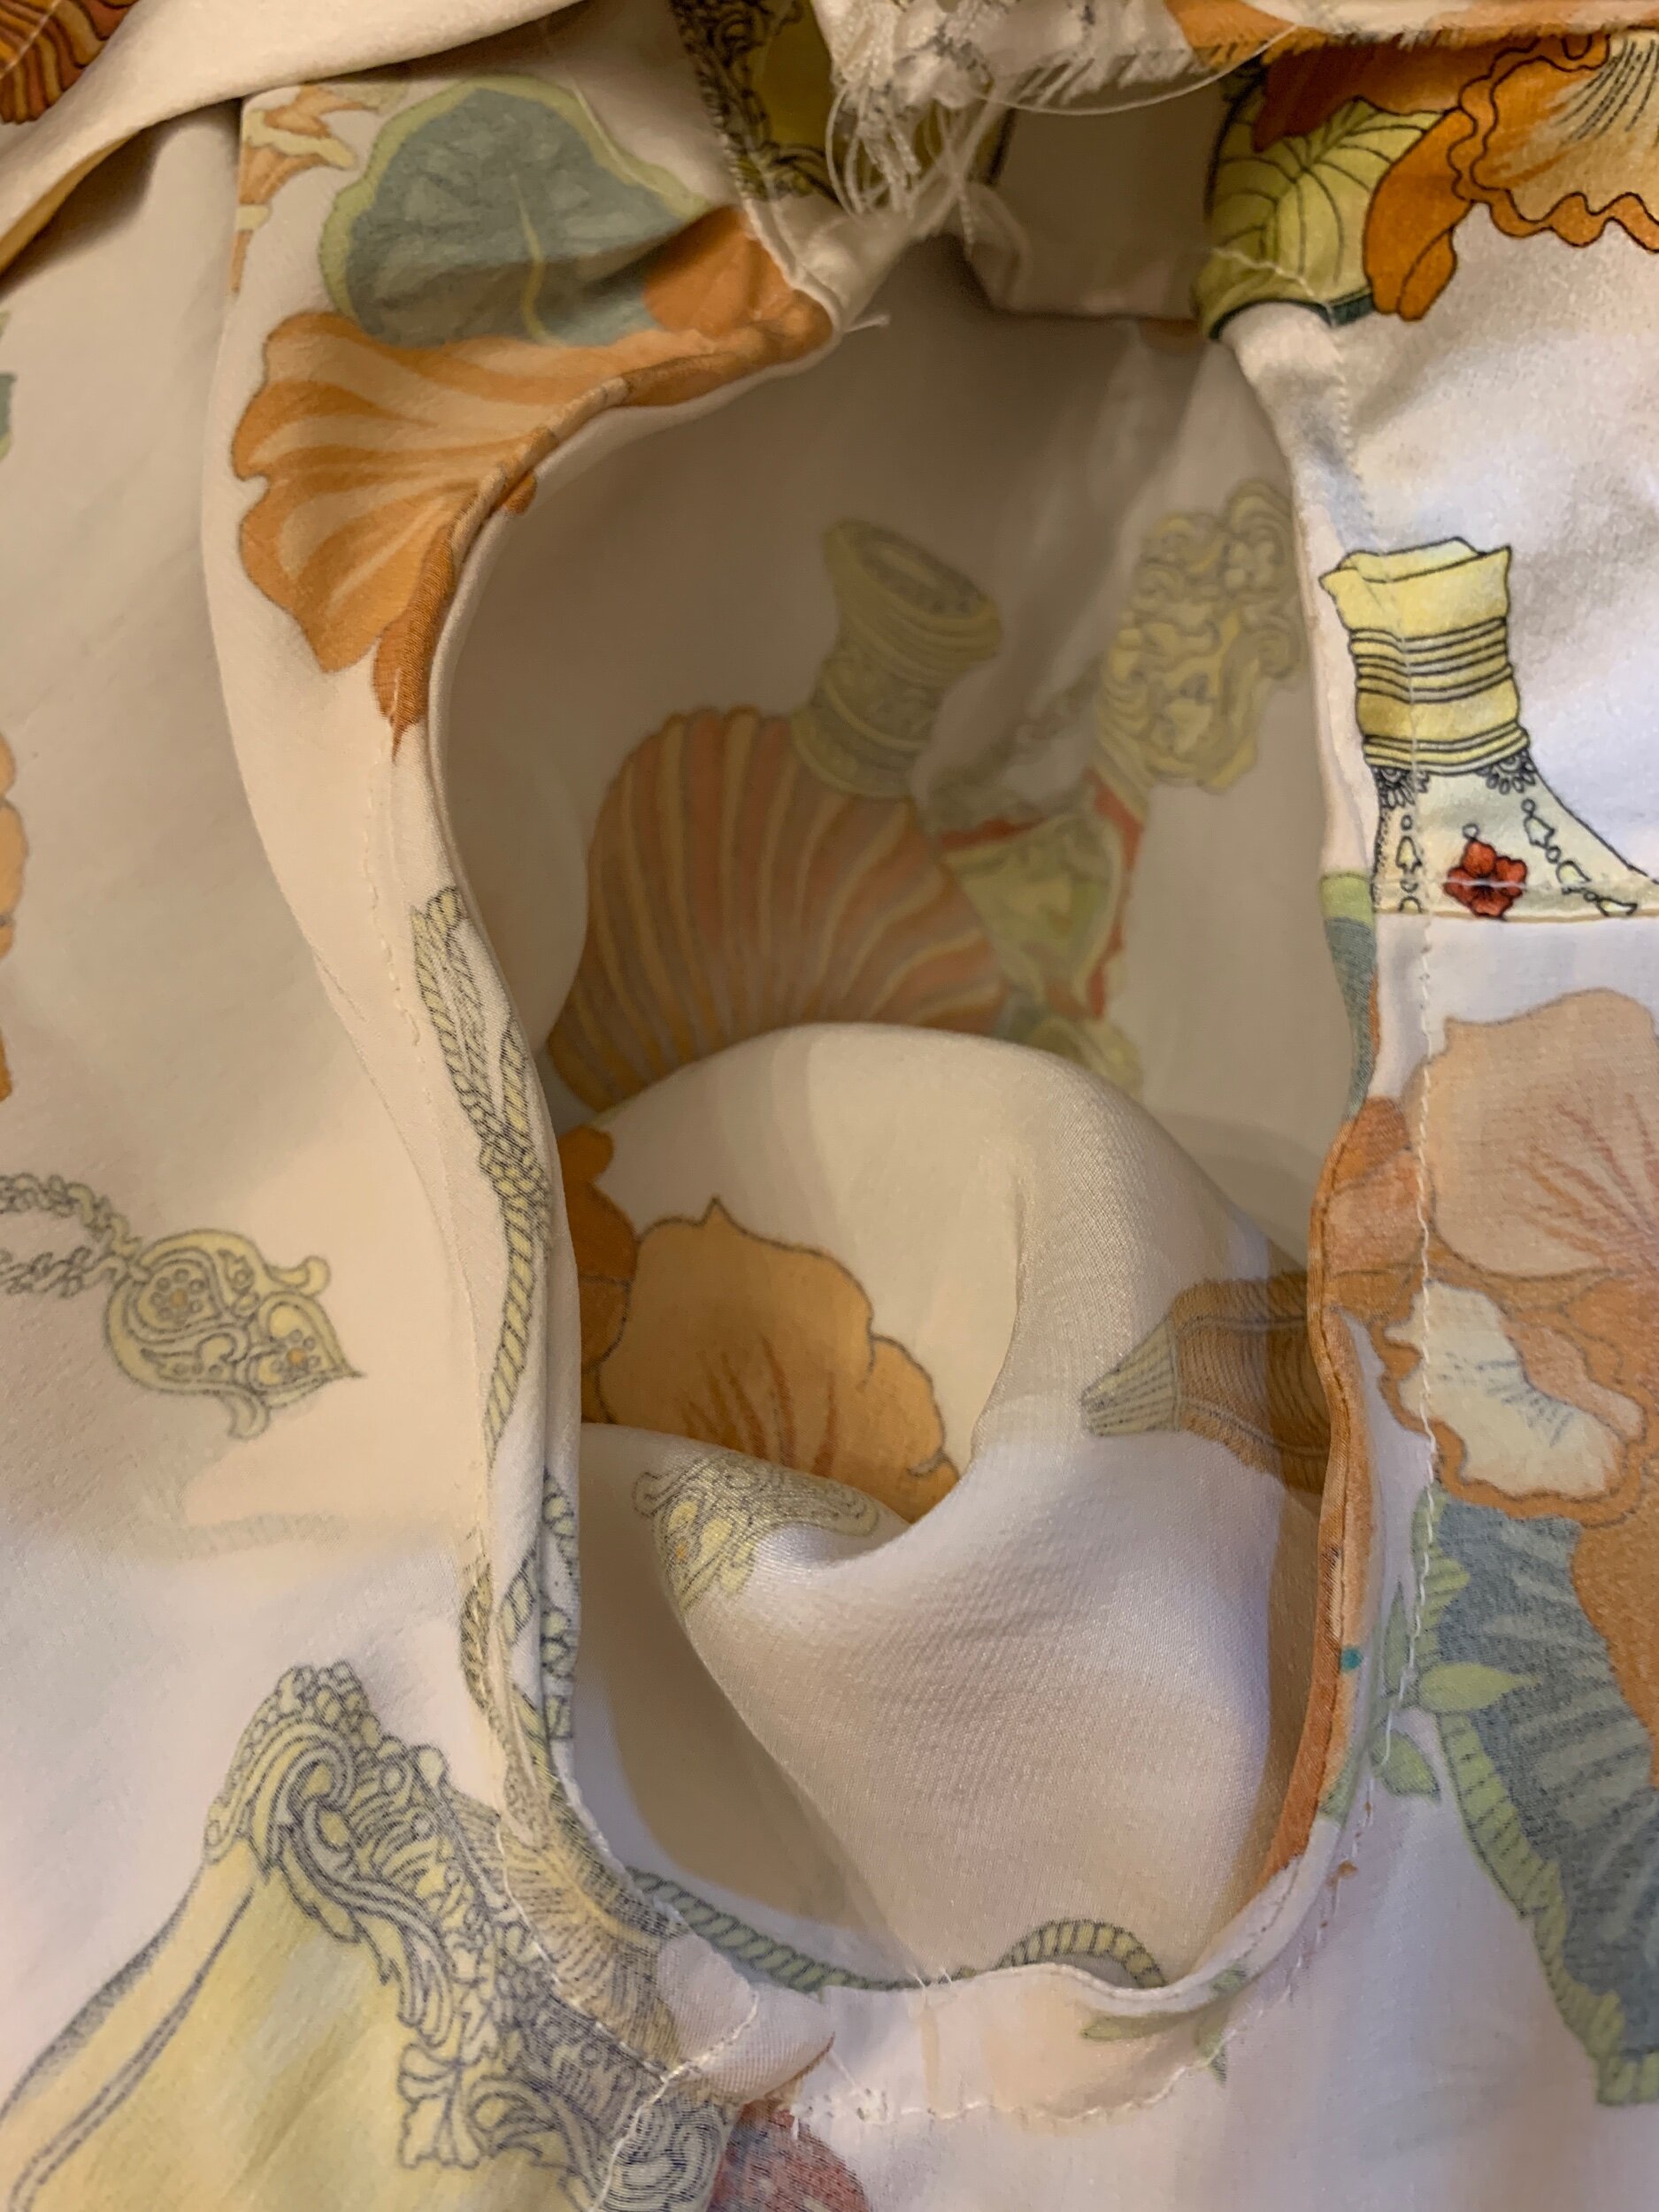
Using Paneled Fabric: This was interesting and very new for me. I had never worked with a fabric like this before. I bought 3 panels, so I had several to work with. Of note, at the end of each panel (about 1 yard vertically) the print stops and starts again and this part cannot be used on your garment. So you had to fit your pieces for the pattern in the middle of each panel.

Border Print: There was also a border on each side. I decided I would save this lovely detail for the ties! I cut the ties with the pattern piece placed vertically and they turned out beautifully!

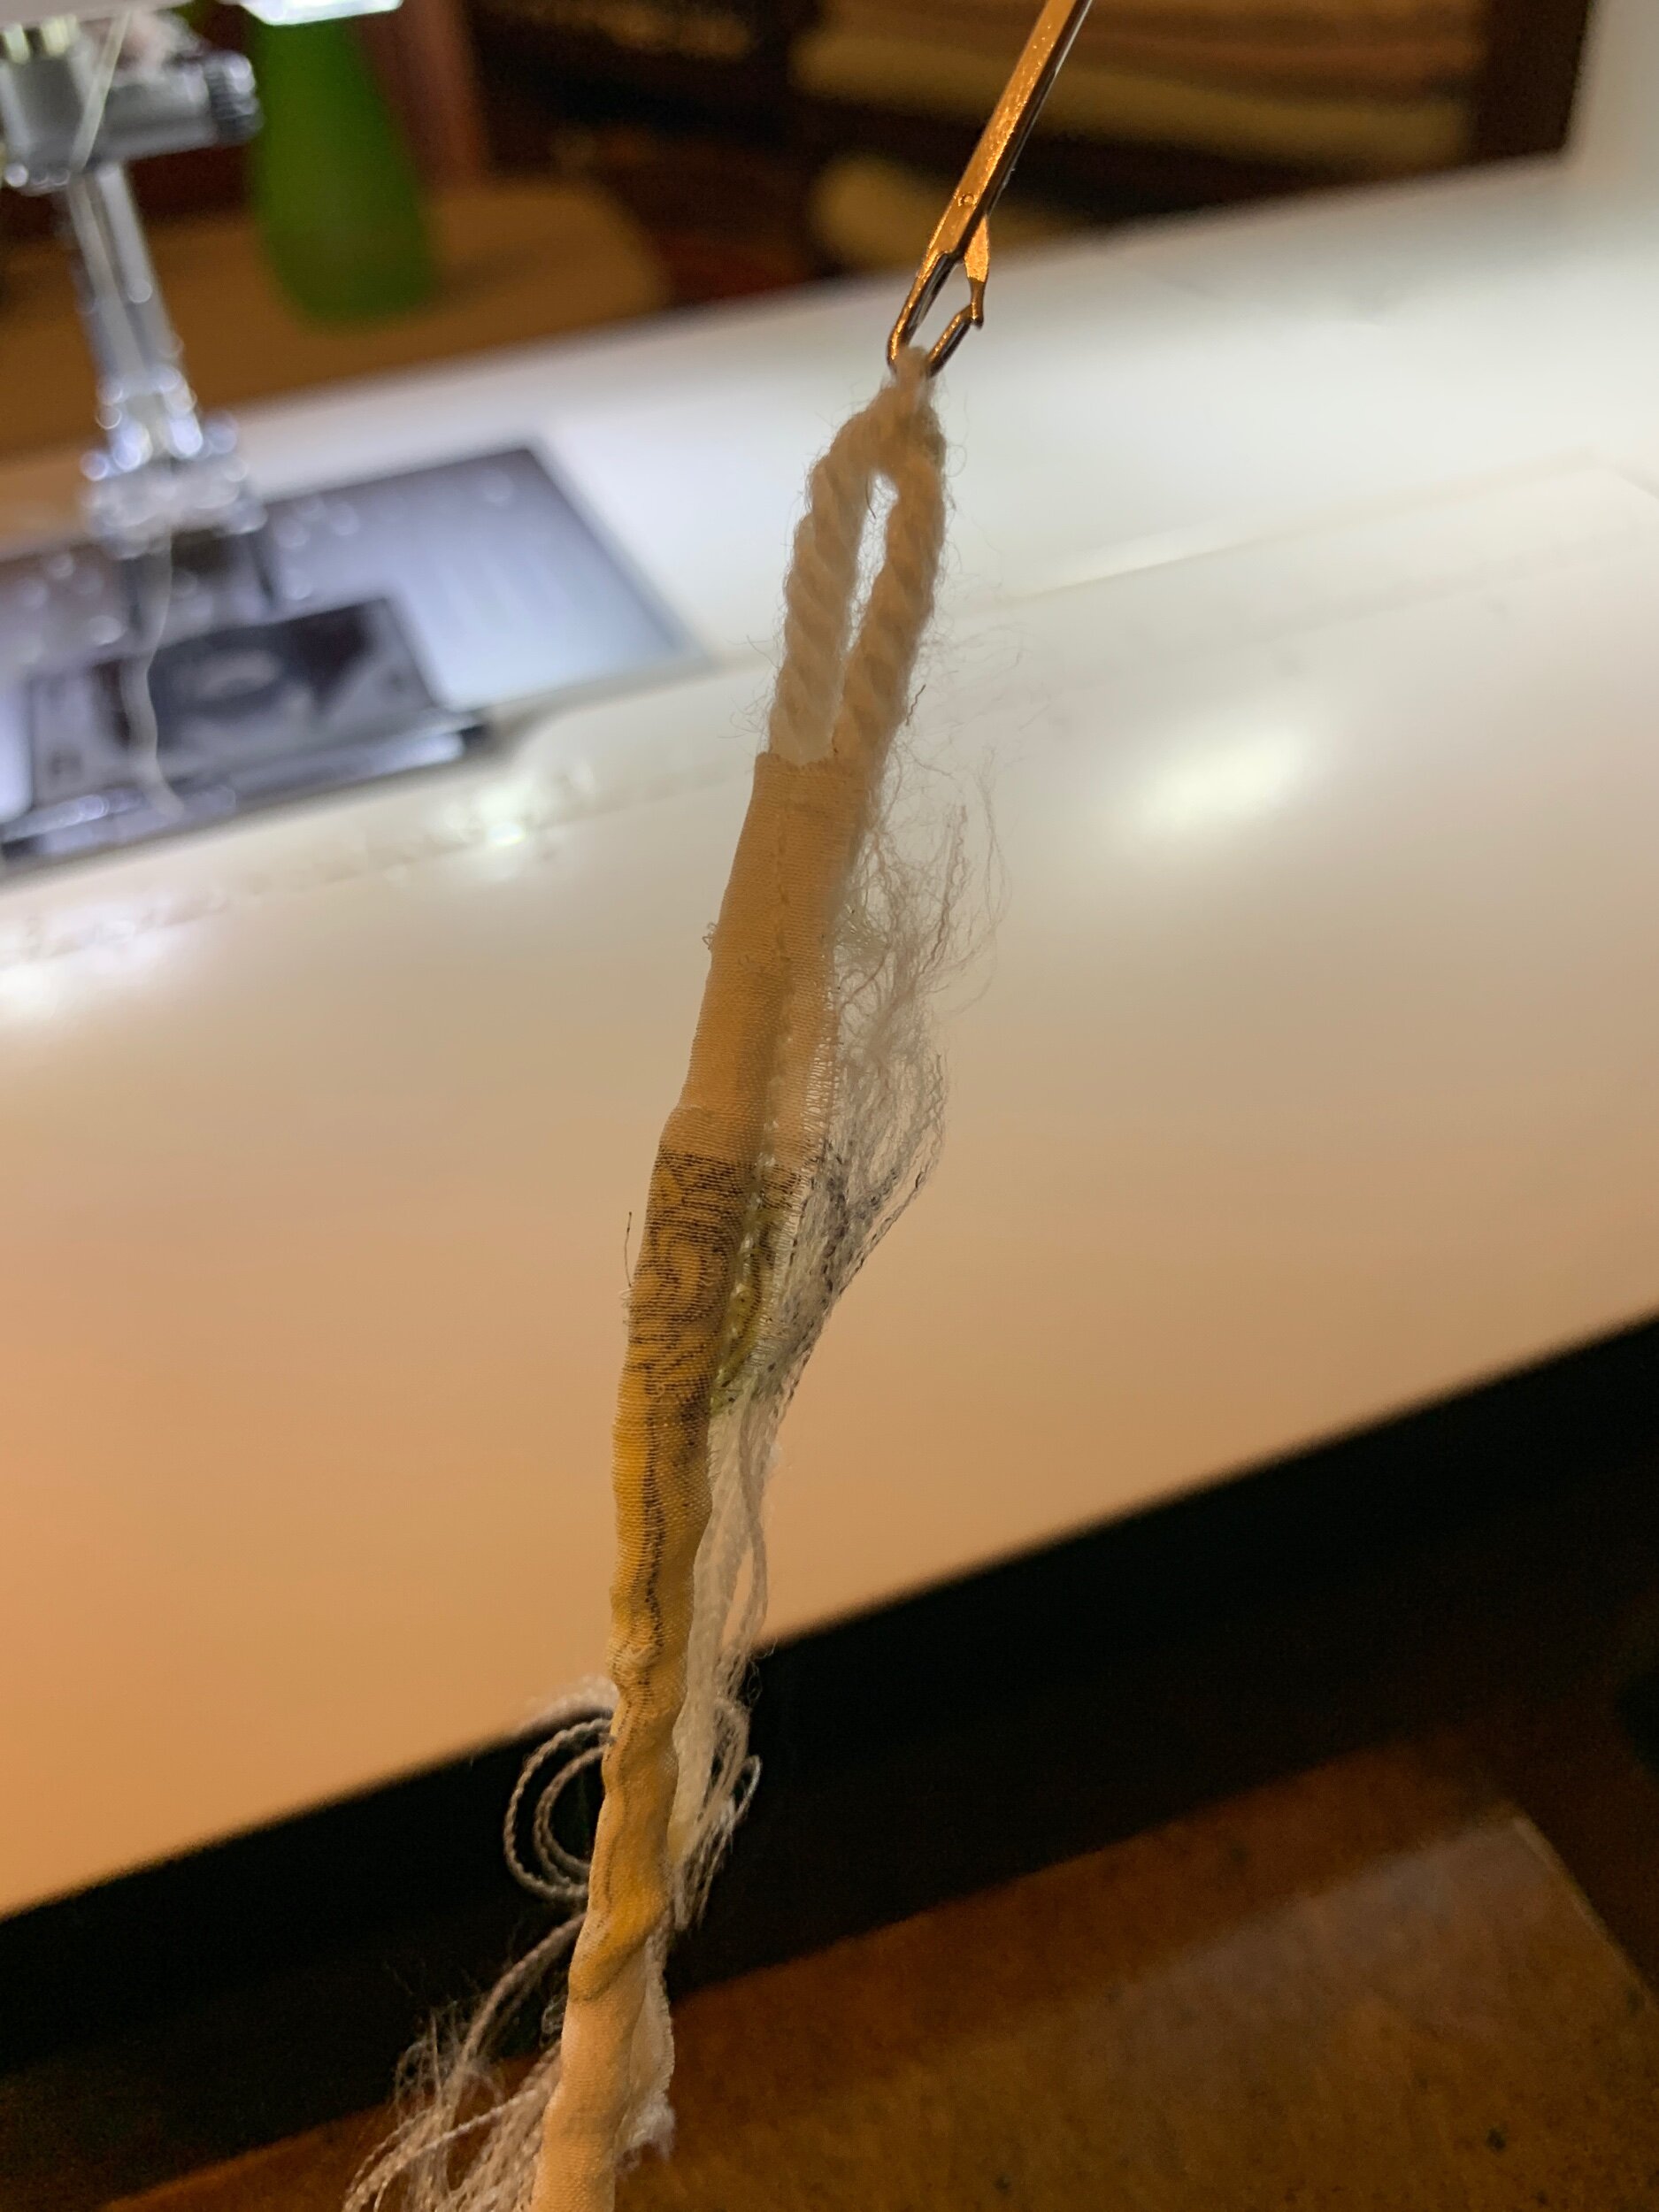
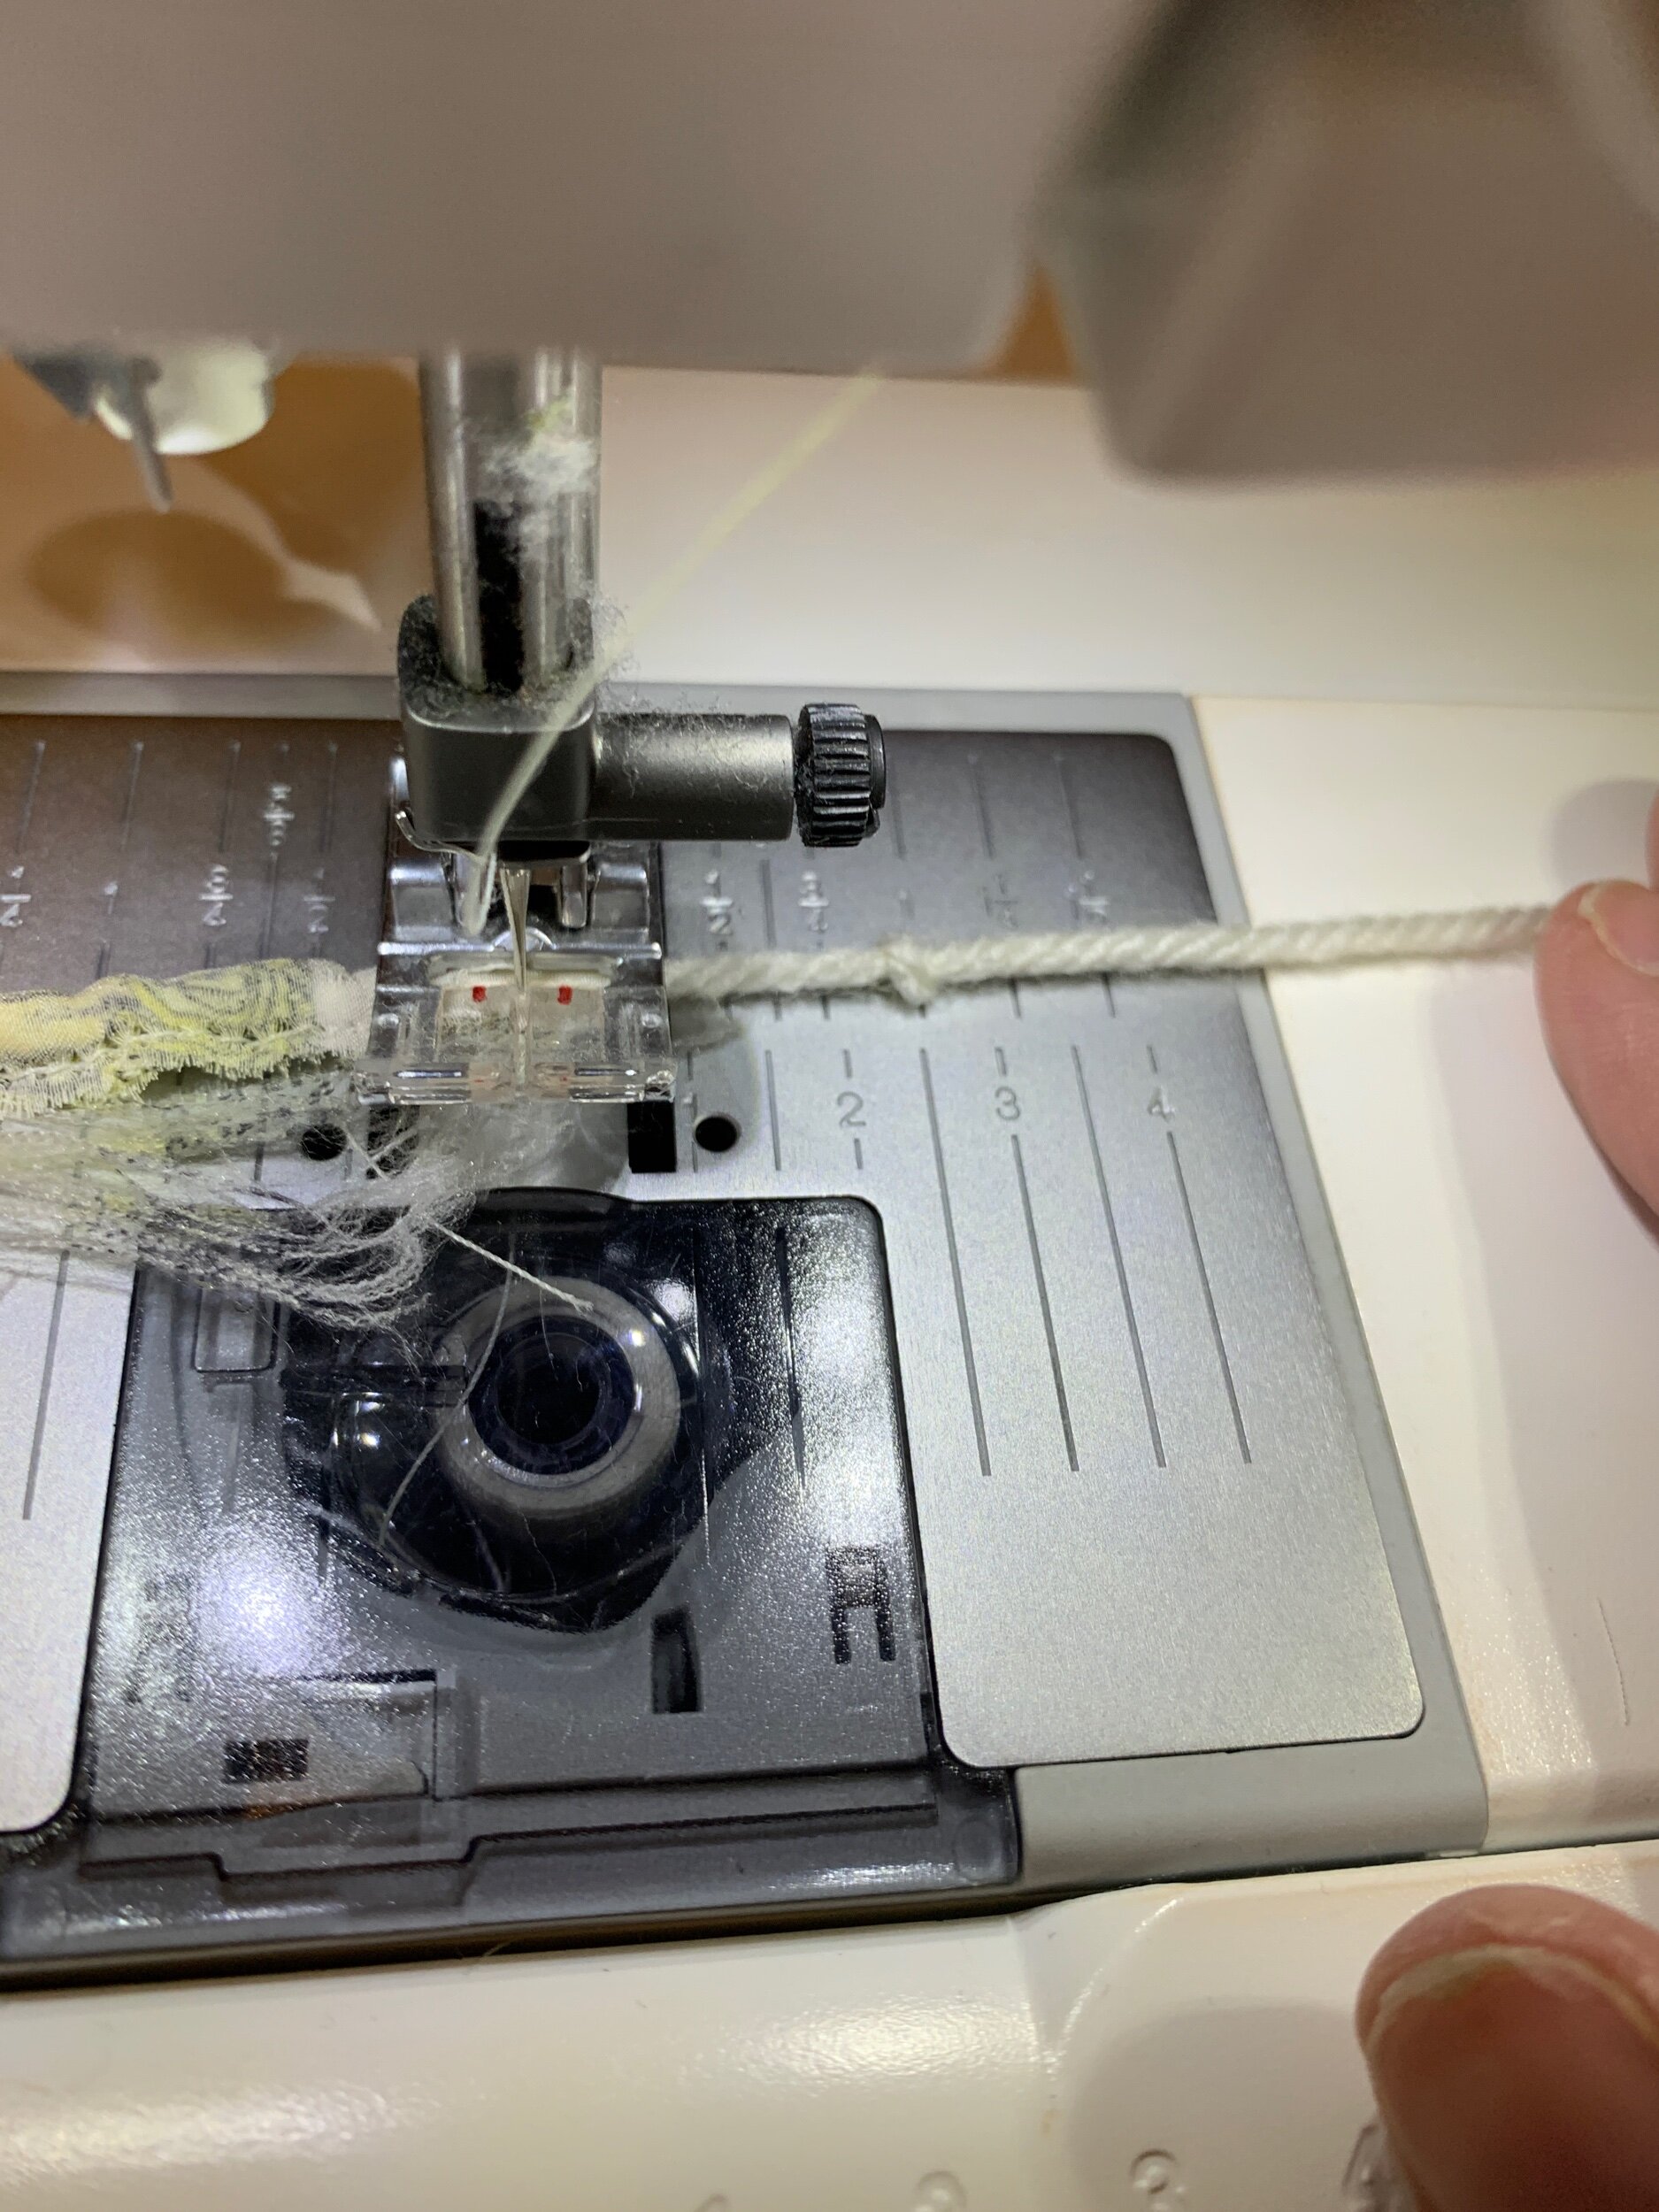
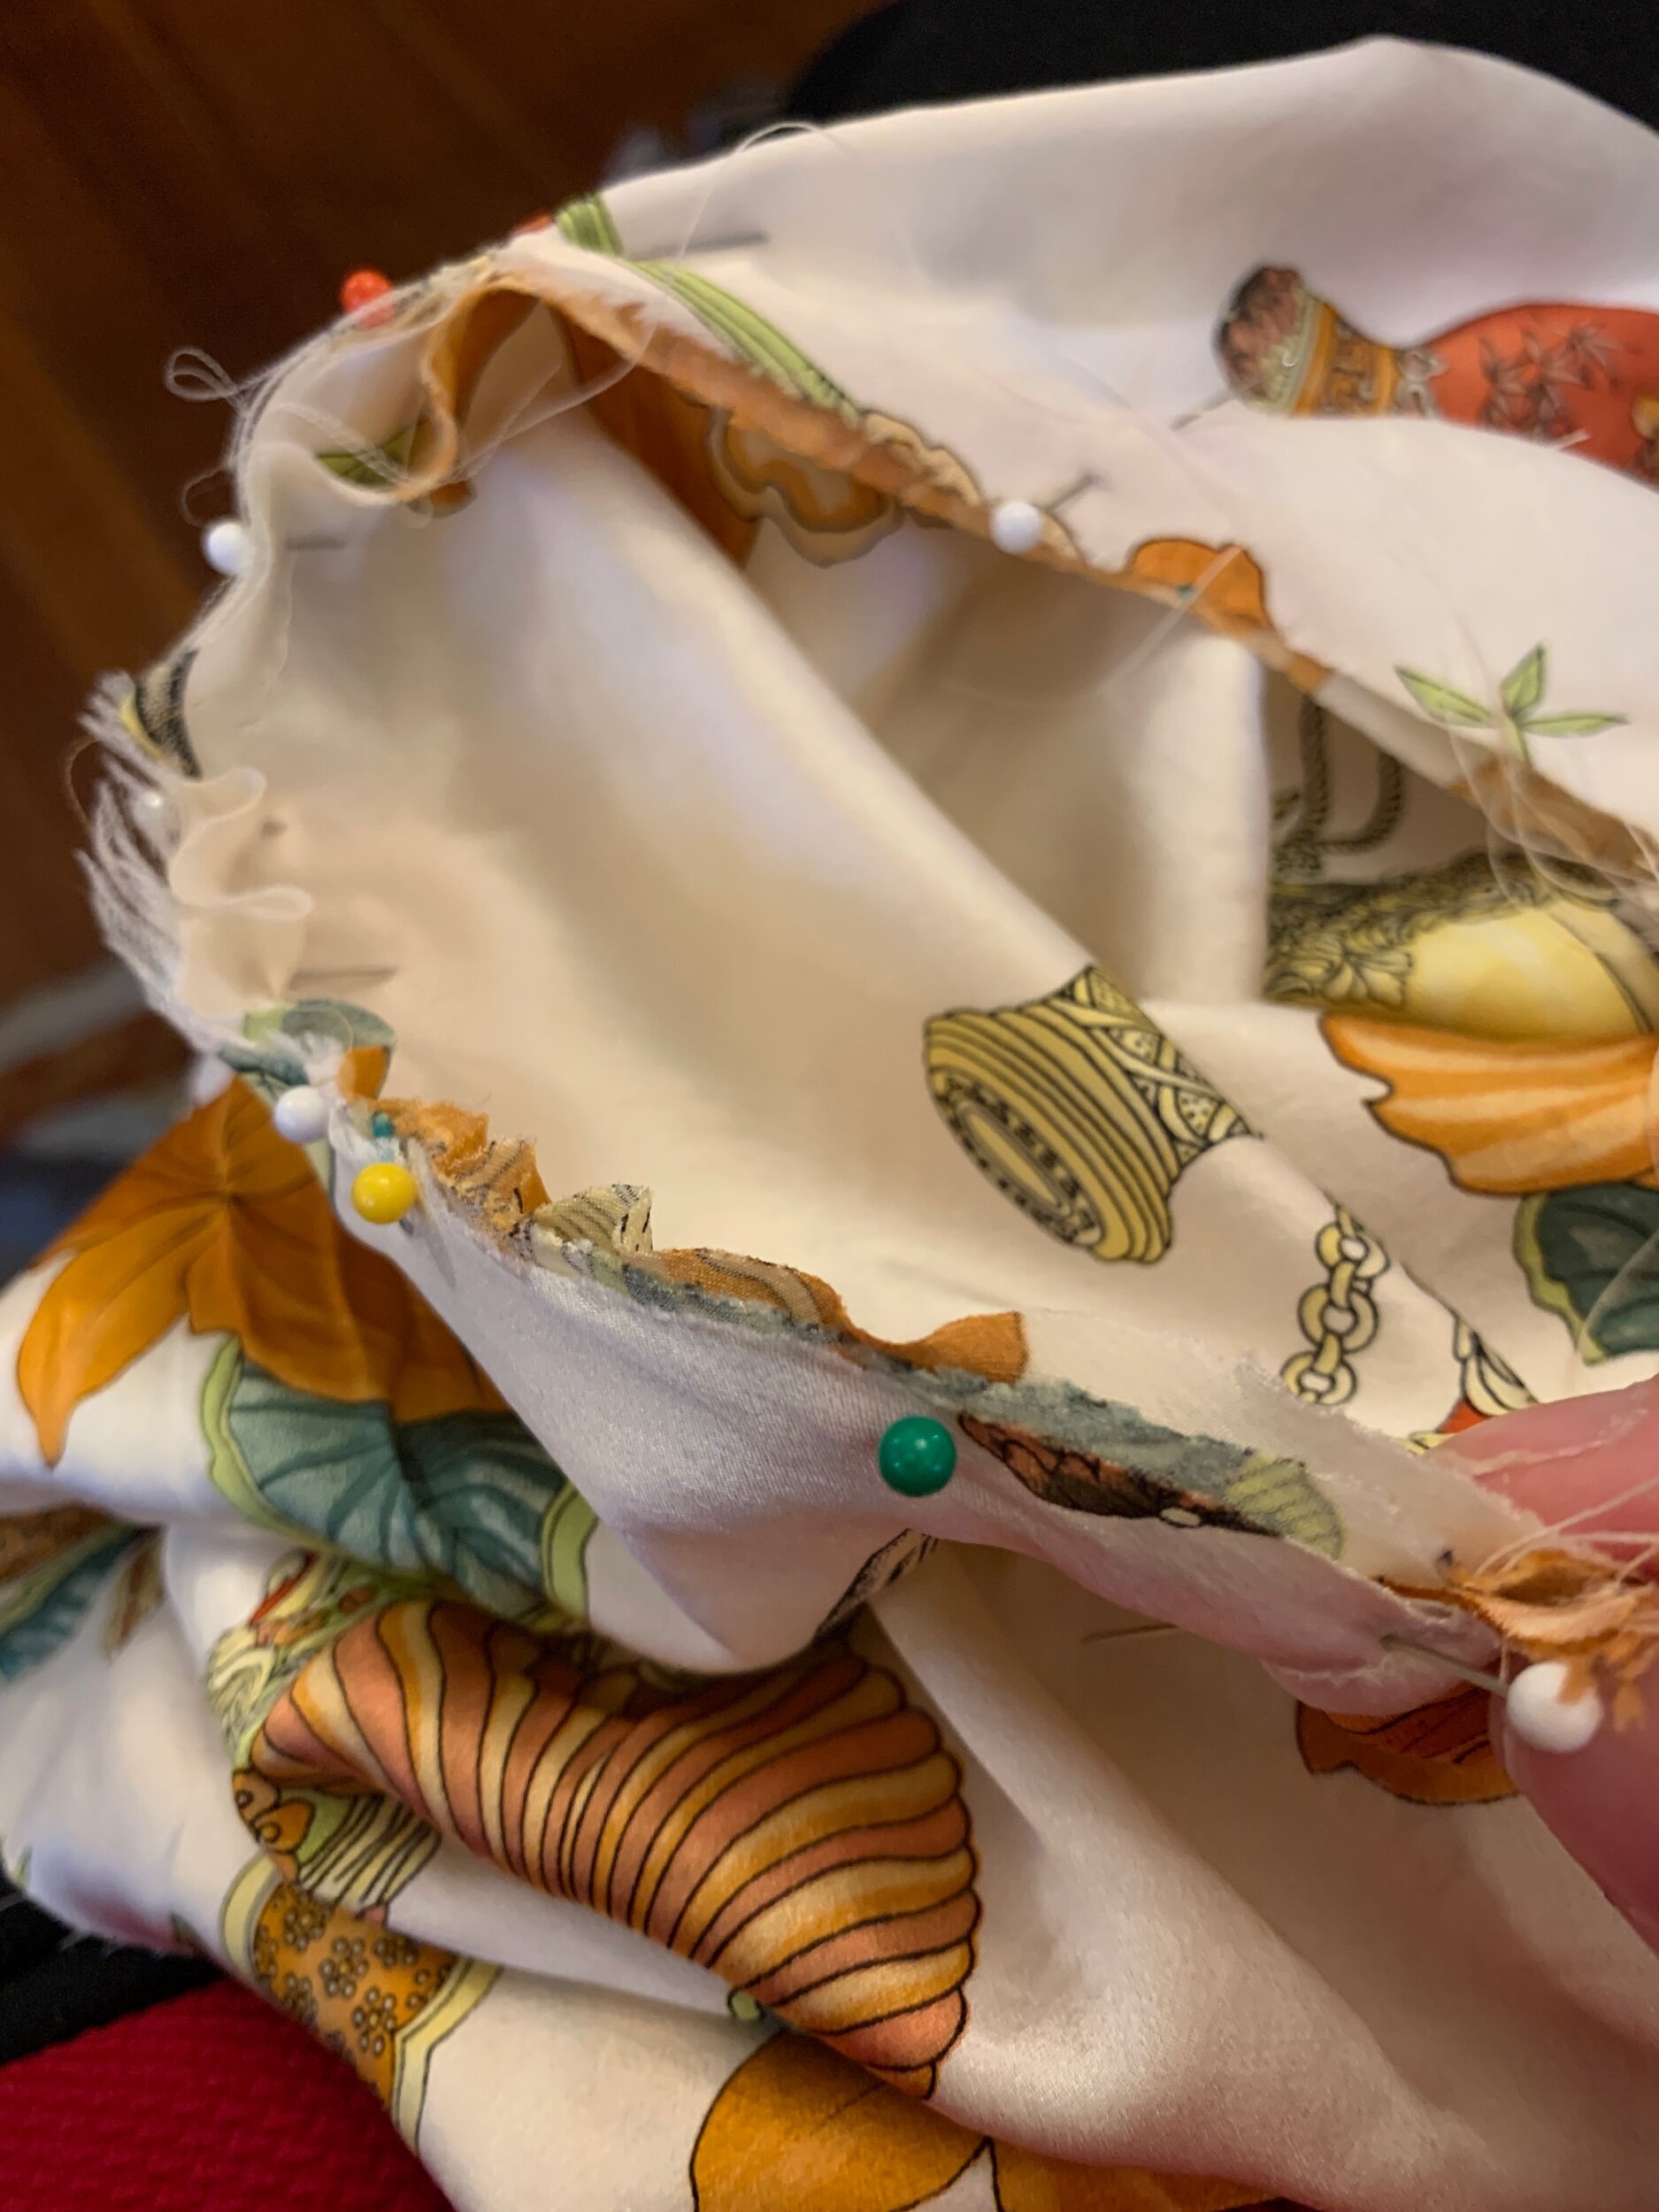
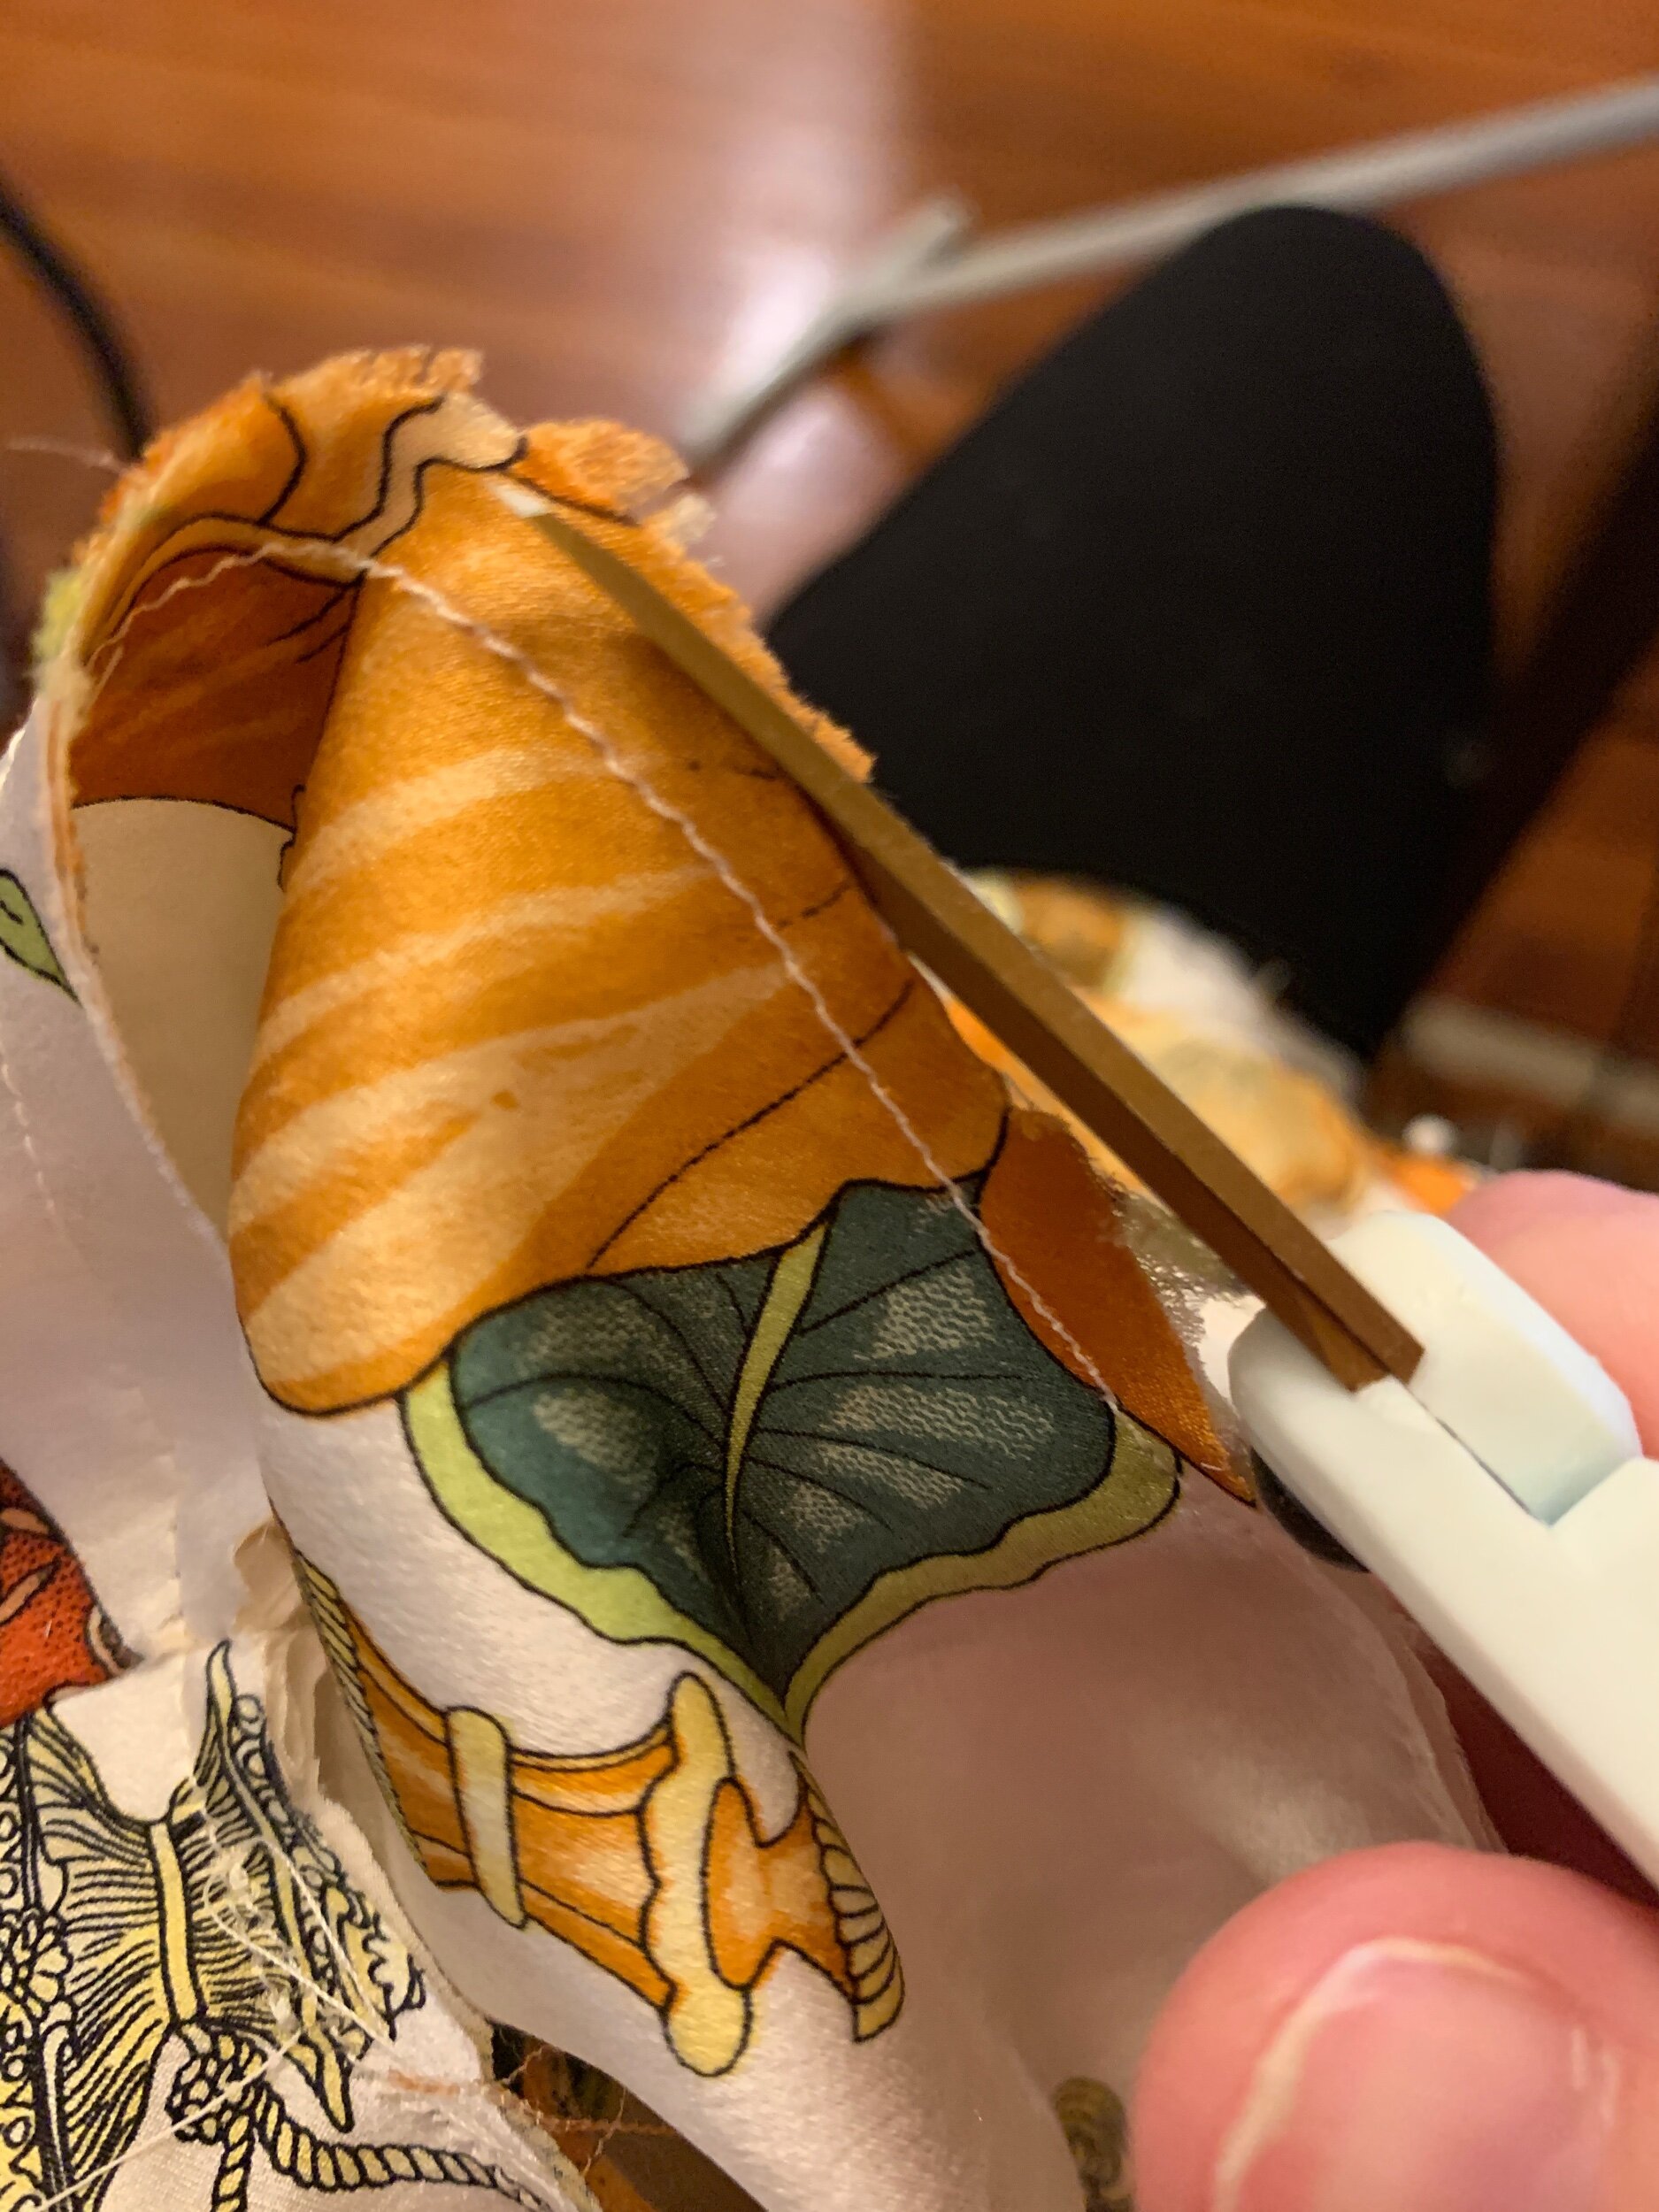
Loop turning: It is necessary to turn super tiny loops for this pattern! You will need them for the button loops. There are several methods for loop turning and after trying them all, I decided the following was the only way!

Grab a piece of yarn and sew it to the edge of the tie very well so it won’t break or come out. Then, sew the tie right sides together with the yarn inside! This shouldn’t be very hard and you should be able to accomplish this. If the bump is bothering your pressor foot as you sew along the length of the tie, then you can always try to pull the yarn through the tie on the inside and sew it down on the end after you have already sewn the tie right sides together. You can always use a piping foot as well to facilitate you. I did not put my yarn in until my loop was already closed along the long edge. I actually used my skinny loop turner and pushed it through (unattached to anything), then came out and grabbed the yarn and pulled it through to the other side, then sewed it down. Then you gently pull on the yarn and help your tie start to turn right side out. It will be slow and steady and you cannot pull too hard because your yarn could break. Just try to glide it through to the right side!
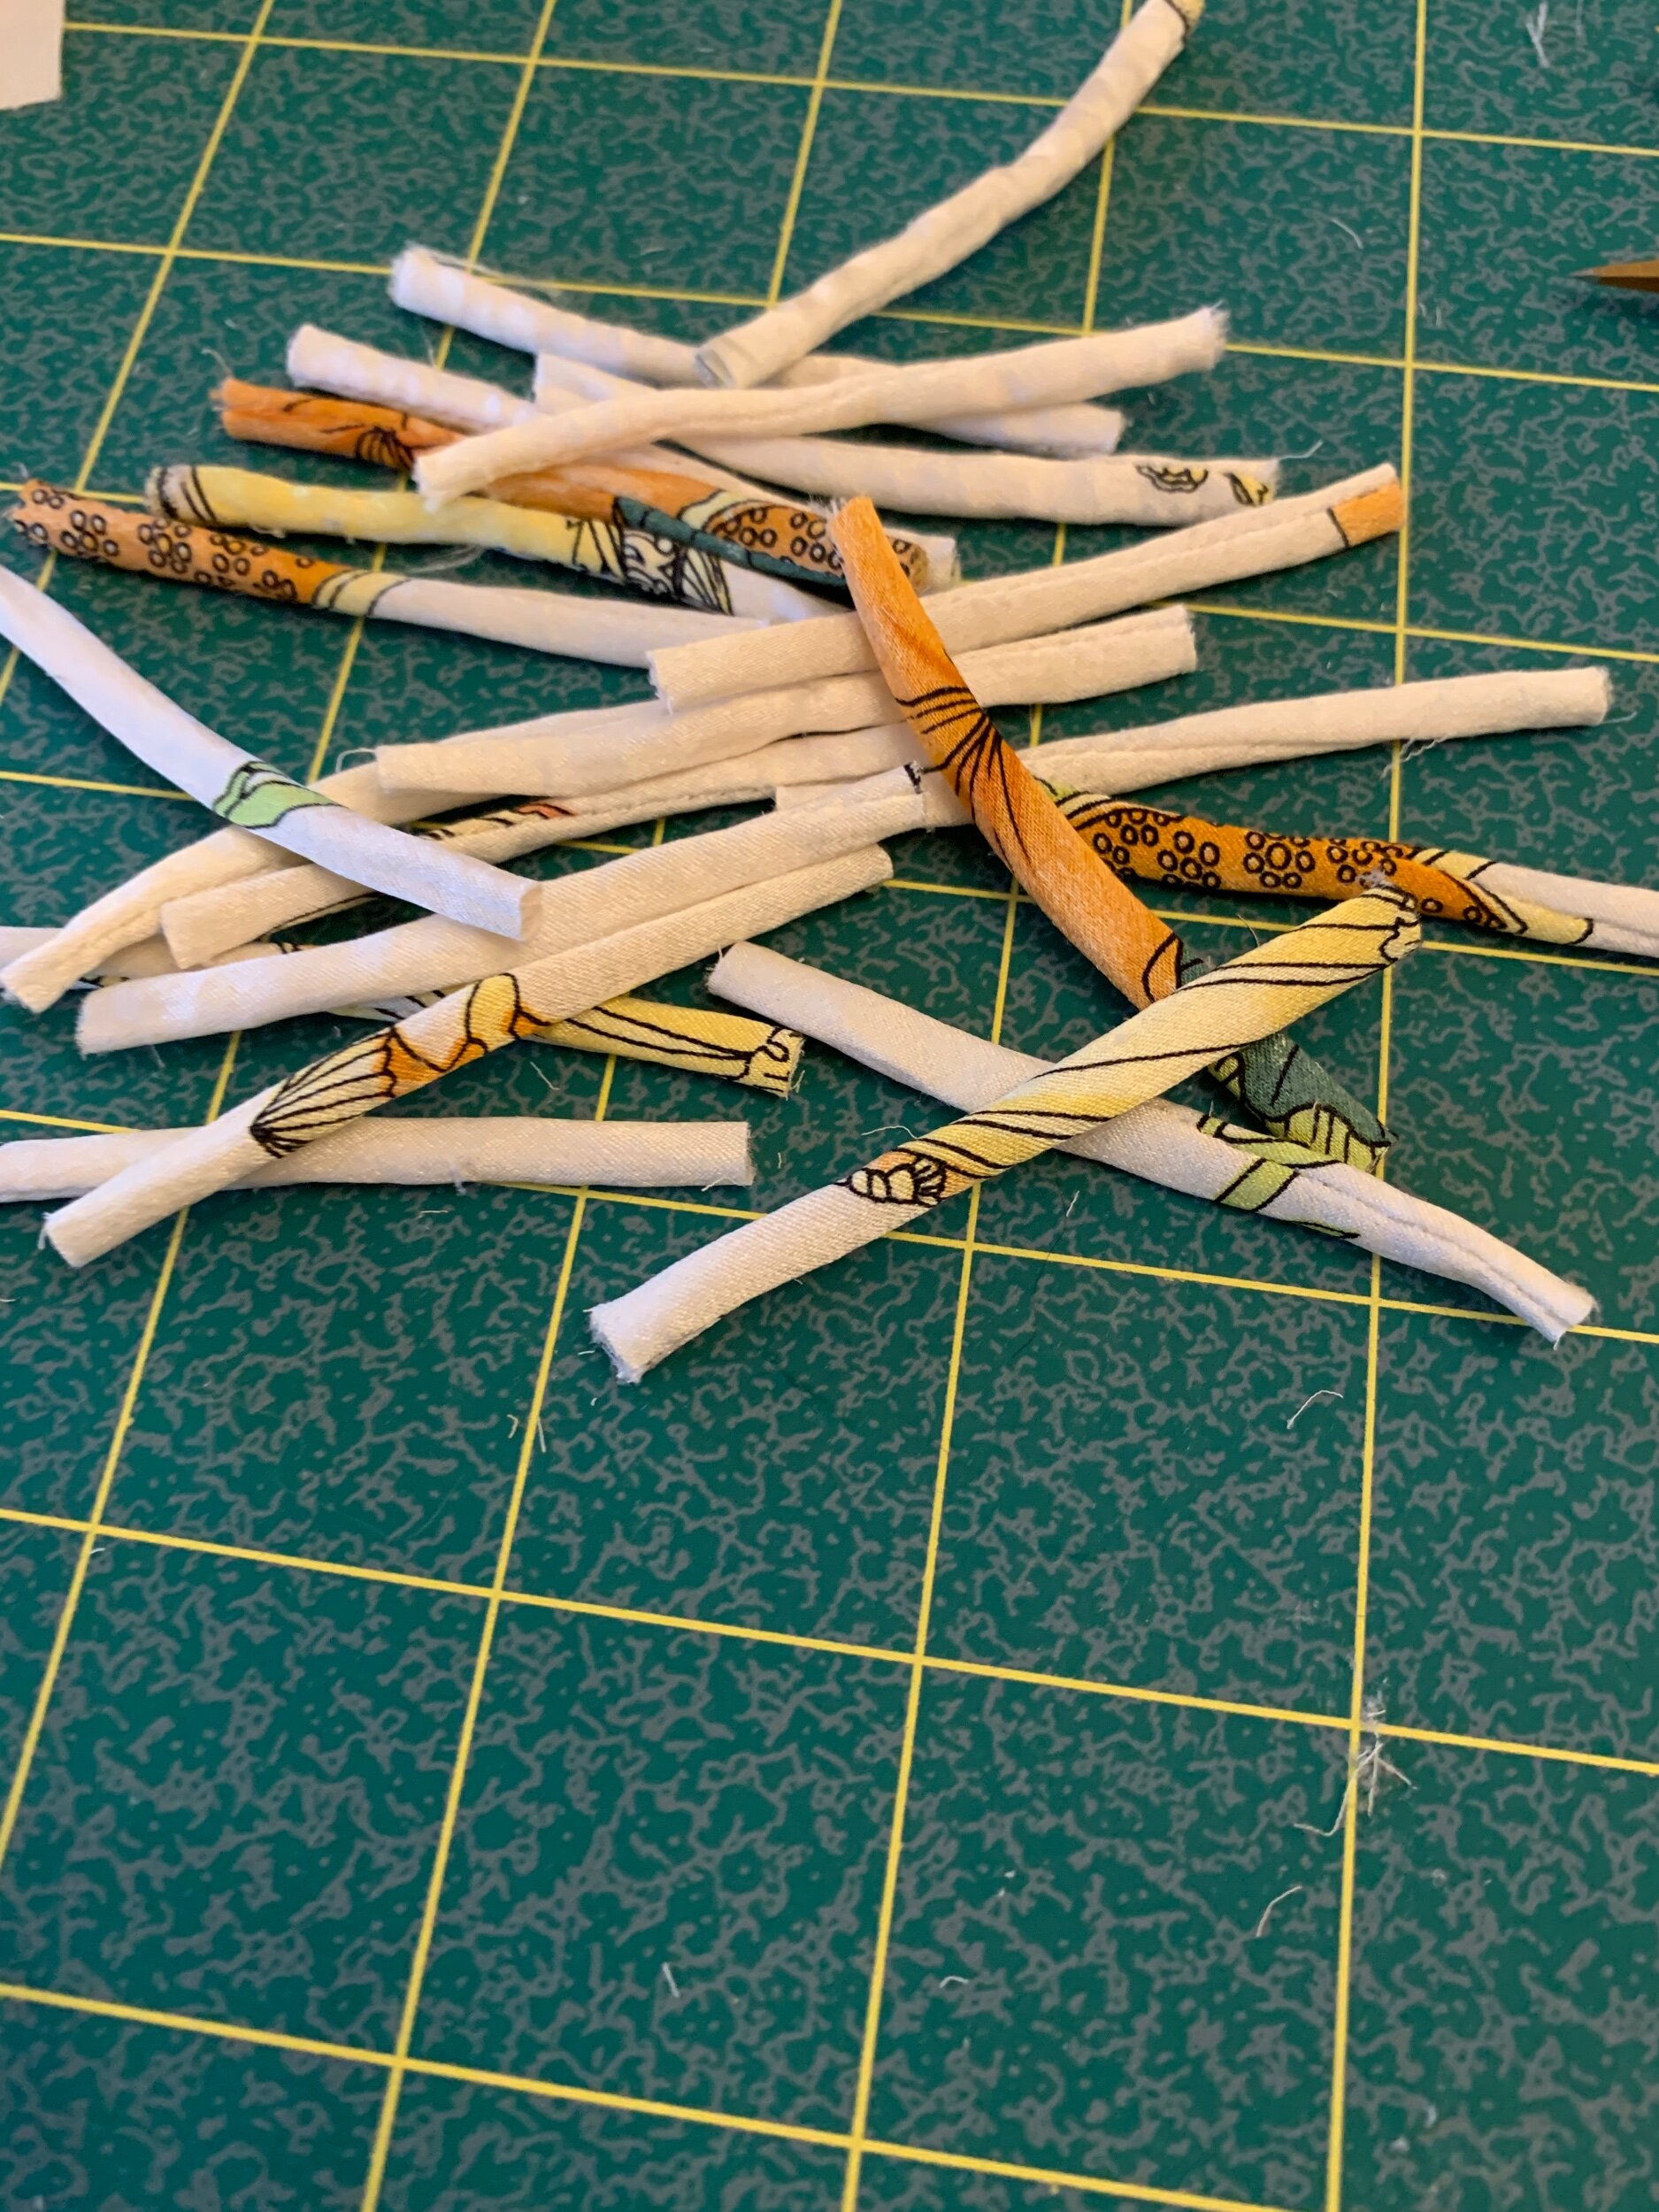
Placing button loops: When you are placing your button loops, pay very close attention to the notches that help you with placement and how long your loops are. You want to make sure you have the same length of loop exposed so they all look uniform. I had a few rogue loops that I had to redo! Some of them were not big enough for the button and I had to let more of the loop out of the seam!

French seams: Last, but not least, let’s talk about French seams! I have done a tutorial on French seams before in this blog post which I will link here. Here is a brief explanation below. You will sew the garment wrong sides together first, with a seam that is less than the actual seam allowance. This would be 3/8 for a 5/8 inch seam. Then you will trim to about 1/8 inch and press. Then you will press the seam neatly with right sides together. Then sew with a 1/4 inch seam allowance to make sure you are encasing the previous raw seam! Now you have an encased seam and it looks wonderful on the inside. You don’t need to do this for the enclosed button placket and collars. However, it works well for shoulder seams, side seams, underarm seams, and armholes! It is a little complicated when setting in a sleeve, but can still be done! I love the end result for this top, especially since silk can really fray!
Pattern Review: Overall, the pattern was very well written with great instructions. When I said this was a labor of love, I meant it because it is a very involved shirt with about 19 or so buttons! I hand sewed all of them on and had to do all of the buttons loops as well (not hand sewn but difficult). I think I will be keeping this shirt for a very long time and that is the reward you get from working hard on something! I am totally attached to this top and absolutely love how it turned out! I hope that this blog helped you to overcome working with this specialized fabric and French seams!