Ilford Jacket With French Seams by Friday pattern company

Let me just start by saying I am so impressed with this pattern. This is the Ilford Jacket by Friday Pattern Company and It is really versatile for all people. I think it would look great on just about anyone and I think it provides a lot of room to play and versatility. I decided to write a blog about this make because I used French Seams!! This is the #sewprettyinside month that @sewitcurly and @soapstealer and I are running and I though it was a fabulous opportunity to talk about French Seams!


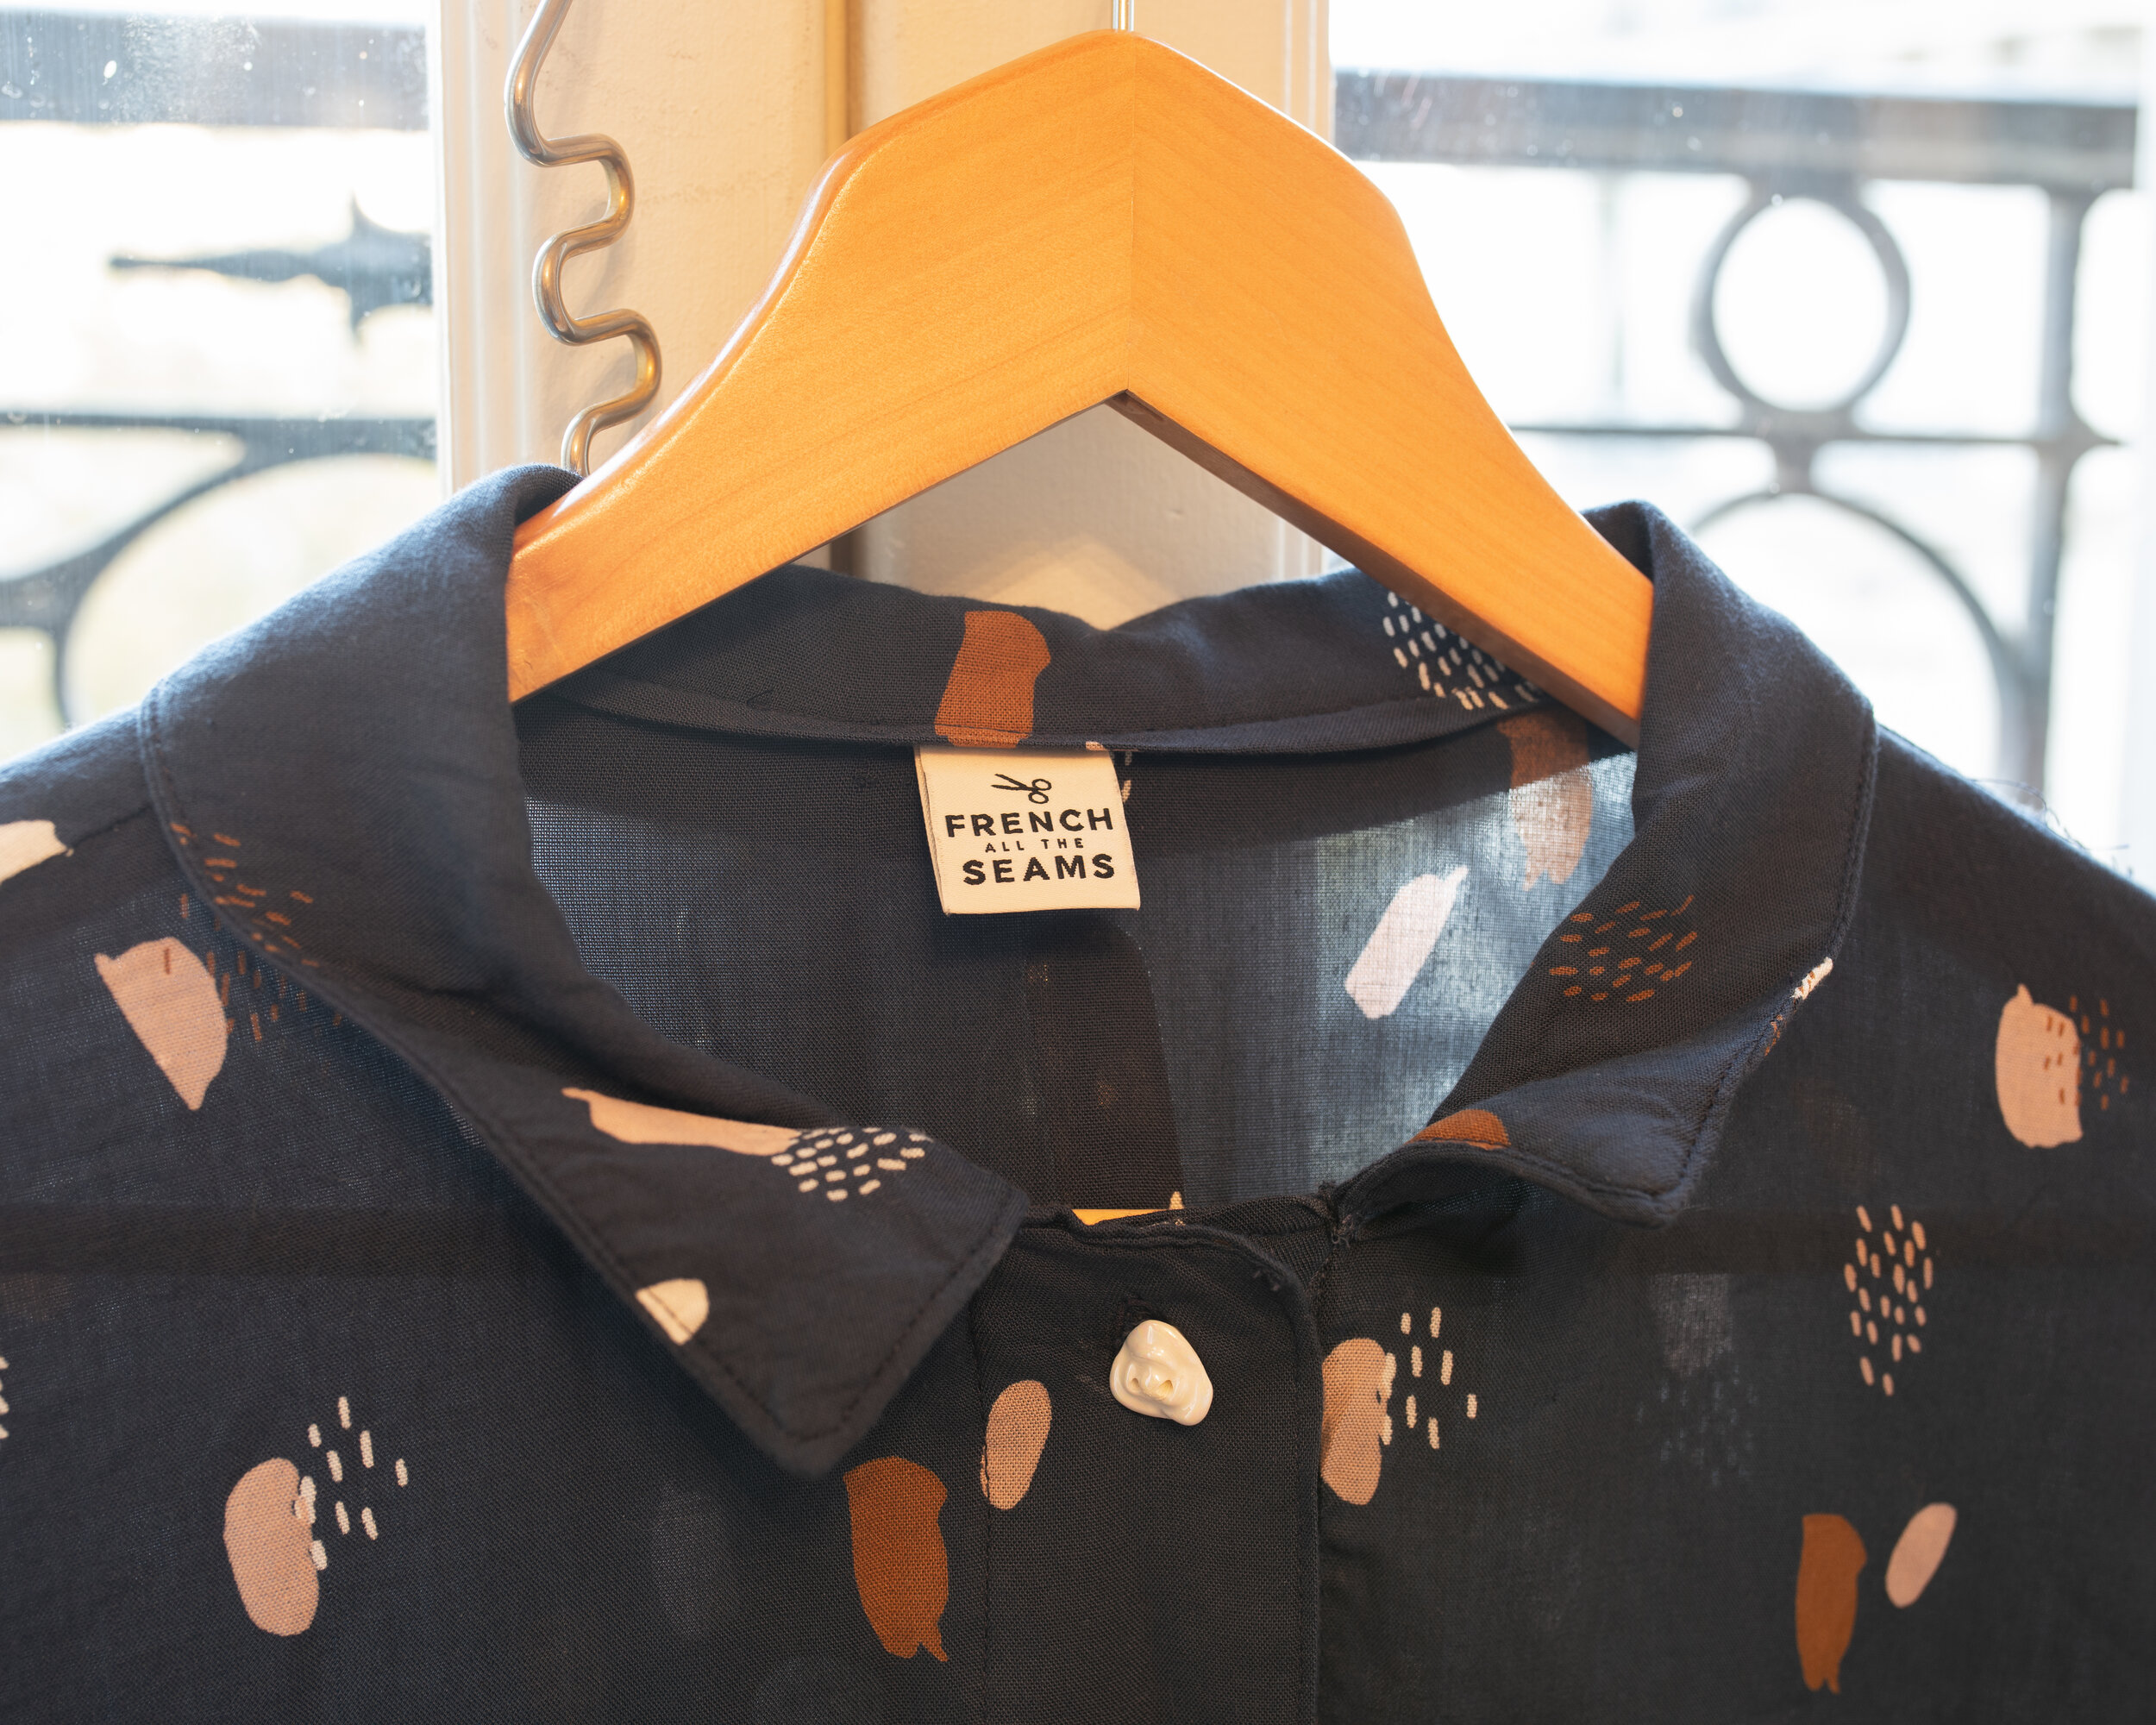
Fabric with Pattern Choice: I have had this Aterlier Brunette sitting in my stash for a VERY long time. Nothing could really make me get it out. I wasn’t quite inspired to make anything with it until I saw this pattern. Then I thought, am I just addicted to living on the edge? I am using a tester pattern for my super expensive fabric? Well that is just the confidence I have in Friday Pattern Company patterns! It is a joy to test her patterns and they are all well made and very fashionable! This pattern can be made in a number of different fabrics but I decided to use a drapey fabric!

If you choose a denim or even corduroy, it would have a very different look! There is also a cropped version and this would look great in all stiffer fabrics. I think you could wear the garment open or completely buttoned up. I think the long version would look good in a chambray as well! The sky is the limit with this pattern! TRULY!

Alterations: I did not alter the pattern at all because it has a very loose fit. I figured that there would not be a need to reduce the bust area (an alteration I usually do) or lengthen the bodice.

Construction and French seams: I did not have any major problems with construction while making this pattern, however this is a perfect time to briefly explain how to do French seams! It is best to create the seams as you progress in the pattern naturally. There should not be a reason to go out of order. There are only a few steps involved and I will mention them here as well as provide sequential pictures below.
Place the seam you would like to sew WRONG sides together and pin and stitch with a seam allowance that is 1/4 inch less than the total seam allowance. You will typically need a pattern that has at least a 5/8 inch seam allowance.
Then, trim the seam allowance down to between 1/8-1/4 inches.
Now place the seam and your pieces RIGHT sides together by folding the seam back on itself and pressing, making sure the seam is pressed all the way out onto the edge.
Now you will stitch the seam again with a 1/4 inch seam allowance, making sure to catch the previous seam allowance and encase it completely.
Now press this seam to the back or however the pattern instructs. Sometimes the pattern states to press the seam open but in this case you cannot do that and thats ok usually!


VOILA!!! You have sewn a french seam. I would not recommend using this seam below a zipper insertion or anything like that. It would be too difficult and typically those seams are pressed open.

You also don’t want to use it anywhere that the bulk of one seam would be noticeable. You want to make sure it will be ok visually to disobey the instructions to press the seam open!

I hope this helps you create your own french seams and I hope you enjoyed the pattern review! This is a very easy pattern to do this seam. Of note, I still had to snip into the seam allowance under the arm so that the sleeve would fall naturally.

So this part of the french seam is not ideal, but the rest is beautiful! I used some fray glue to stop anything from happening there. I did not do a French seam or anything for the collar because all of the seams are encased!

That is it you guys! Let me know if you have any questions and I enjoyed giving you this little tutorial!