Spoonflower Collaboration for Braugust with Cloth Habit Watson Bra

This make was so exciting! Not only did I get to work with Spoonflower modern Jersey which was amazing, I got to work with the fill-a-yard feature and make a bra which was definitely needed in my current wardrobe! My bras are slowly dying into a wasteland of things that fall apart! I have made one in the last few months but I need plenty more. I am more of a Bralette kind of gal or I love a bra that does not have any underwire! Ever since I was pregnant with my Little girl (now 10) I have given up underwire. It was cutting into my chest so badly when I had a huge pregnant belly I had to find bras without it. After that, I couldn’t go back! Now I have been without it for 10 years and don’t plan on going back!
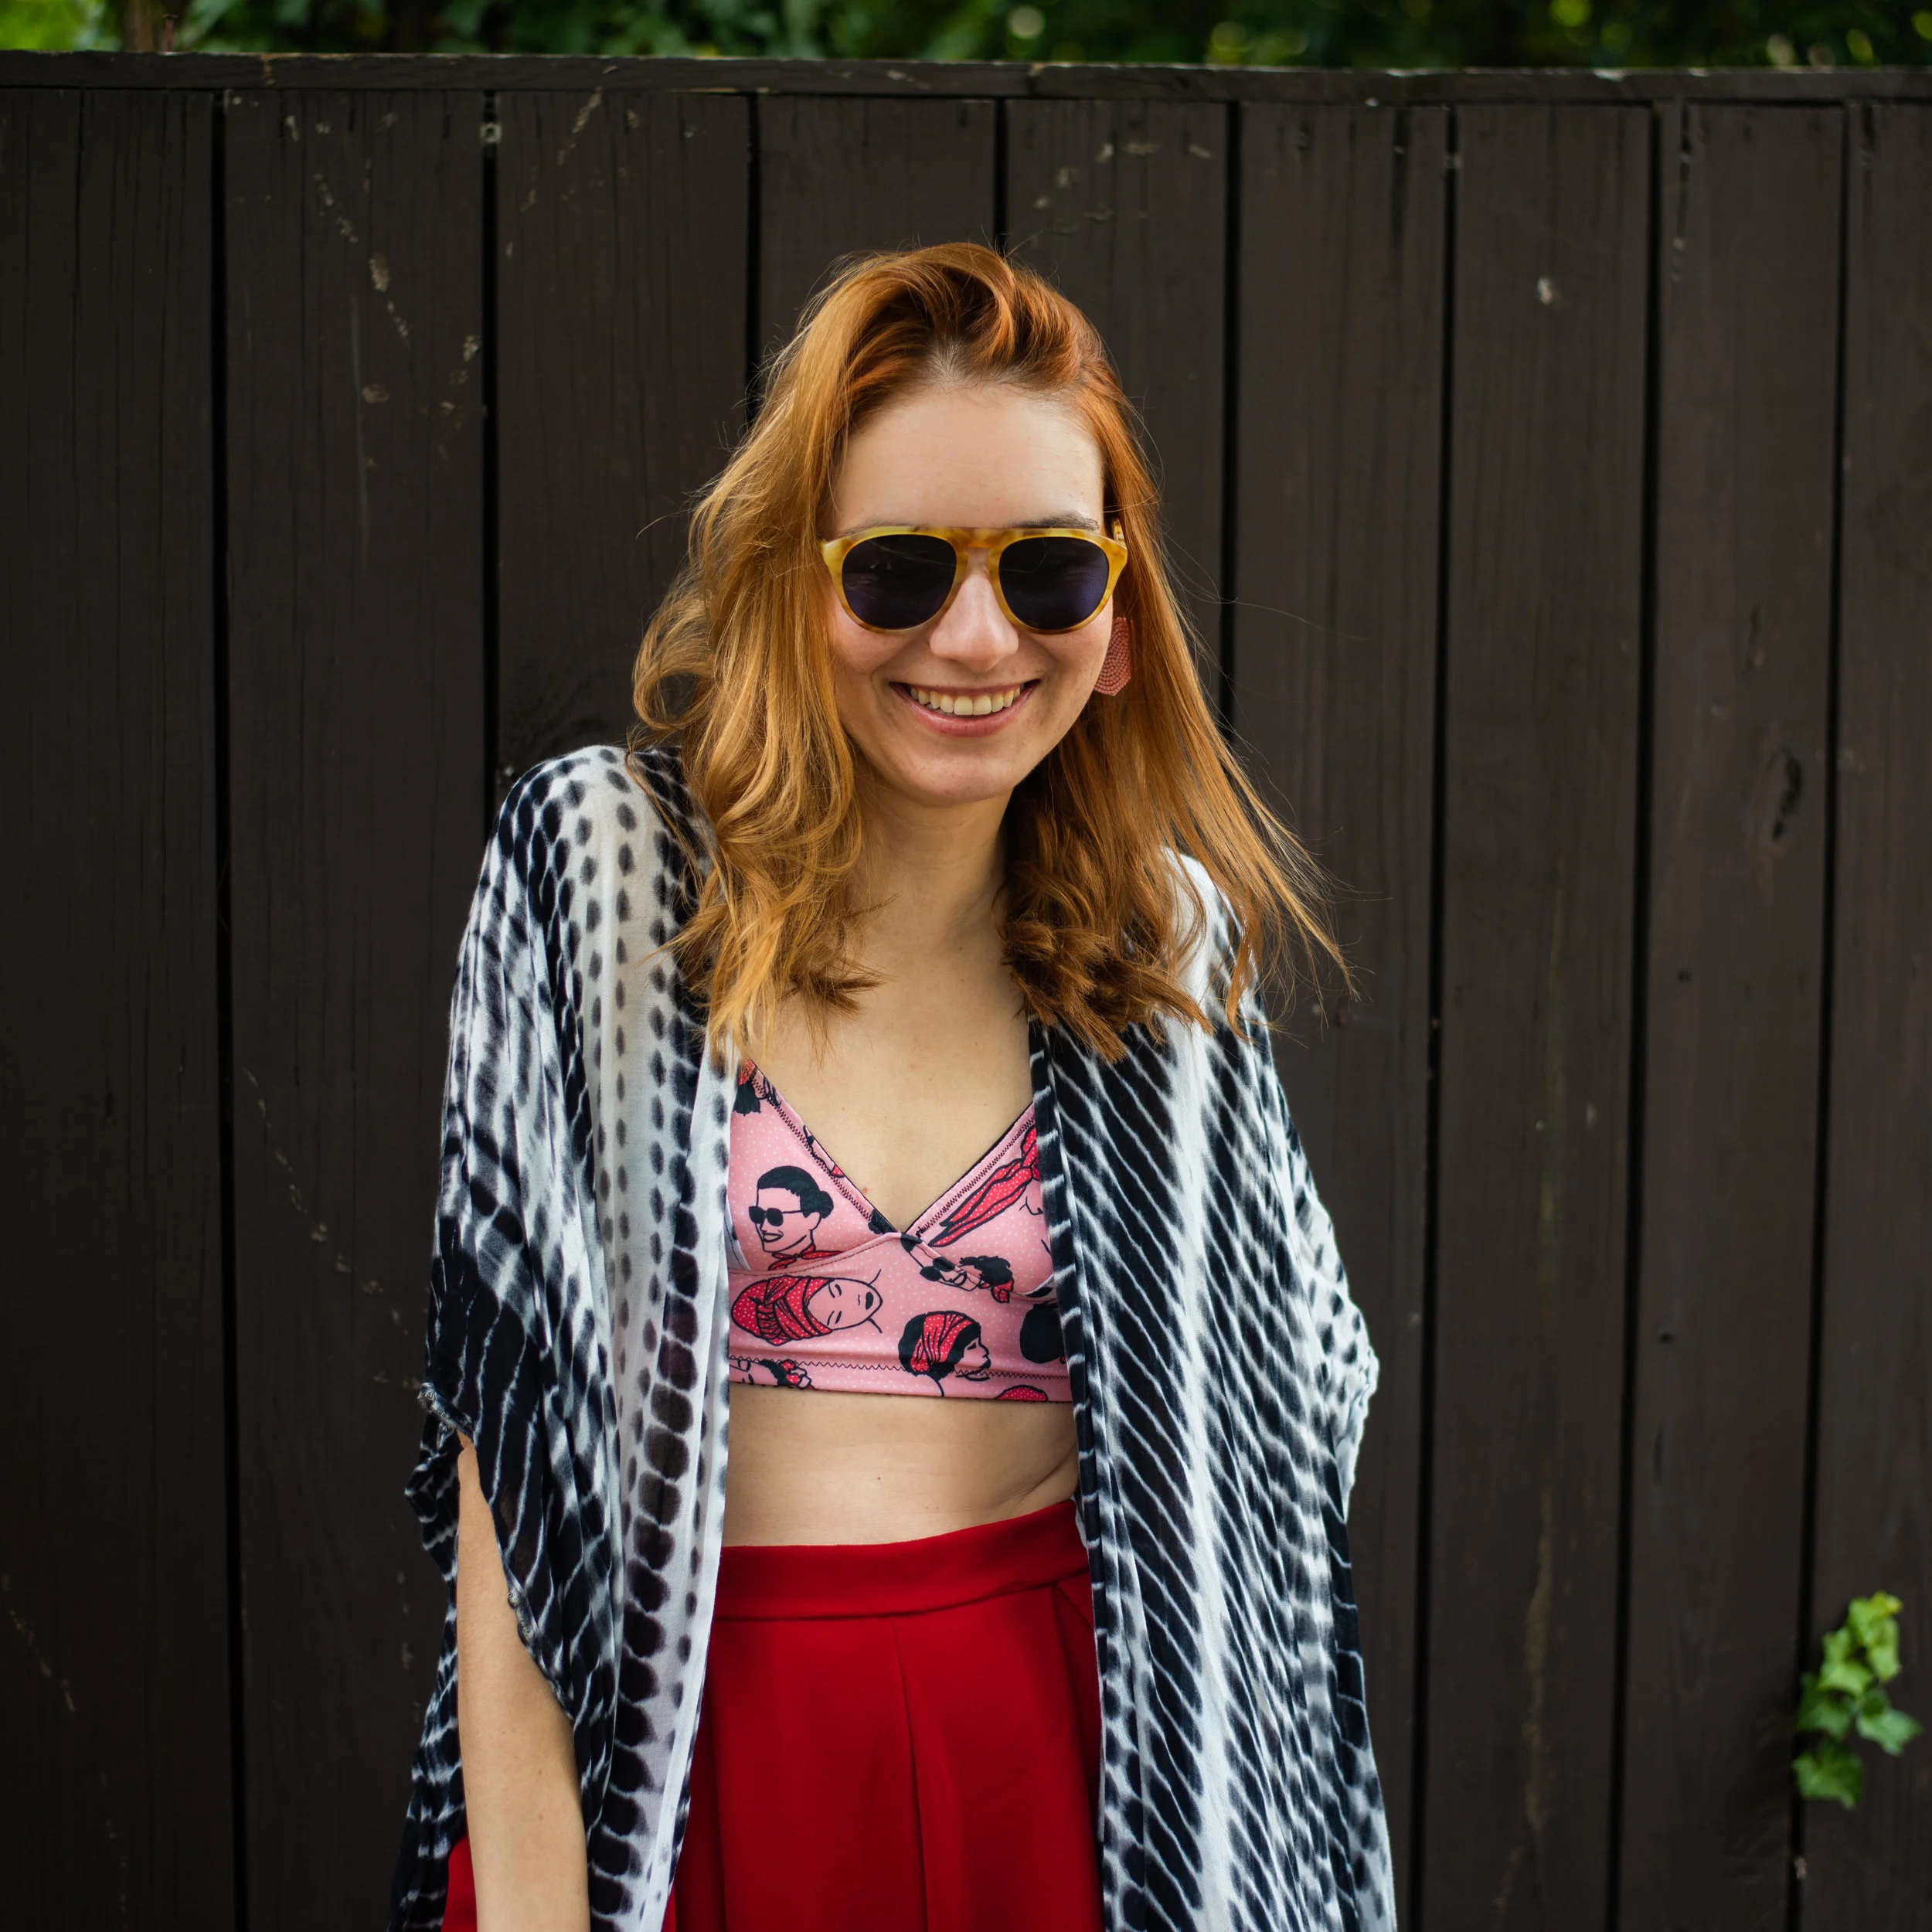
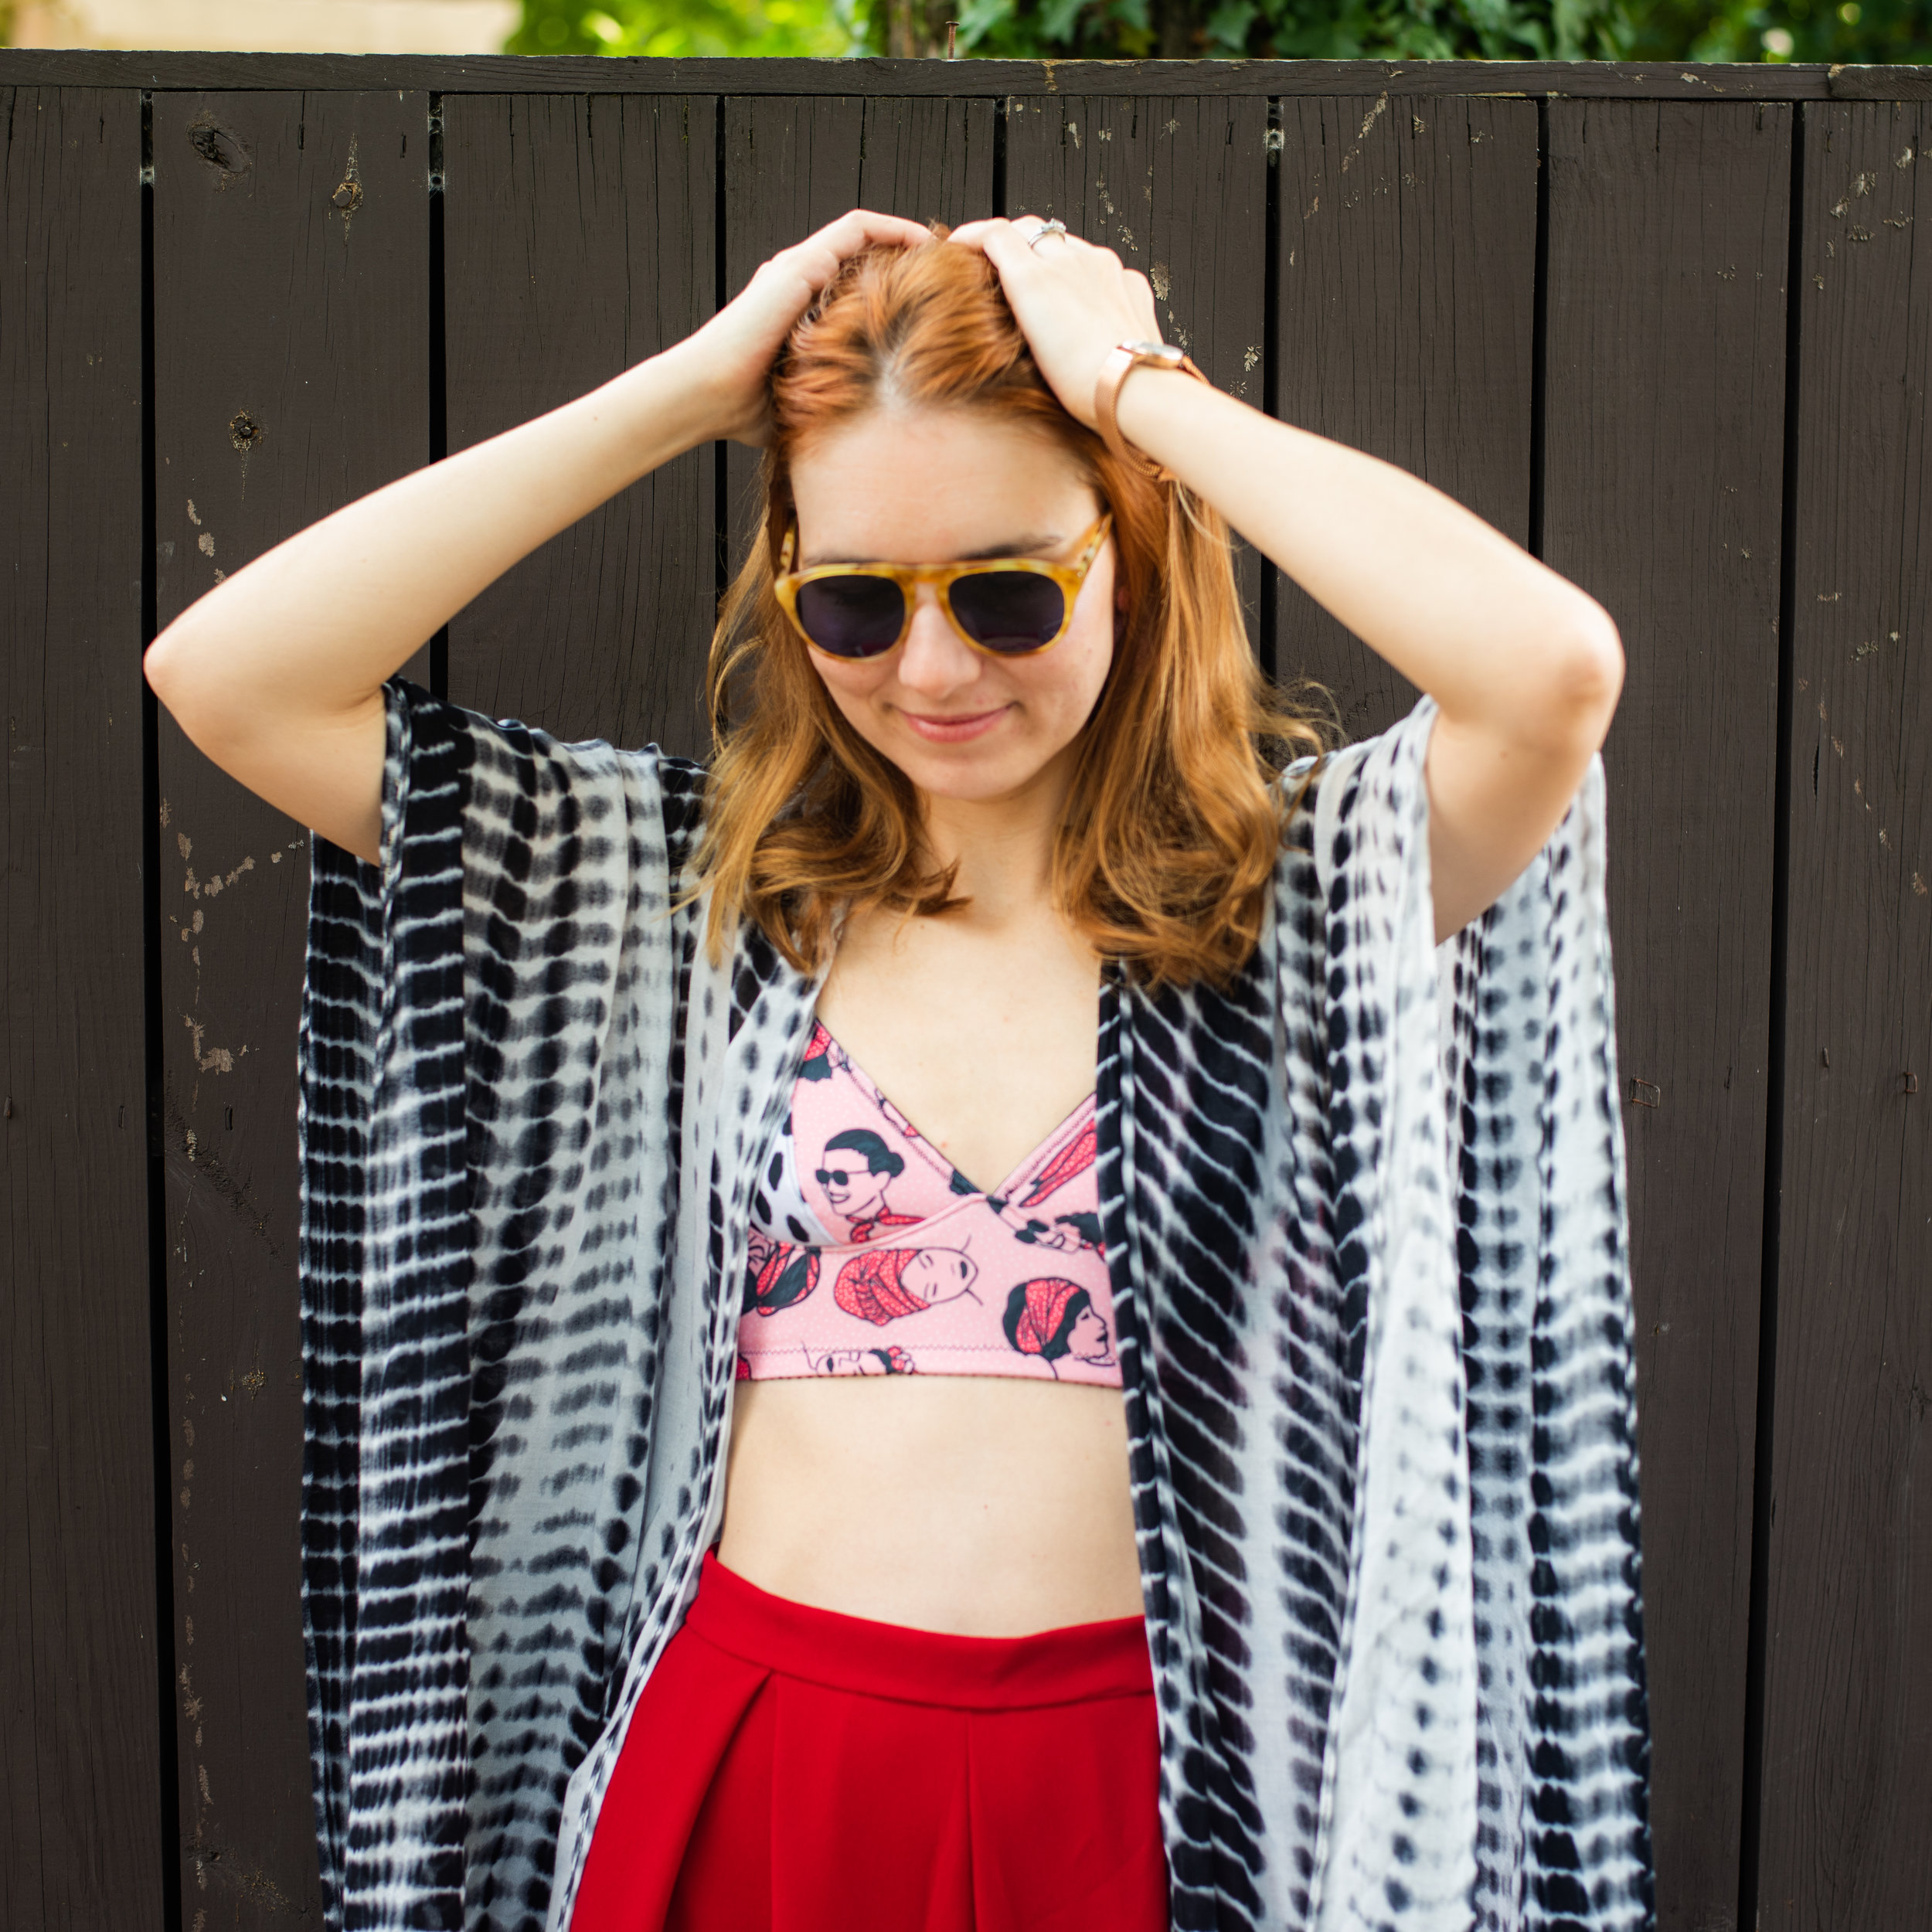
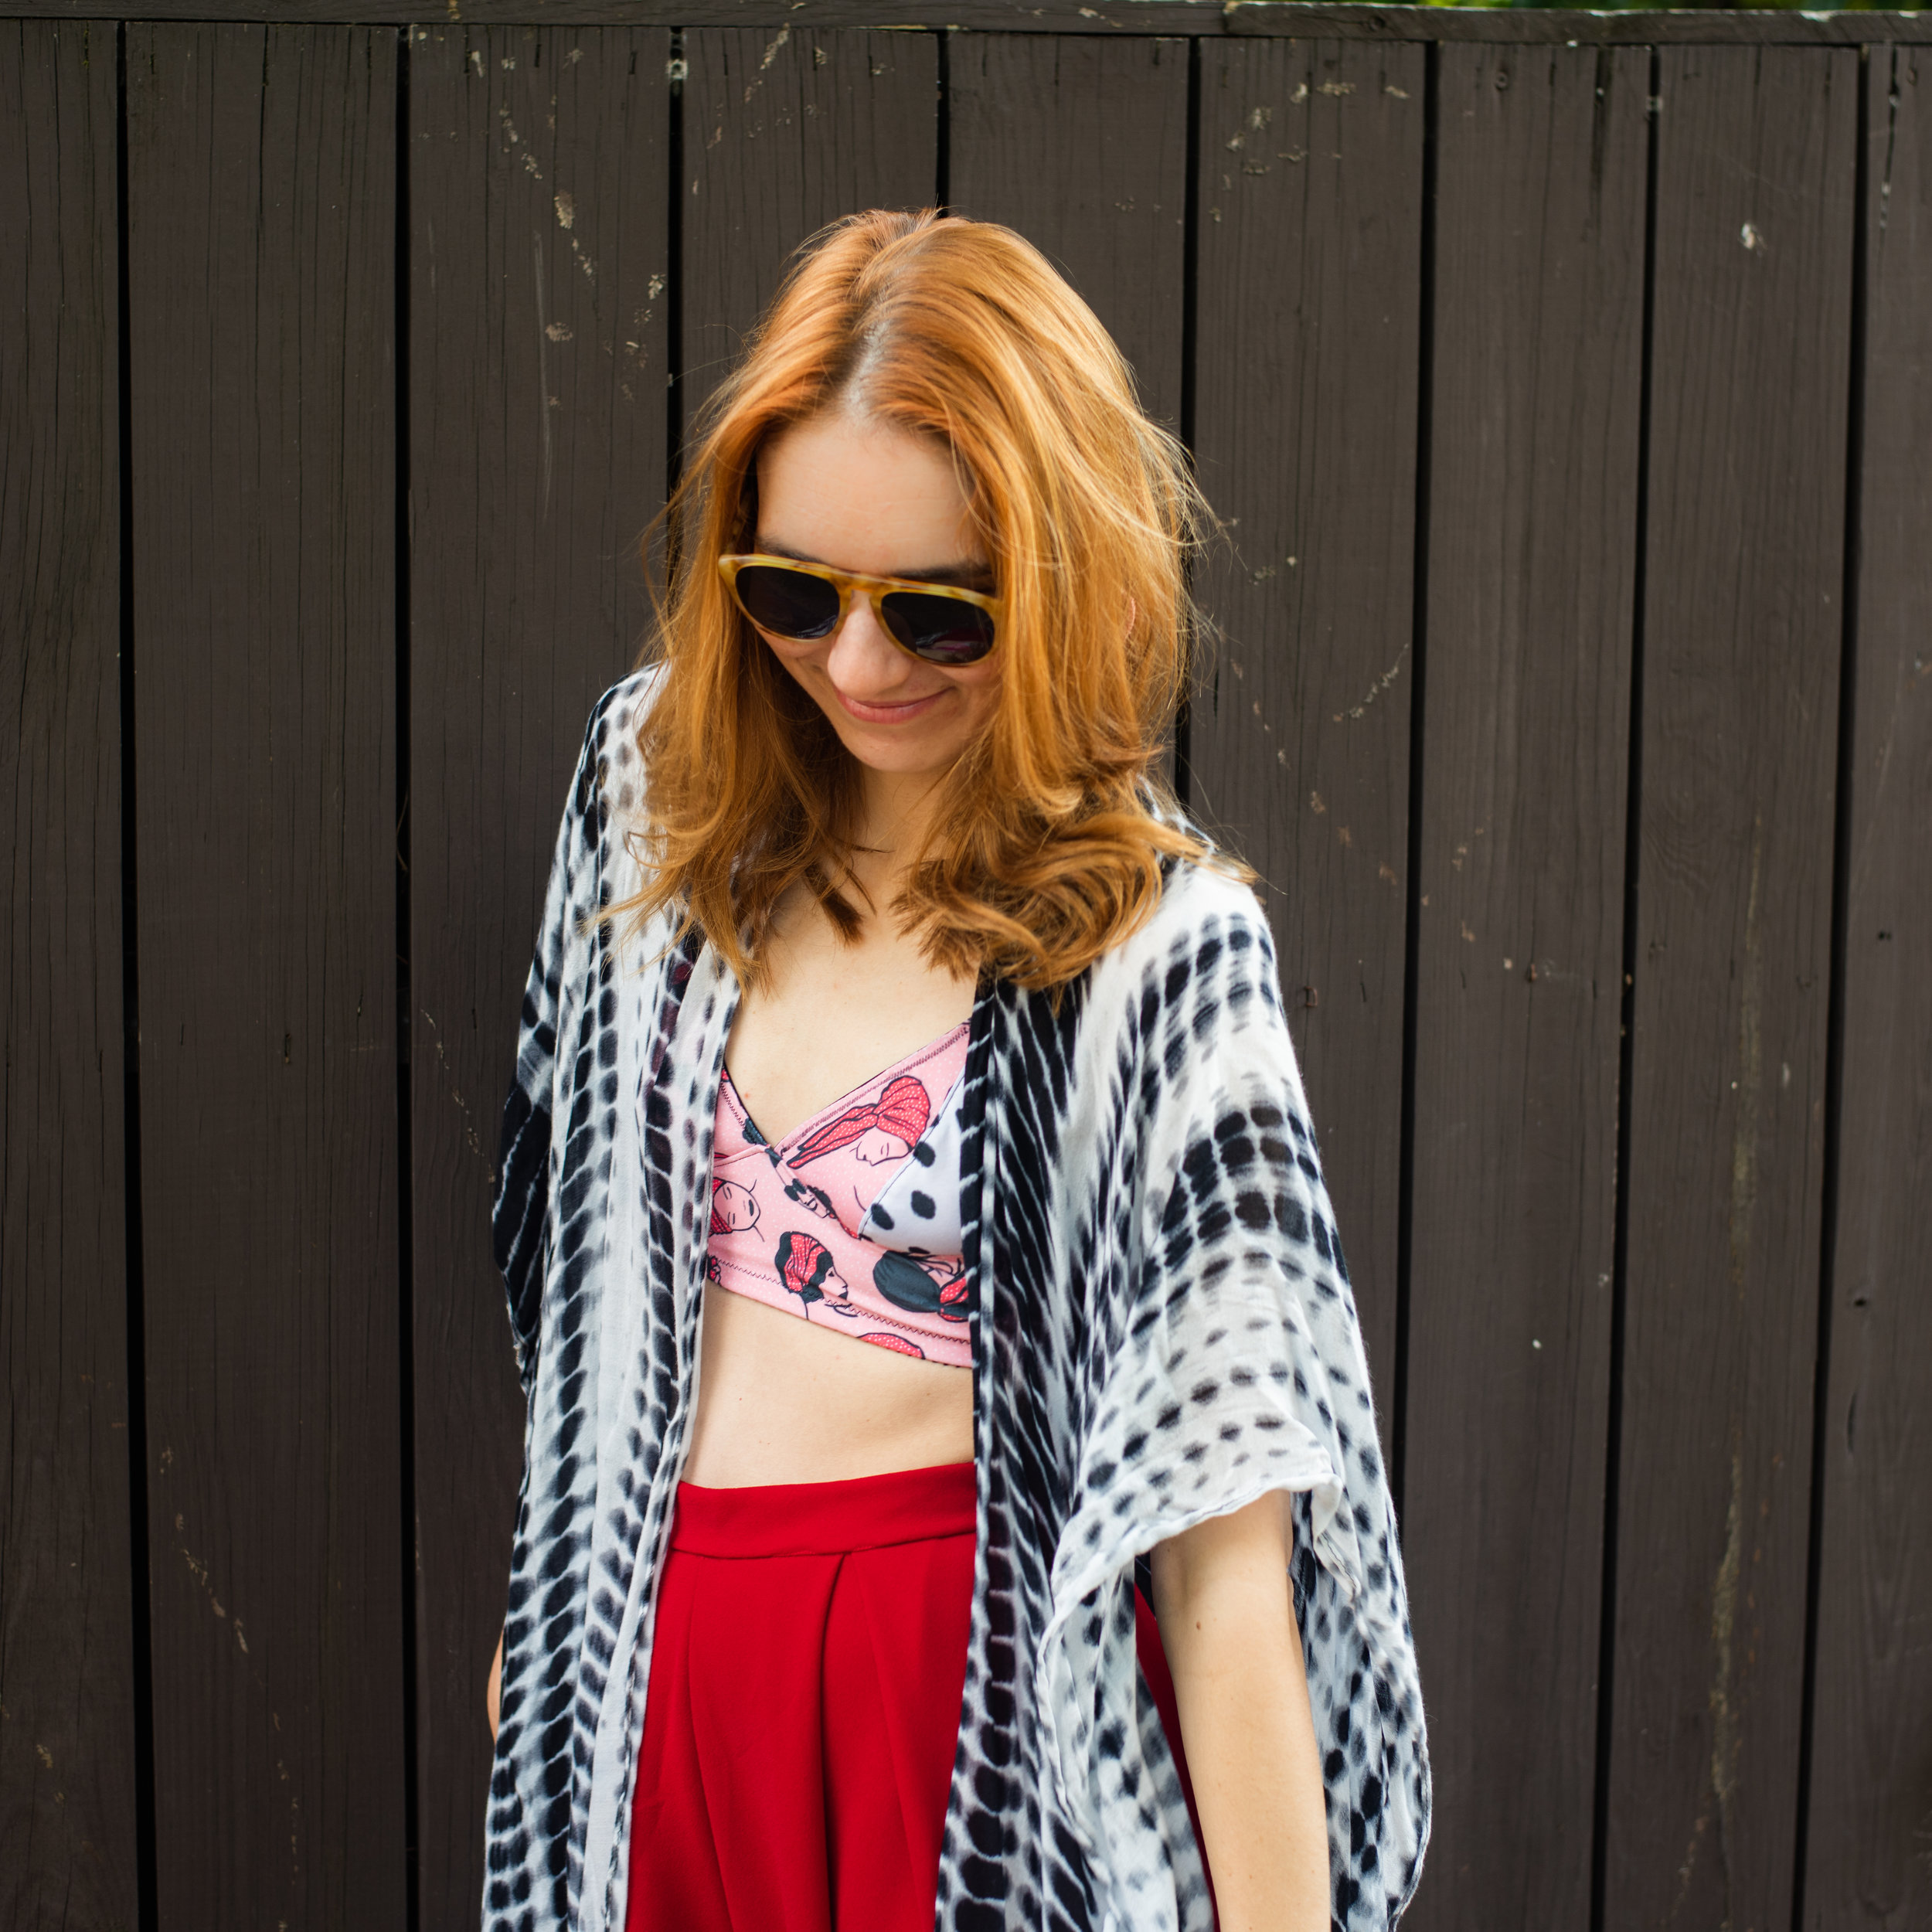
I stumbled upon this pattern by accident on the tailor-made shop blog when looking for bralettes. I really loved the pin-up look of this bra and I was looking forward to wearing it with high waisted pants and with a cardigan! Just sporting it as a top basically! I also really loved how the sizing was determined with this bra pattern! I didn’t have to modify the pattern to get an A size. Technically my measurements put me in a 32AA size which wasn’t there but I made the 32A and all was well! She also has clear instructions in the pattern and sew-a-long about how to measure your chest. I REALLY appreciated this! I followed these very carefully. I made sure to exhale completely before getting my band size. I also doubled up my fabric for the band as I wasn’t using power mesh or power net but more on that later! I basically just followed all advice and it worked out perfectly! The sew-a-long is amazing!

Fabric Choice:
The fabric is soooooooooooo nice! I cannot speak enough about how silky smooth if feels! It is super lightweight with good stretch and good recovery! I love it and would definitely buy it again from Spoonflower! After deciding on this bra pattern, I thought to myself that it would be fun to change it up with a little pattern mixing. I had been dying to use the fill-a-yard feature on Spoonflower and I thought if I could colorblock the bra with different prints, then it would be possible to use the fill-a-yard feature and highlight two prints that I love. If you know me at all, I have said over and over that leopard prints, stripes, check, grid patterns, polkadots, and tiny florals are basically neutrals and can be mixed with anything! HA! I mean don’t you think so!? I had an idea, but how I was to arrange them on the bra was still a mystery! Sometimes you just have to play around with it! Important note is that I went ahead and cut along the line between the two fabrics and washed them separately! Since the red/pink was so saturated I wanted to wash it alone to make sure it didn’t bleed onto the white! I got the lovely lady print here and the spots here! Of note, I also had plenty of fabric leftover!!!

Gathering other supplies:
I won’t go into too much depth for this but I will tell you I ordered everything from a local supplier! I got mine from Sew Sassy Fabrics and it came to my house in about a day because I live so close (about an hour away)! Super convenient and I loved it. You can order all sorts of colors and sizes of elastic and strapping. There is a great guide to materials on the Cloth Habit sew-a-long page!
Also, make sure you use a walking foot if you have one or a sewing machine that has a built in walking foot like a Pfaff machine with the IDT technology like me!!
Pattern Layout:
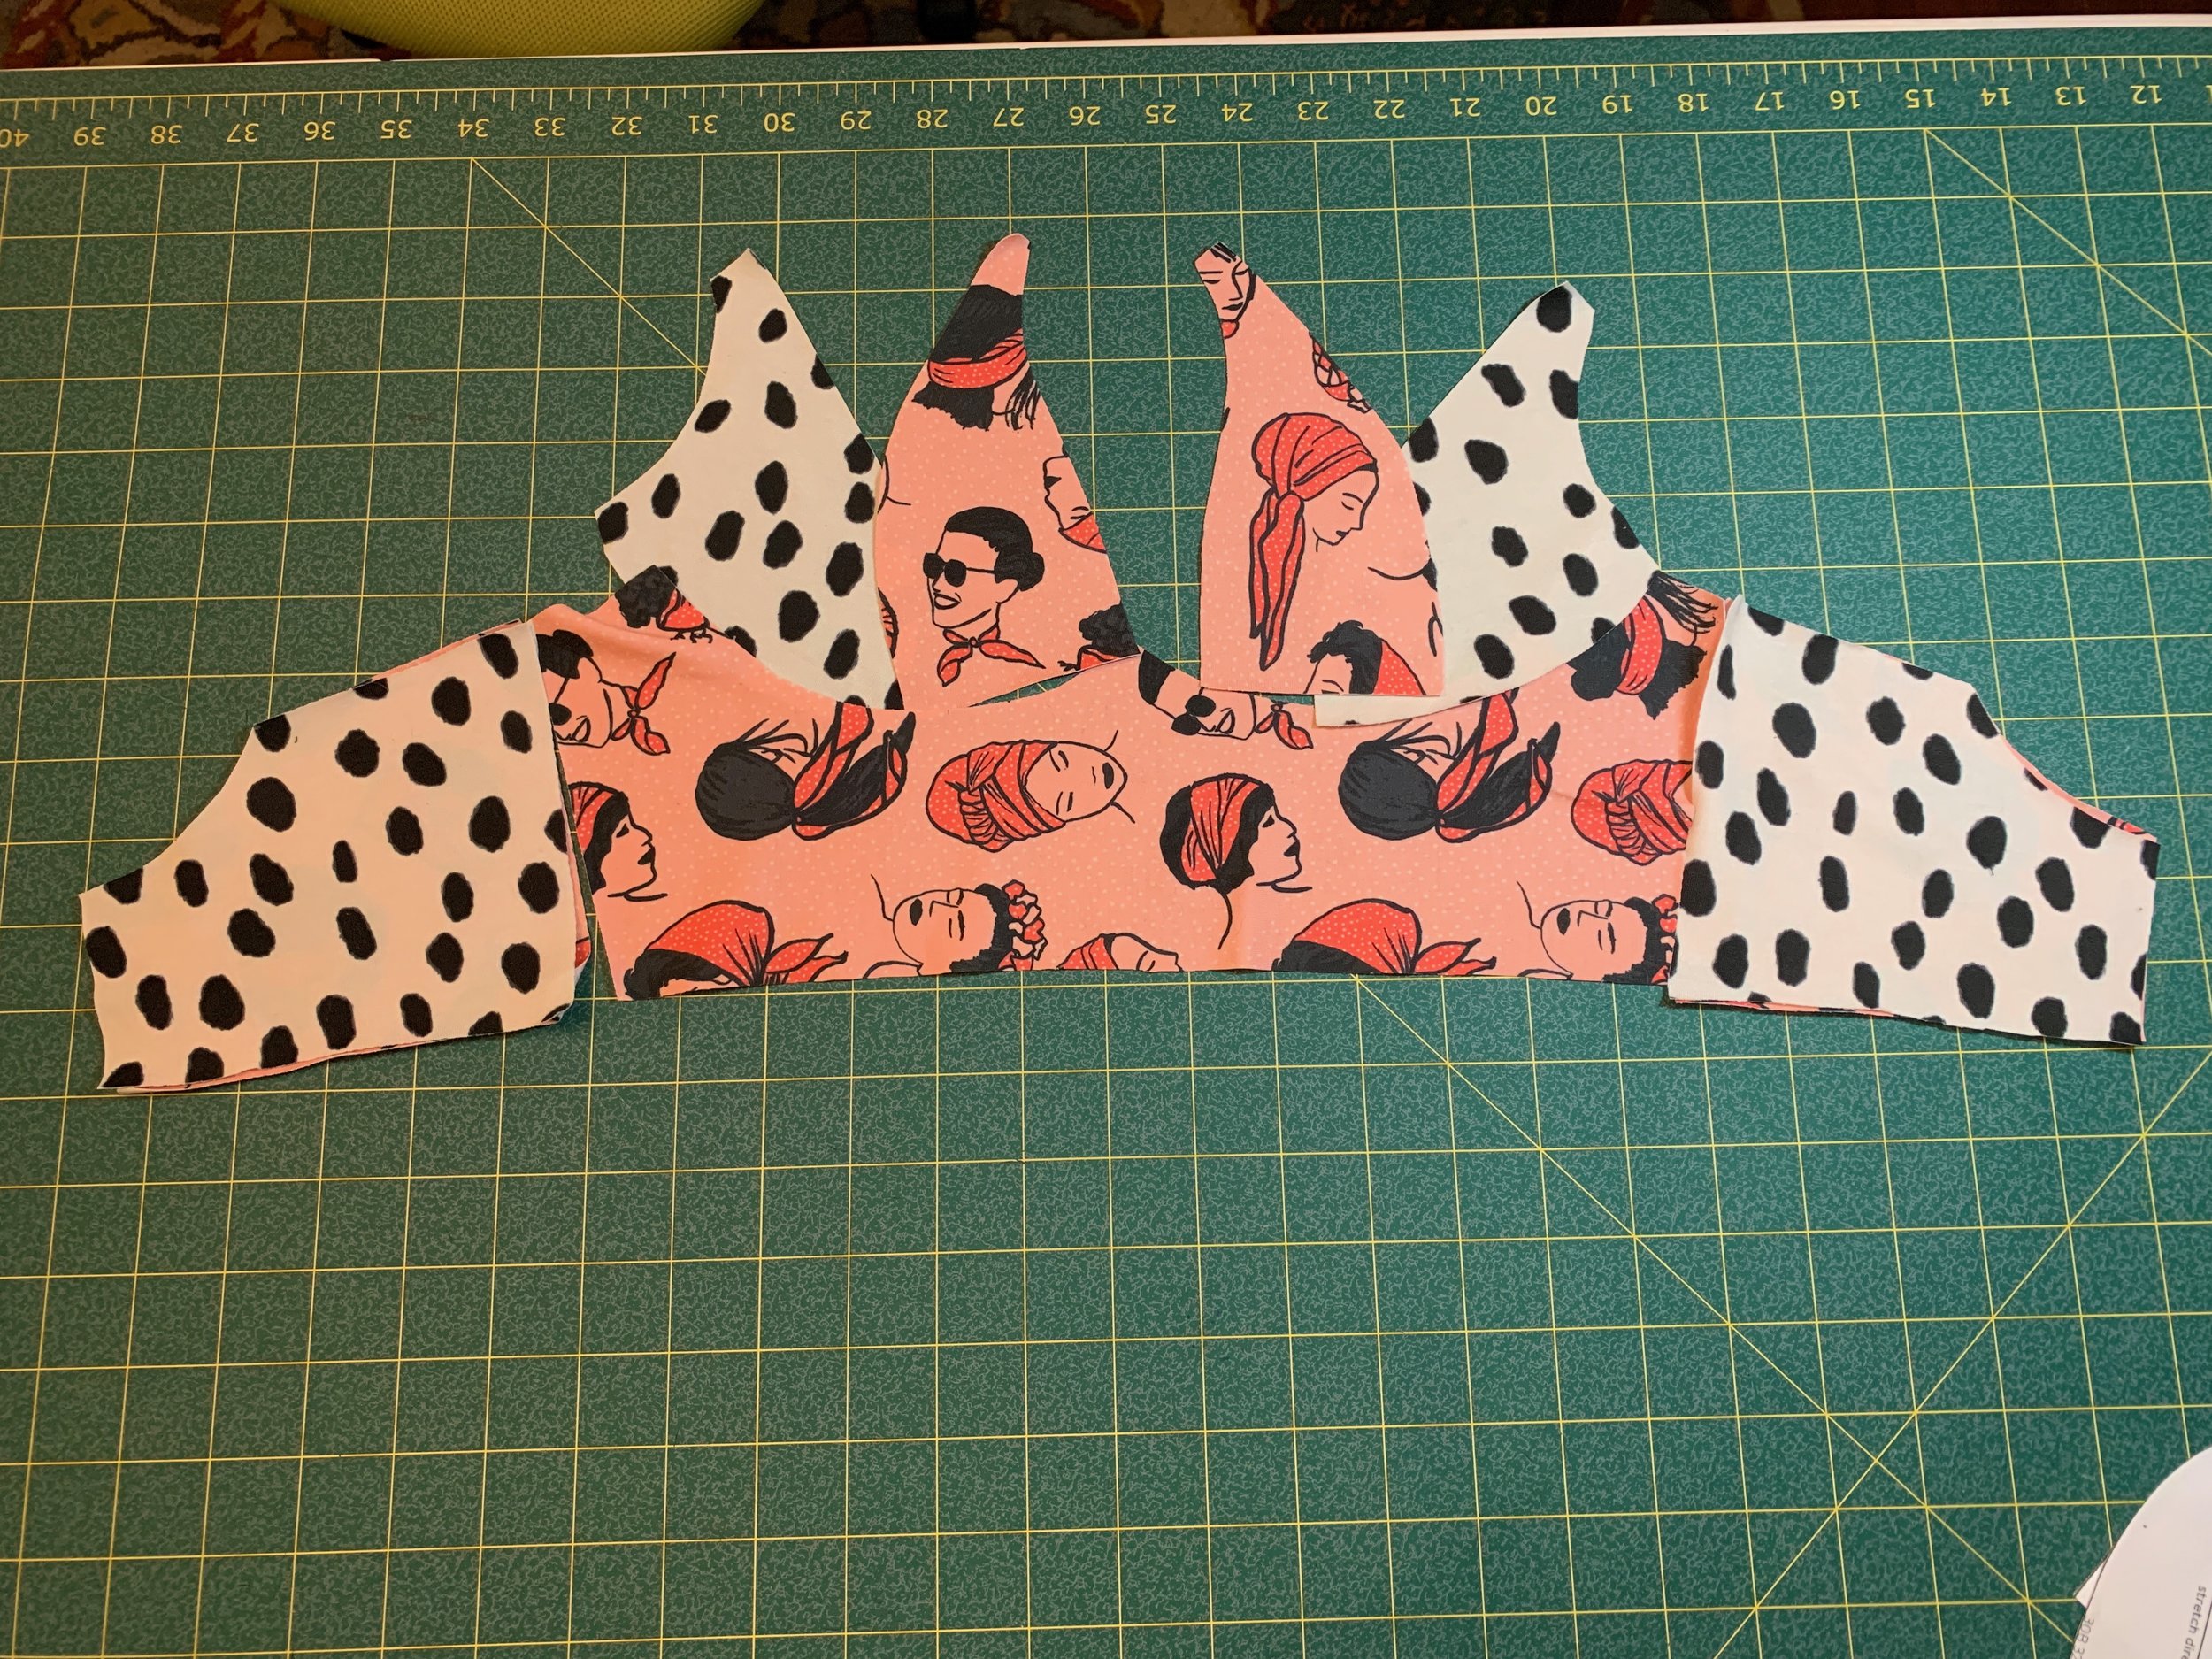
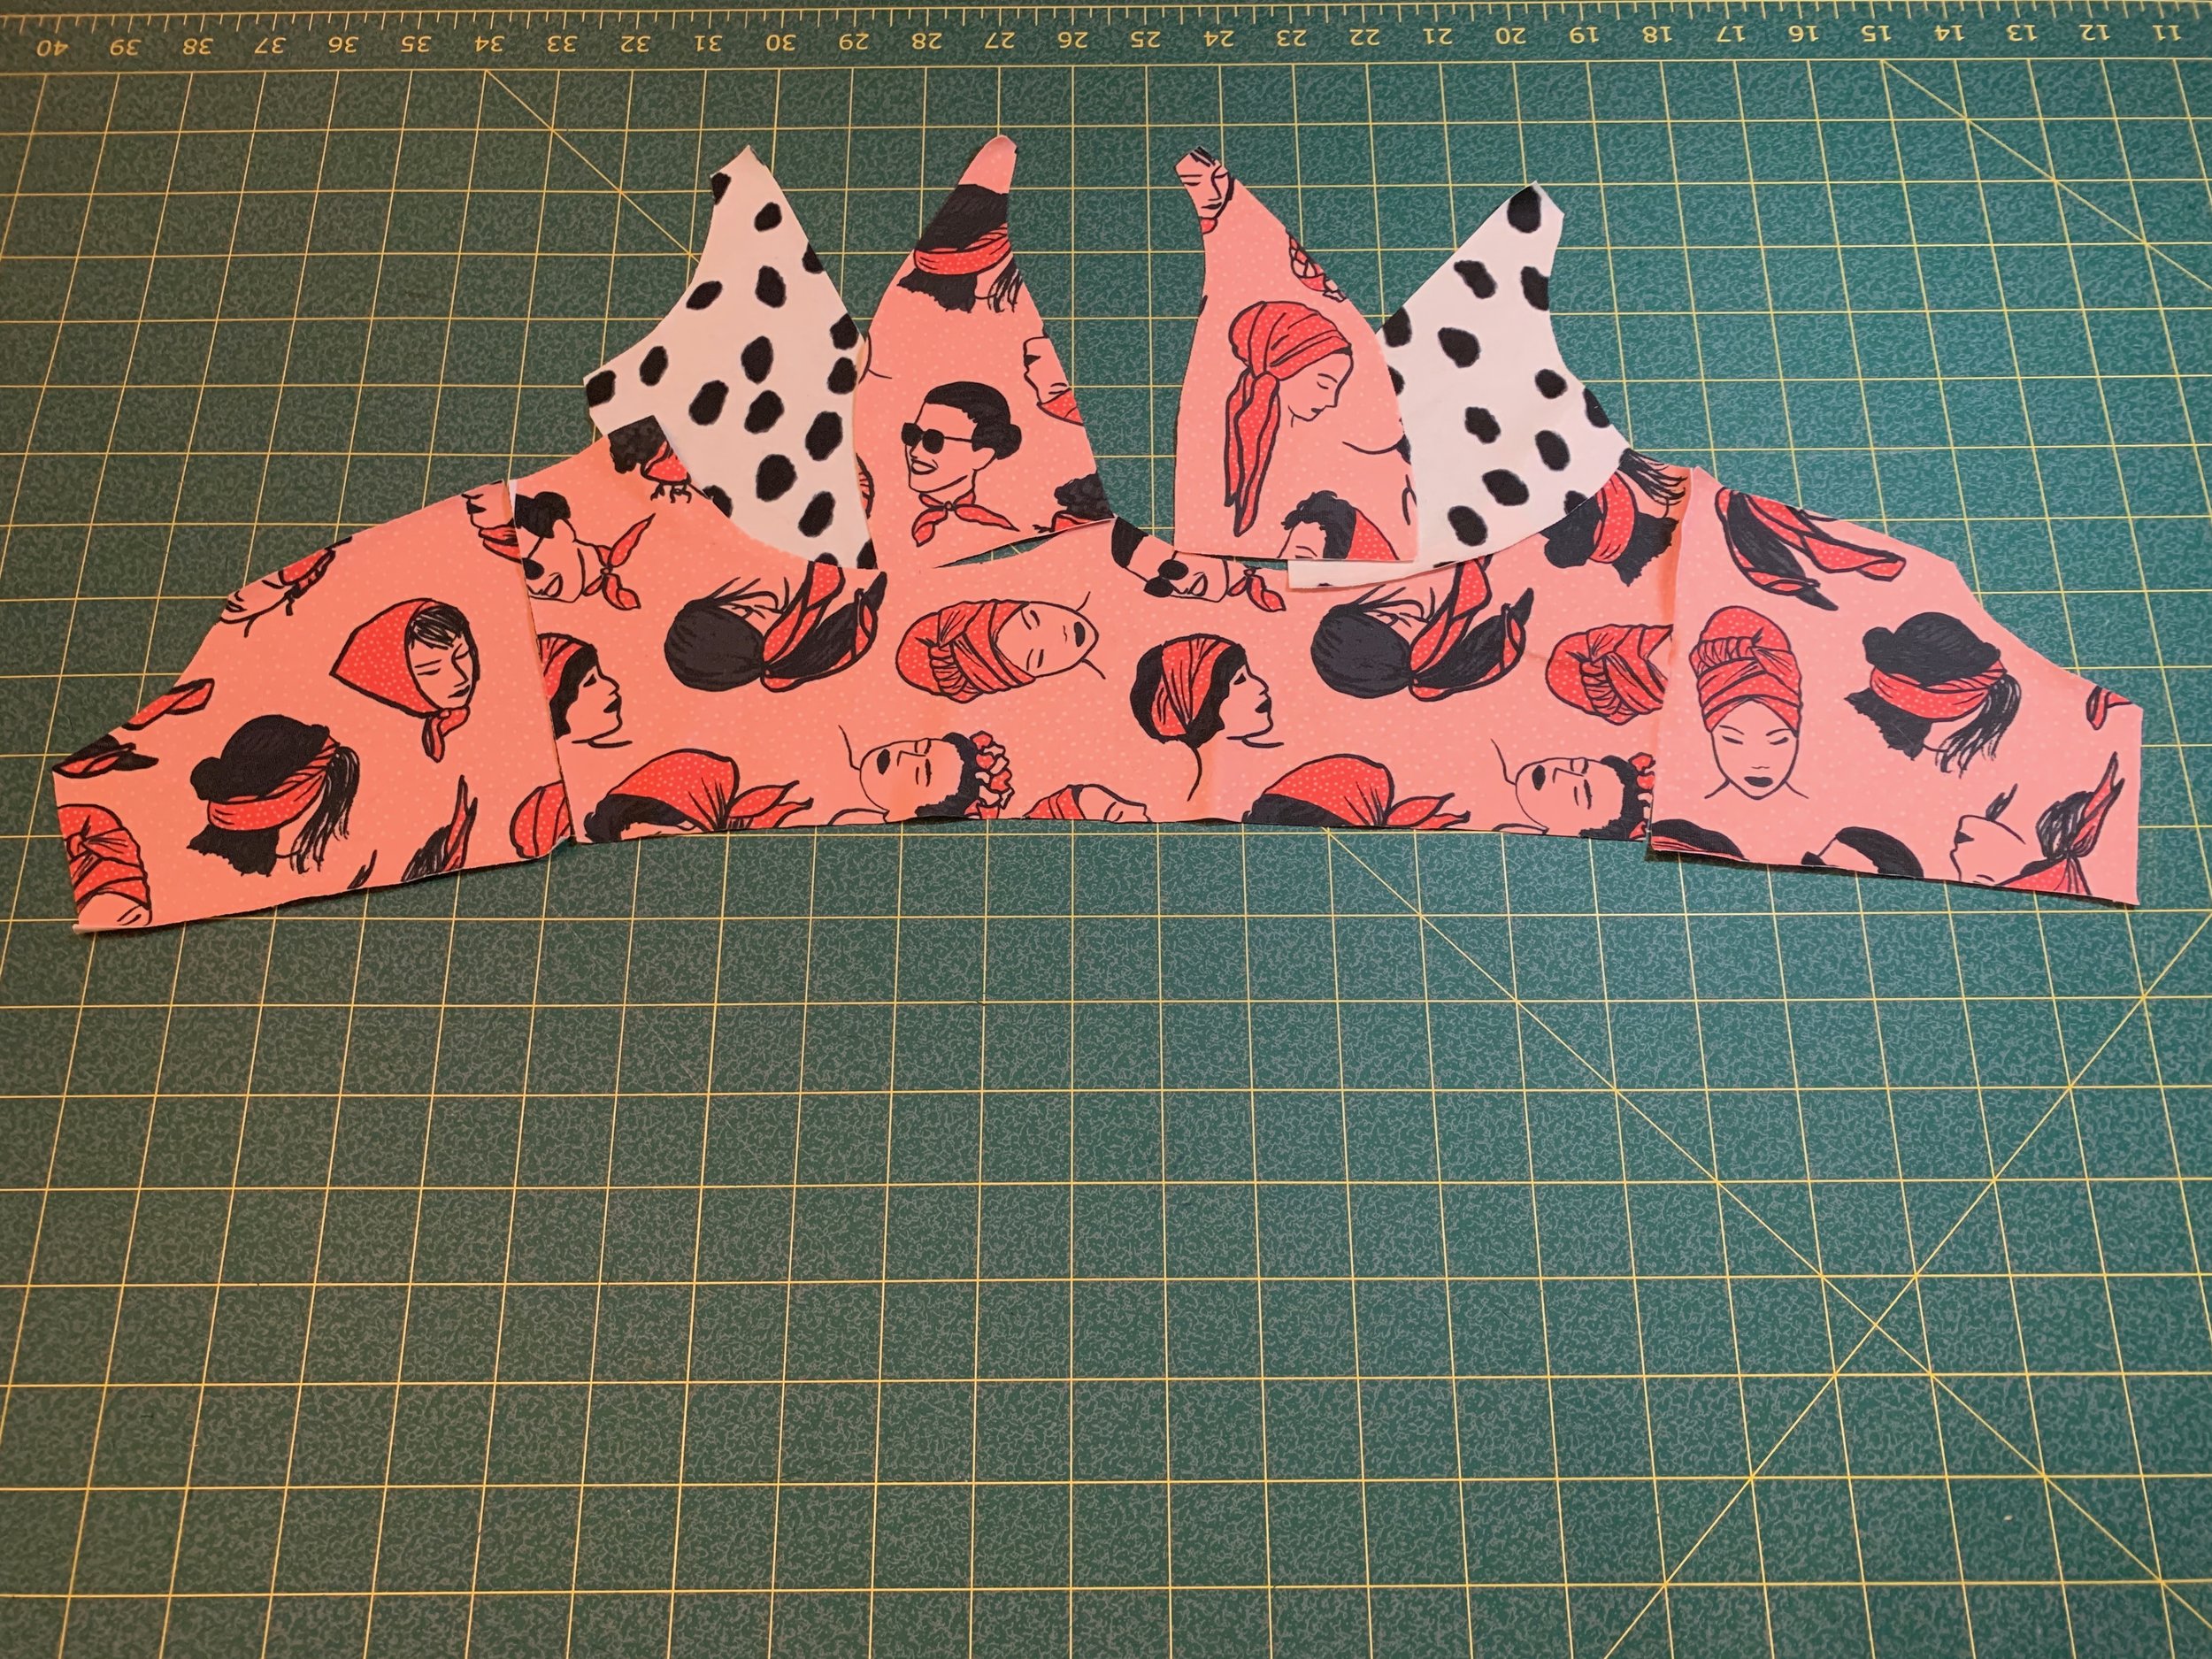
This took a little bit of effort and thought. I had to follow the direction of greatest stretch lines on the pattern pieces but also didn’t want my ladies heads to be upside down! So, there is an inner cup, outer cup, and cradle to the front part of the bra and then there is the band. I decided I wanted the cradle and inner cup to be the ladies and the outer cup to the be the spots.

I wasn’t sure about the band yet so I decided to cut out both options! This worked well and didn’t waste anything as her instructions stated to cut out two of the band to make it a little thicker if you were not using Powernet or mesh. For the inner and outer cup, I tried to get an entire lady’s head in the pattern piece and not put it in an awkward position or completely symmetrical! HA!
I also had to get creative with the cradle because it is cut a different way as the greatest stretch arrow made my ladies heads sideways! I didn’t want this and there were a few ladies that were facing the right way. I made sure to find those and then cut out my pattern piece!

I also could not cut this pattern piece on the fold because then I would not be able to see if the ladies were sideways or straight! So I cut out one side and flipped it over to cut the other side. In order to do this, I made sure that I put my pattern weights over the center so that I wouldn’t cut there! There are so many times I have almost cut where I am not supposed to unless I block myself!

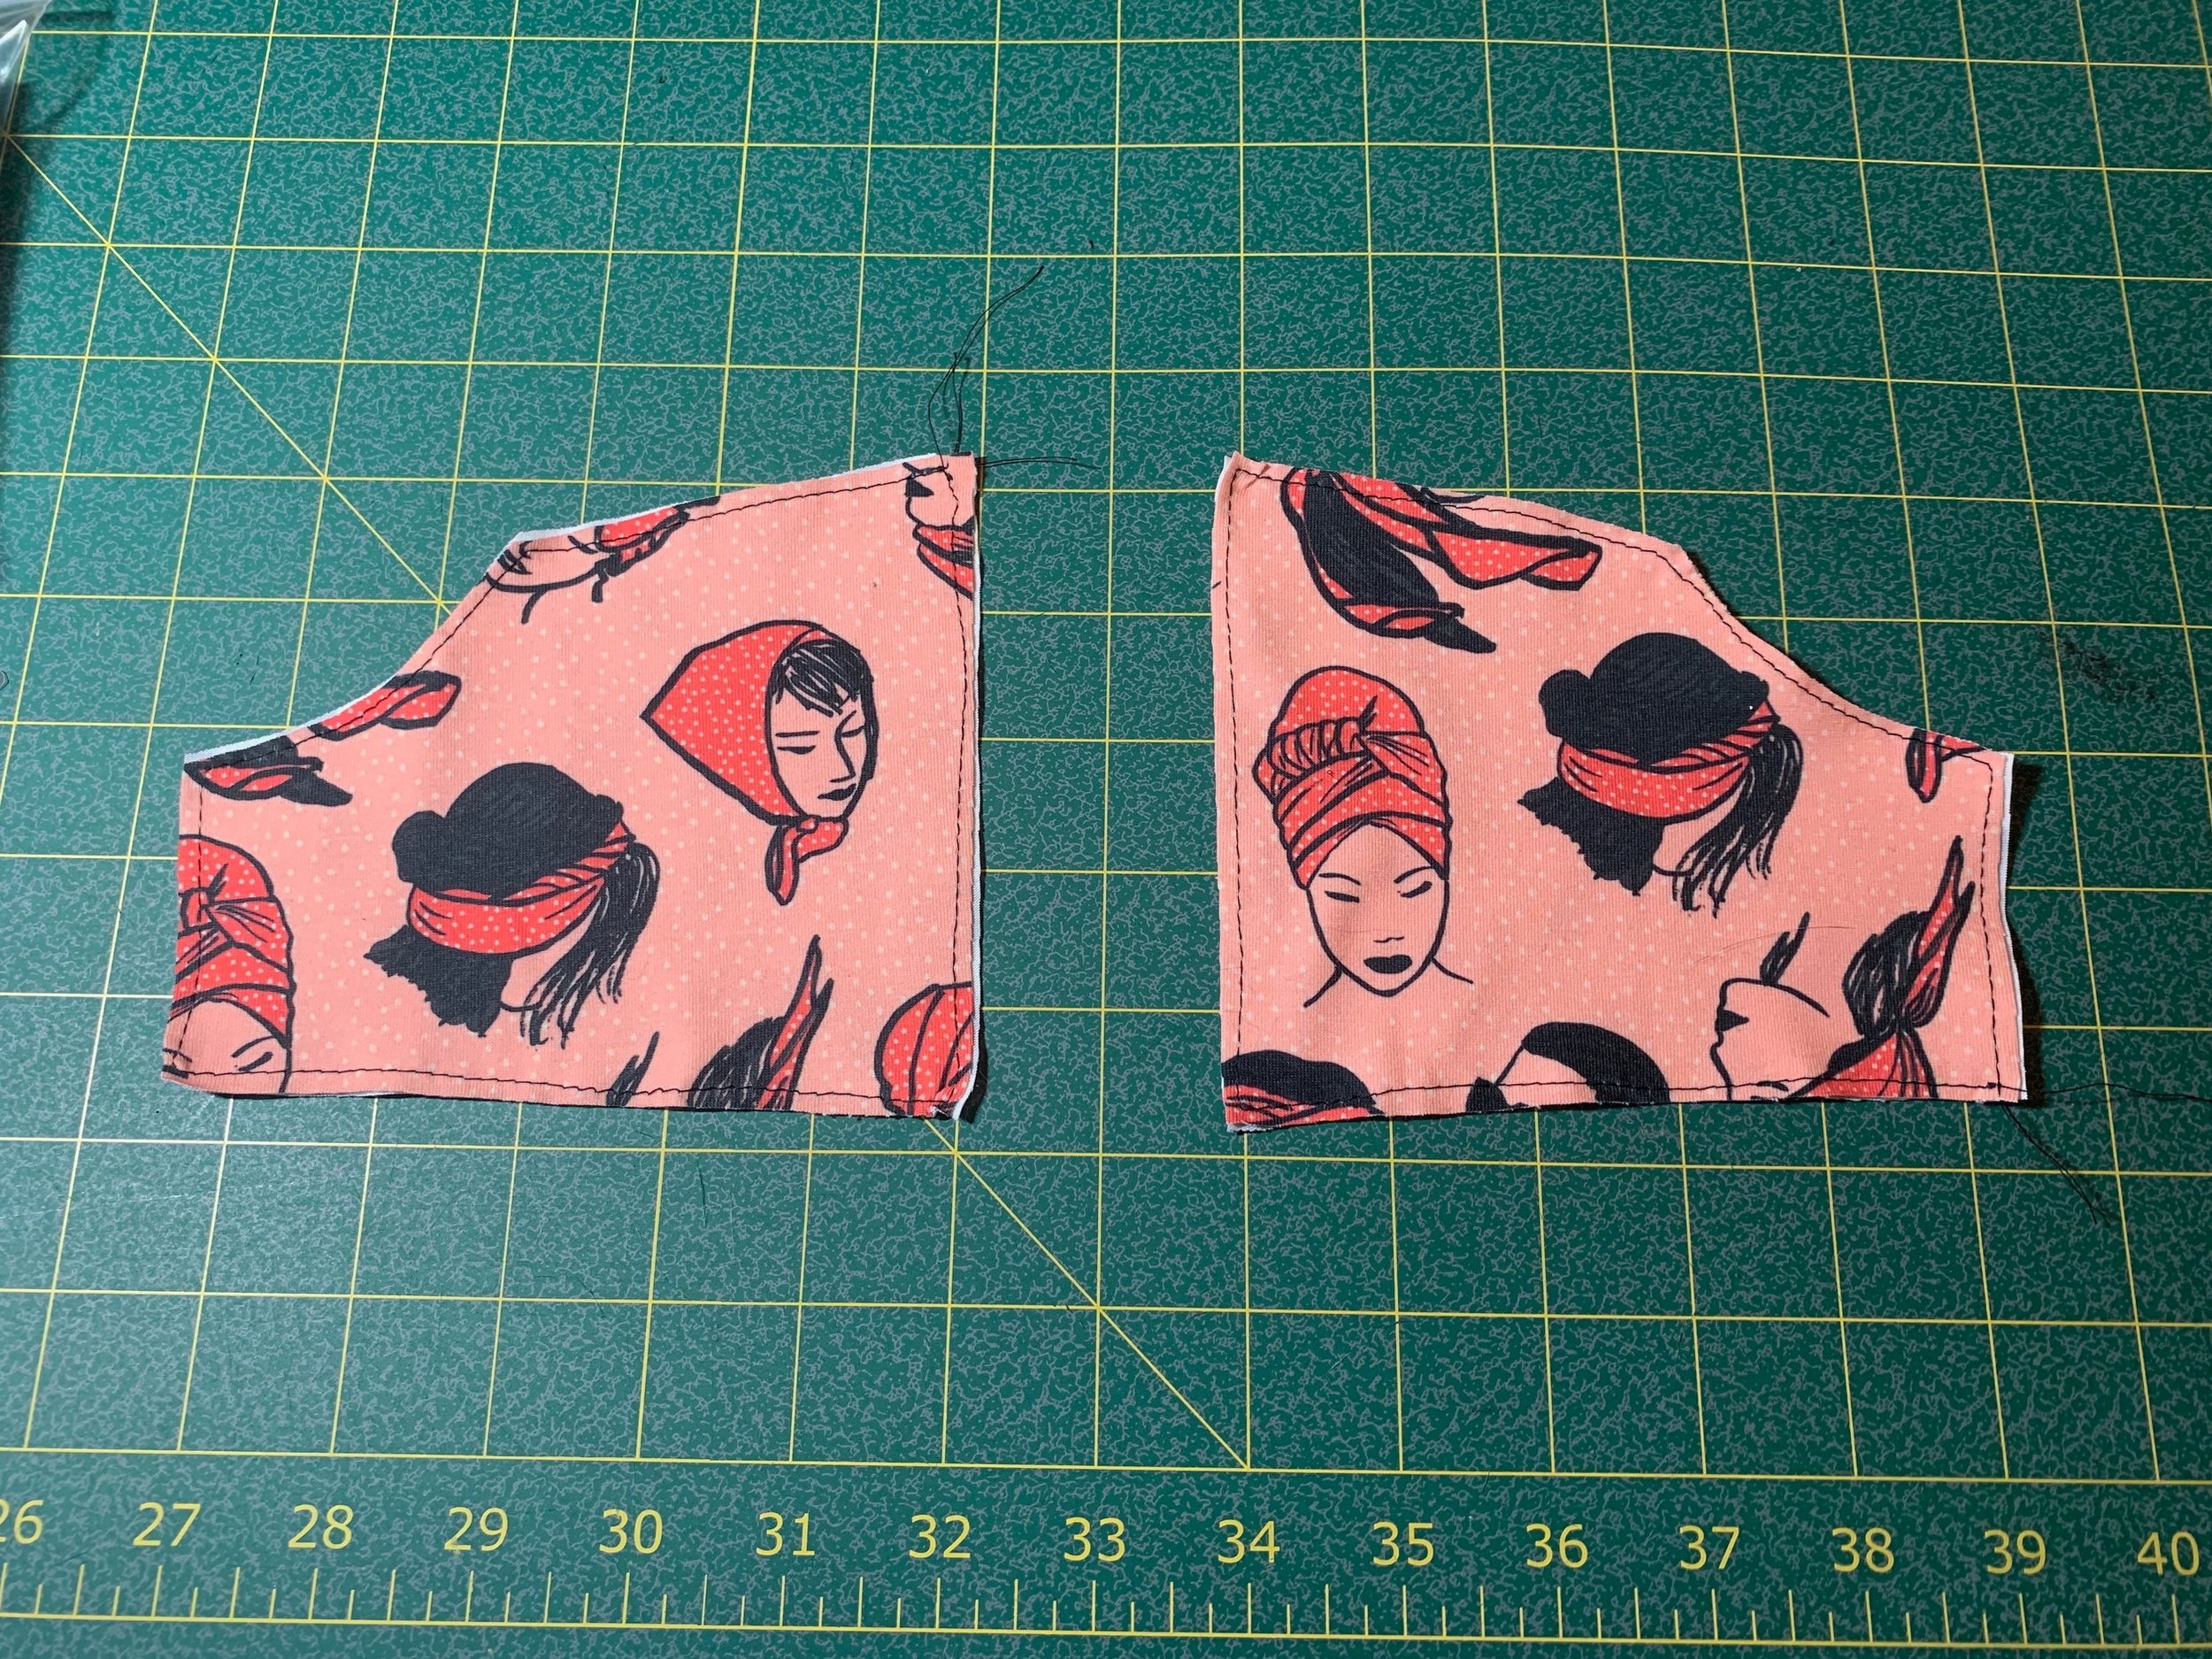
I was left with two options to choose from for the band and took pics of both and decided from there! I knew I could just put my favorite on the outside and the other on the inside for a little pop of color! But here are the two choice below so you can see how I decided! I went ahead and went with the all ladies band and cradle (picture on the right)! I thought this looked awesome and decided the spots would be on the inside. Although, I really liked the way the picture on the left looked for a while!
Now that all my pieces were cut out, I needed to cut out my lining. Now, I wish I could tell you what the lining was but the truth is I bought it a very long time ago when I was considering making a bra. I bought it at Joann’s and I knew it would be good for the lining because I had checked all the boxes when I bought it about a year prior. But I didn’t remember what it was because it wasn’t labeled anymore! I do know it had the appropriate amount of stretch and recovery and this is all explained very well in the sew-a-long and the bra instructions!

Bra Construction:
The first step leads me to explain what I do with the ends of the bra straps! I burn them! I just slightly held the end of the flame next to the elastic end and watched it curl up a little. This will help me be sure that it doesn’t fray too much on the raw end of the strap. You will be making the straps in the very beginning. I love this because I was able to get it over with as it seems it is the hardest part (but it is not). I used some strapping that is a little bit interesting and has a little bit of a ruched effect! I love this and I think it will add to the final look so well!

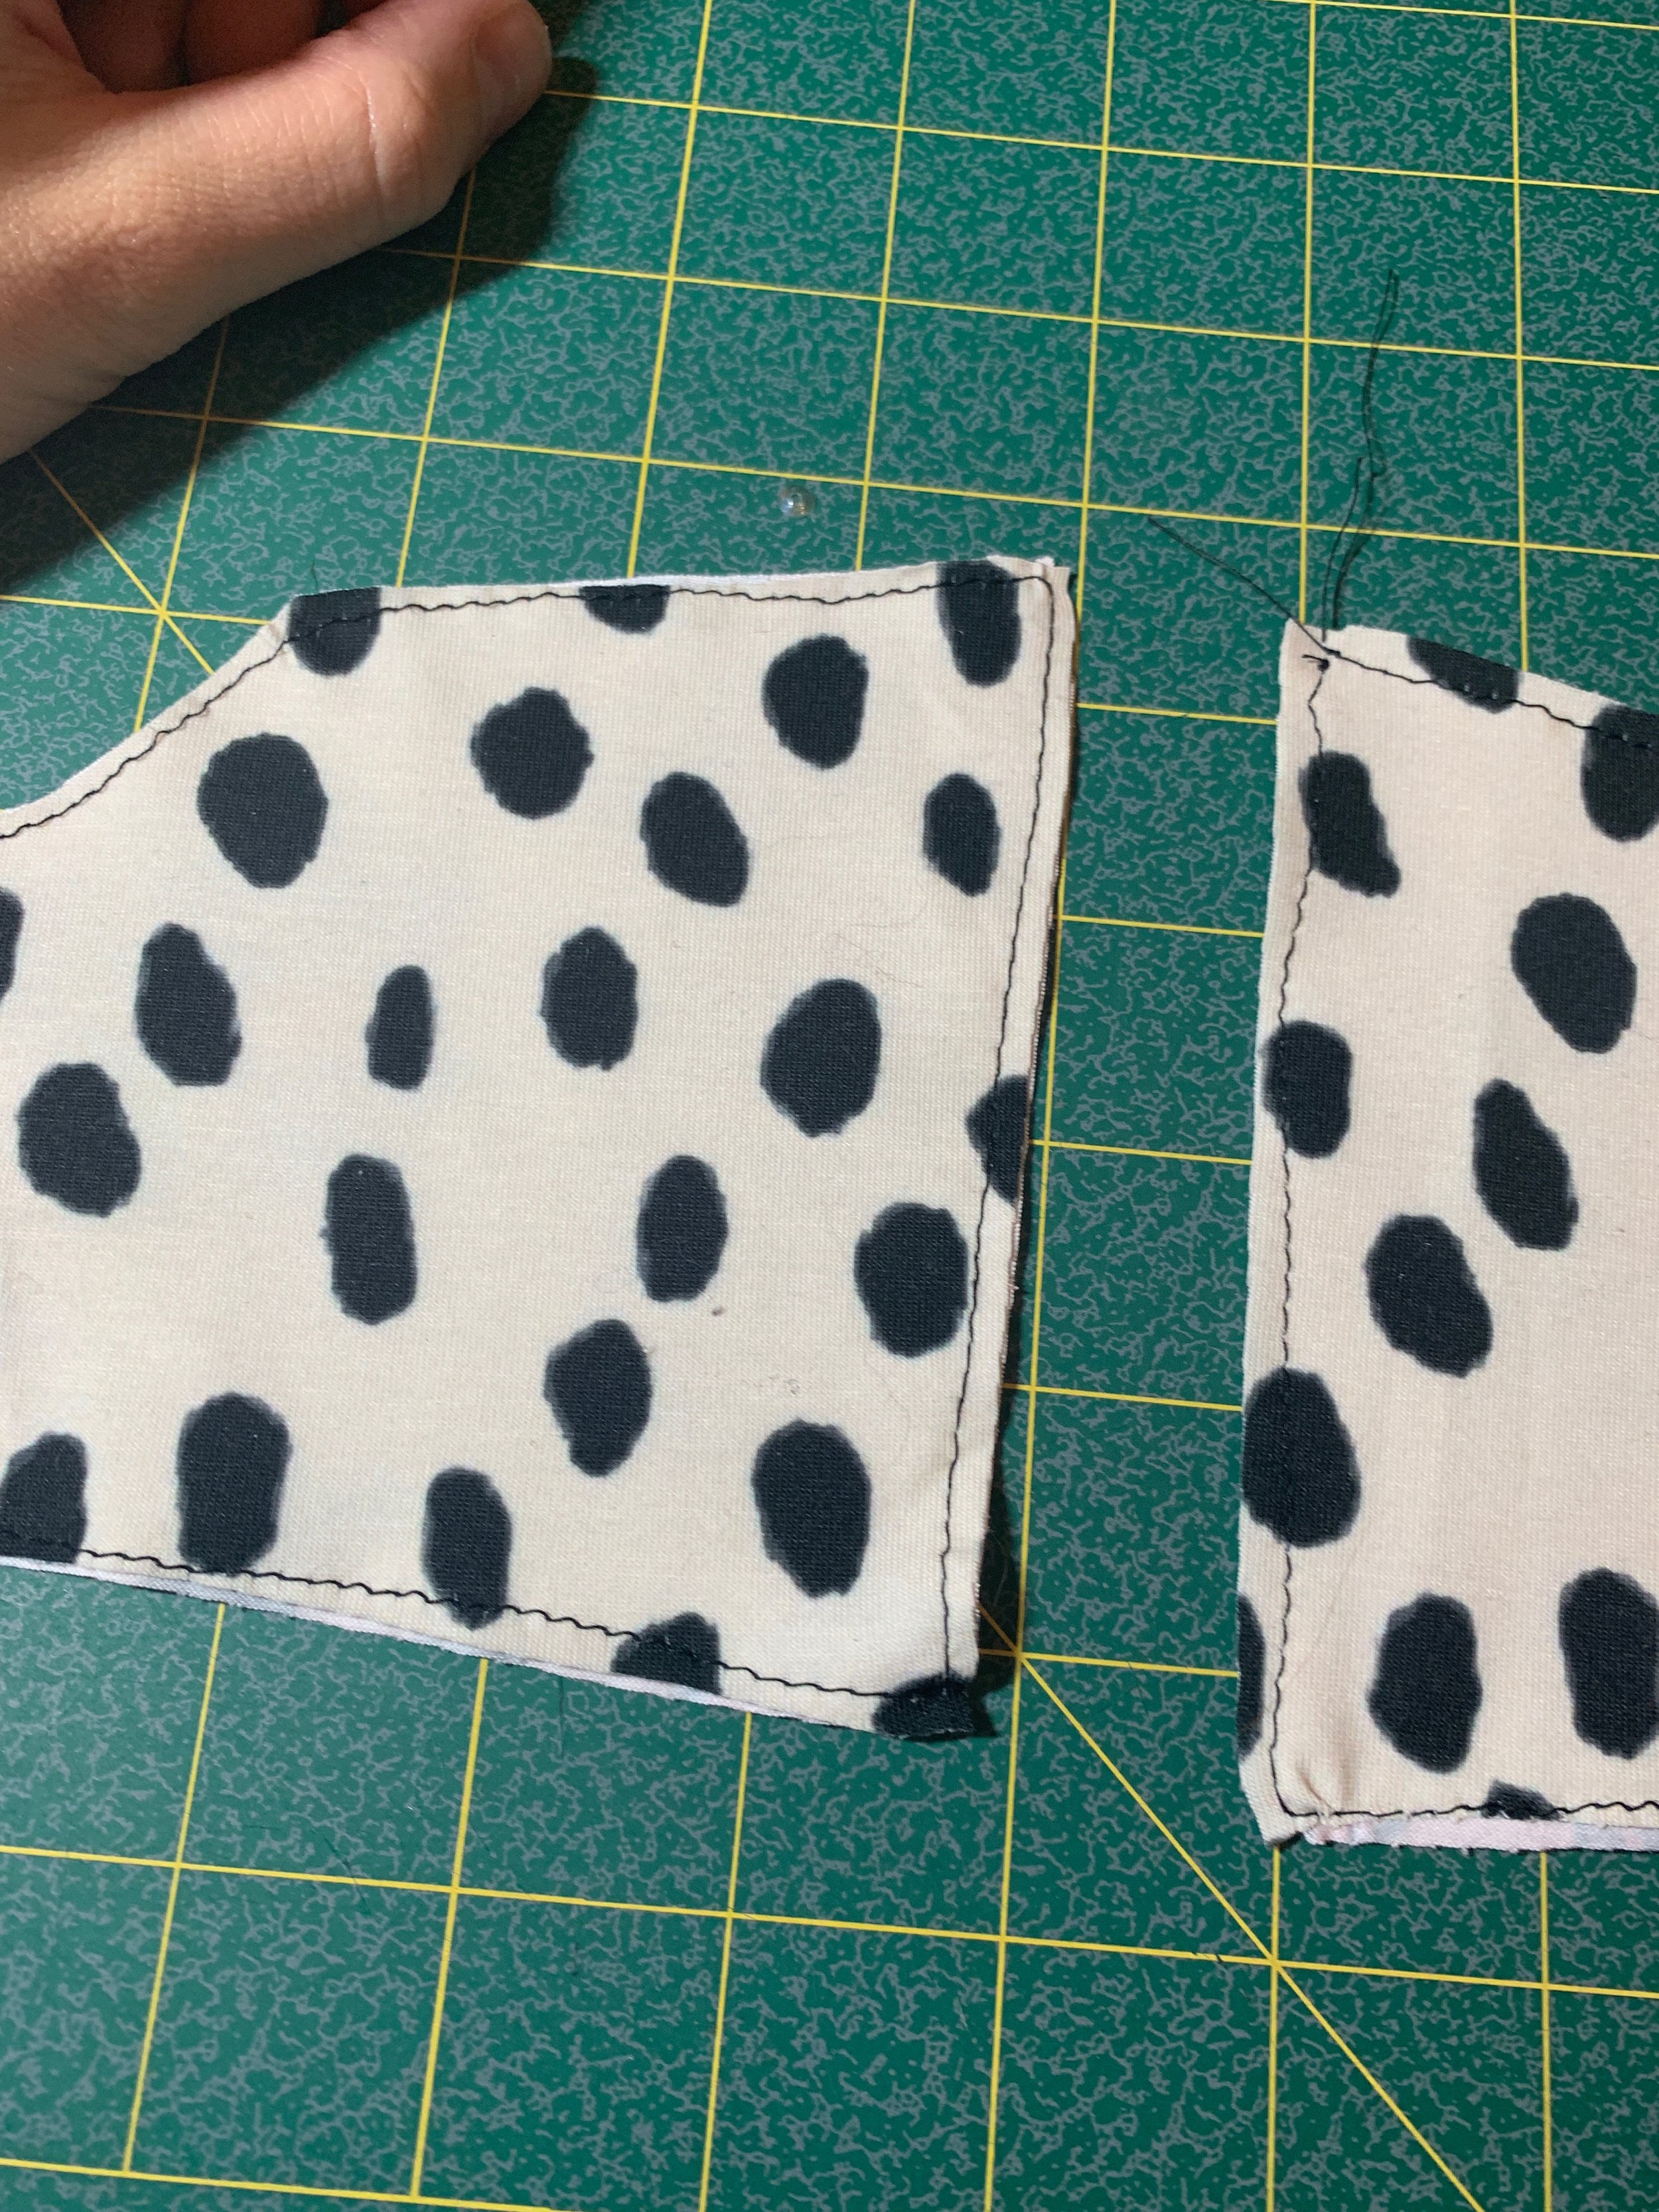
I then stitched together the two band pieces wrong sides together. Remember, I cut out two pieces for each side because I wasn’t using power mesh or netting. Now it will be more stable and secure with a double layer. The instructions don’t tell you to baste them together because this is only if you are doubling them. This was very easy to do and I made sure that I remained inside the seam allowance (which is very small and only 1/4 inch)!
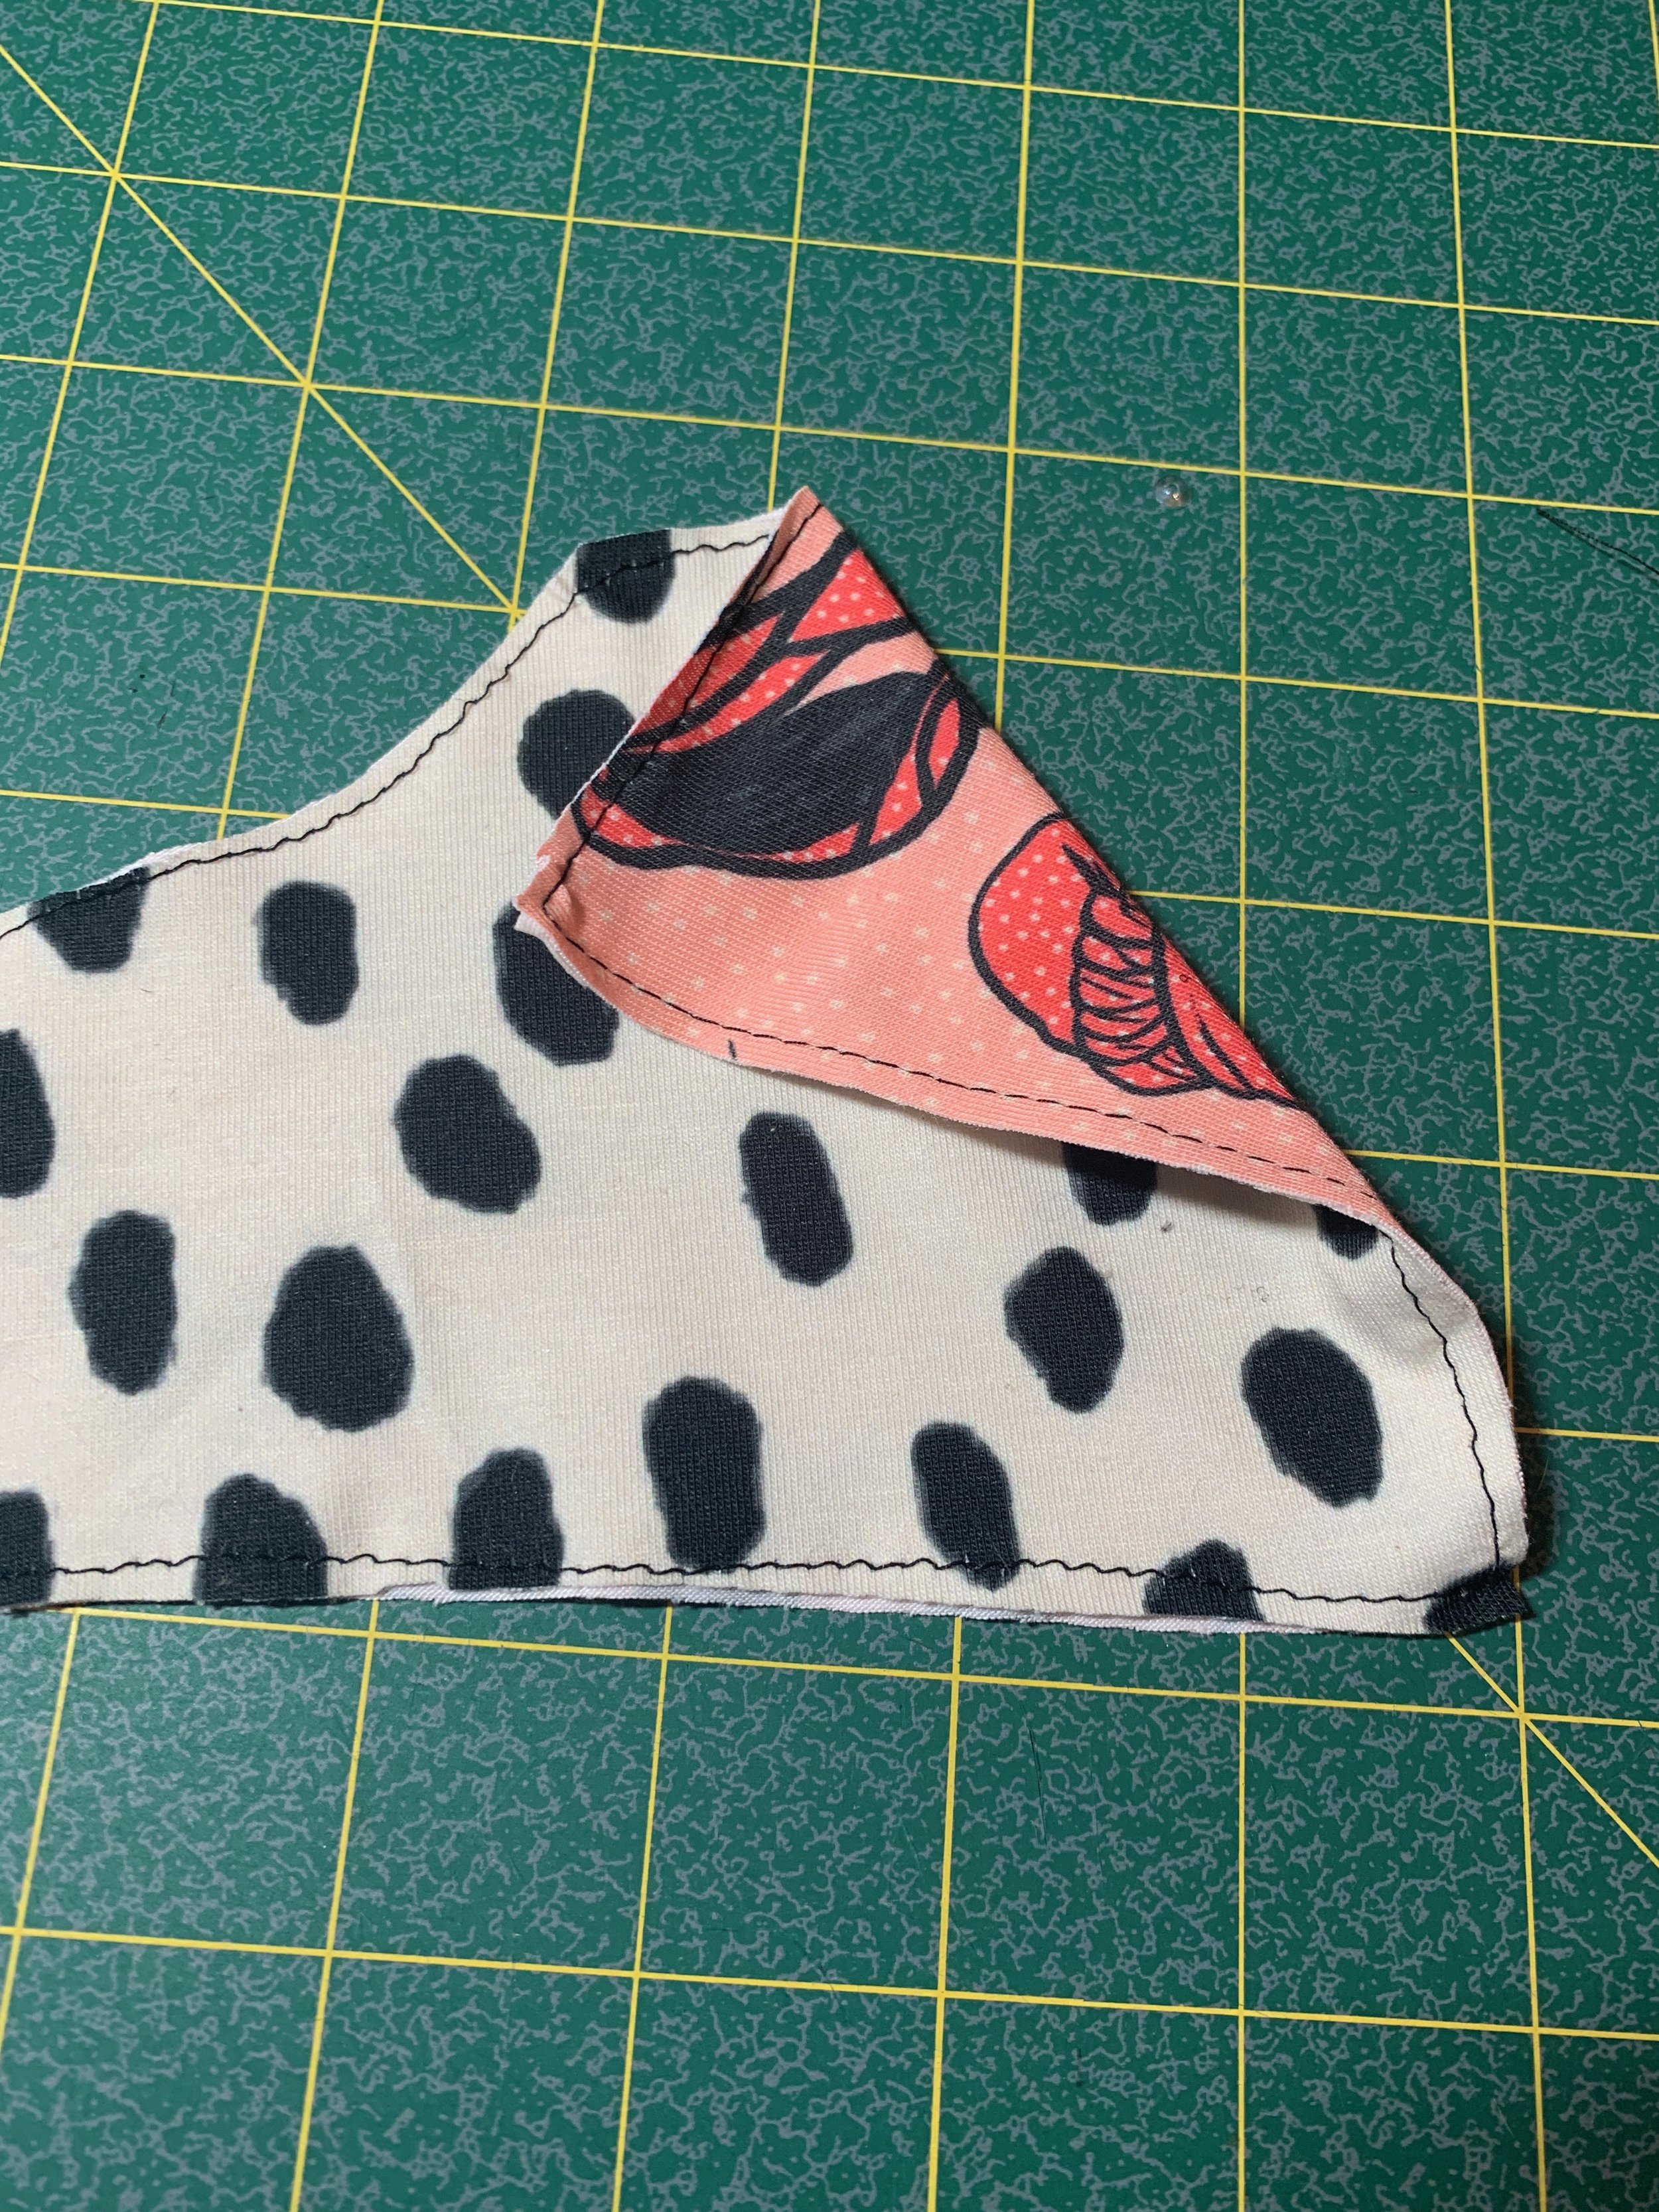
Then I went ahead stitched the lining to the cradle which is written clearly in the instructions. I then had to attach the band to the cradle which was confusing! I had to really think about putting the right sides together as both sides of the band looked like the right side! HA! As you can see below I decided to use black thread for the topstitching. I did this on purpose because I thought it was a nice contrast! However, I sort of regretted this decision as you can see EVERY mistake!


Now, it was time to sew the outer and inner cup together! Again, this was confusing because they are different! I made sure to match up my notches and try my best to stick with the seam allowance without letting the knit get sucked into my machine! I used a straight stitch for all of these seams and topstitching. There will not be any need for stretch with these seams. It does instruct to zigzag when attaching the elastics and I will touch more on that later. As you can see below, I did a straight stitch and serged the edge just to clean it up. This may add more bulk, so you don’t have to do this.

When top-stitching the inner and outer cup seam, I just pushed the seam in concavely and ran the machine across, it wasn’t too hard to do this.

When sewing the quarter inch elastic to the neckline inner cup, I decided I would use a simple method of anchoring my elastic at the beginning and then gently pulling it from the back to help it move along while slightly stretching it. This worked very well and you can see the extra elastic I had provided myself to hold on to below.

For the second pass of the zigzag stitching, I was still using black thread and it doesn’t look like the worst job I have ever done but it is not the best either! I decided to just accept it and move on!

For the next step, attaching the bra cups to the cradle, I didn’t have any problems and the sew-a-long as well as the instructions explain everything really well. There were no issues and this part went rather well. I did snip into the seam allowance as instructed in the very middle to help with the bulk. Then I went onto the bottom band and that is when I ran into trouble! I attached it with the first pass of zigzag stitches, using the recommended length and width. With the second pass, I did the triple zigzag and it did not go well! It was very uneven because pulling on the elastic and passing over bumps and with the triple zigzag it just was TERRIBLE! Exhibit A! HA! This is partially ripped out!

Then, I decided I would just do a regular zigzag with the recommended length and width. This worked a little bit better! It is not perfect but it will do just fine! I am not shooting for absolute perfection and I know next time to maybe not use a contrasting thread color!!!! The key is to just go slow and try to keep the stitches consistent.

I didn’t have any problems stitching in the underarm elastic and I didn’t have to adjust my bra for the hook and eye band size. There are clear instructions on how to do this!

Next you need to make sure the strap extension on the top is only 1/2” wide to pass through the loop! With my practice version, It was skinny at the very top but got wider quickly and was difficult to pass through. I made sure that it was not so wide this time and it folded over the loop very easily. After sewing the underarm elastic, this width will be set and ready. Then you connect the ring that has your bra strap on it! Don’t do what I did when you are tired and connect a new loop and then wonder to yourself, WHYYY did I do that! HA! I was very tired. Then I got out the seam ripper and passed it through the skin on my finger one time and then neglected to get a bandaid right away soooooooo there went some blood on my bra! I was like ok, time to go to bed and finish tomorrow! That was an unnecessarily rough time after a small mistake! Sometimes that happens though and is part of it! This is a picture of what not to do by the way!

Next, make sure you follow the directions closely for attaching the hook and eye and have them facing the right way! You want to make sure that you can put the bra on comfortably!

I buy a continuous roll of hook and eye tape, so I had to cut the size. I made sure I had enough room around the raw edges to do a satin stitch, overlock stitch or finishing stitch with my sewing machine to make sure that the tape didn’t unravel!

VOILA!! You have completed a bra! I so enjoyed the process and I have a completed practice version and this one! They both fit perfectly! I think I will try my hand at making the underwear that comes with the pattern. I definitely have tons of fabric leftover and that way I will have a matching set!

Bra Pattern: The Watson Bra by Cloth Habit
Fabric: fill-a-yard feature on Spoonflower lady print here and the spots here!
Notions: Sew Sassy Fabrics
Pants: Winslow Culottes pattern from Helen’s Closet
Kimono: Ready to wear from Fab Fit Fun