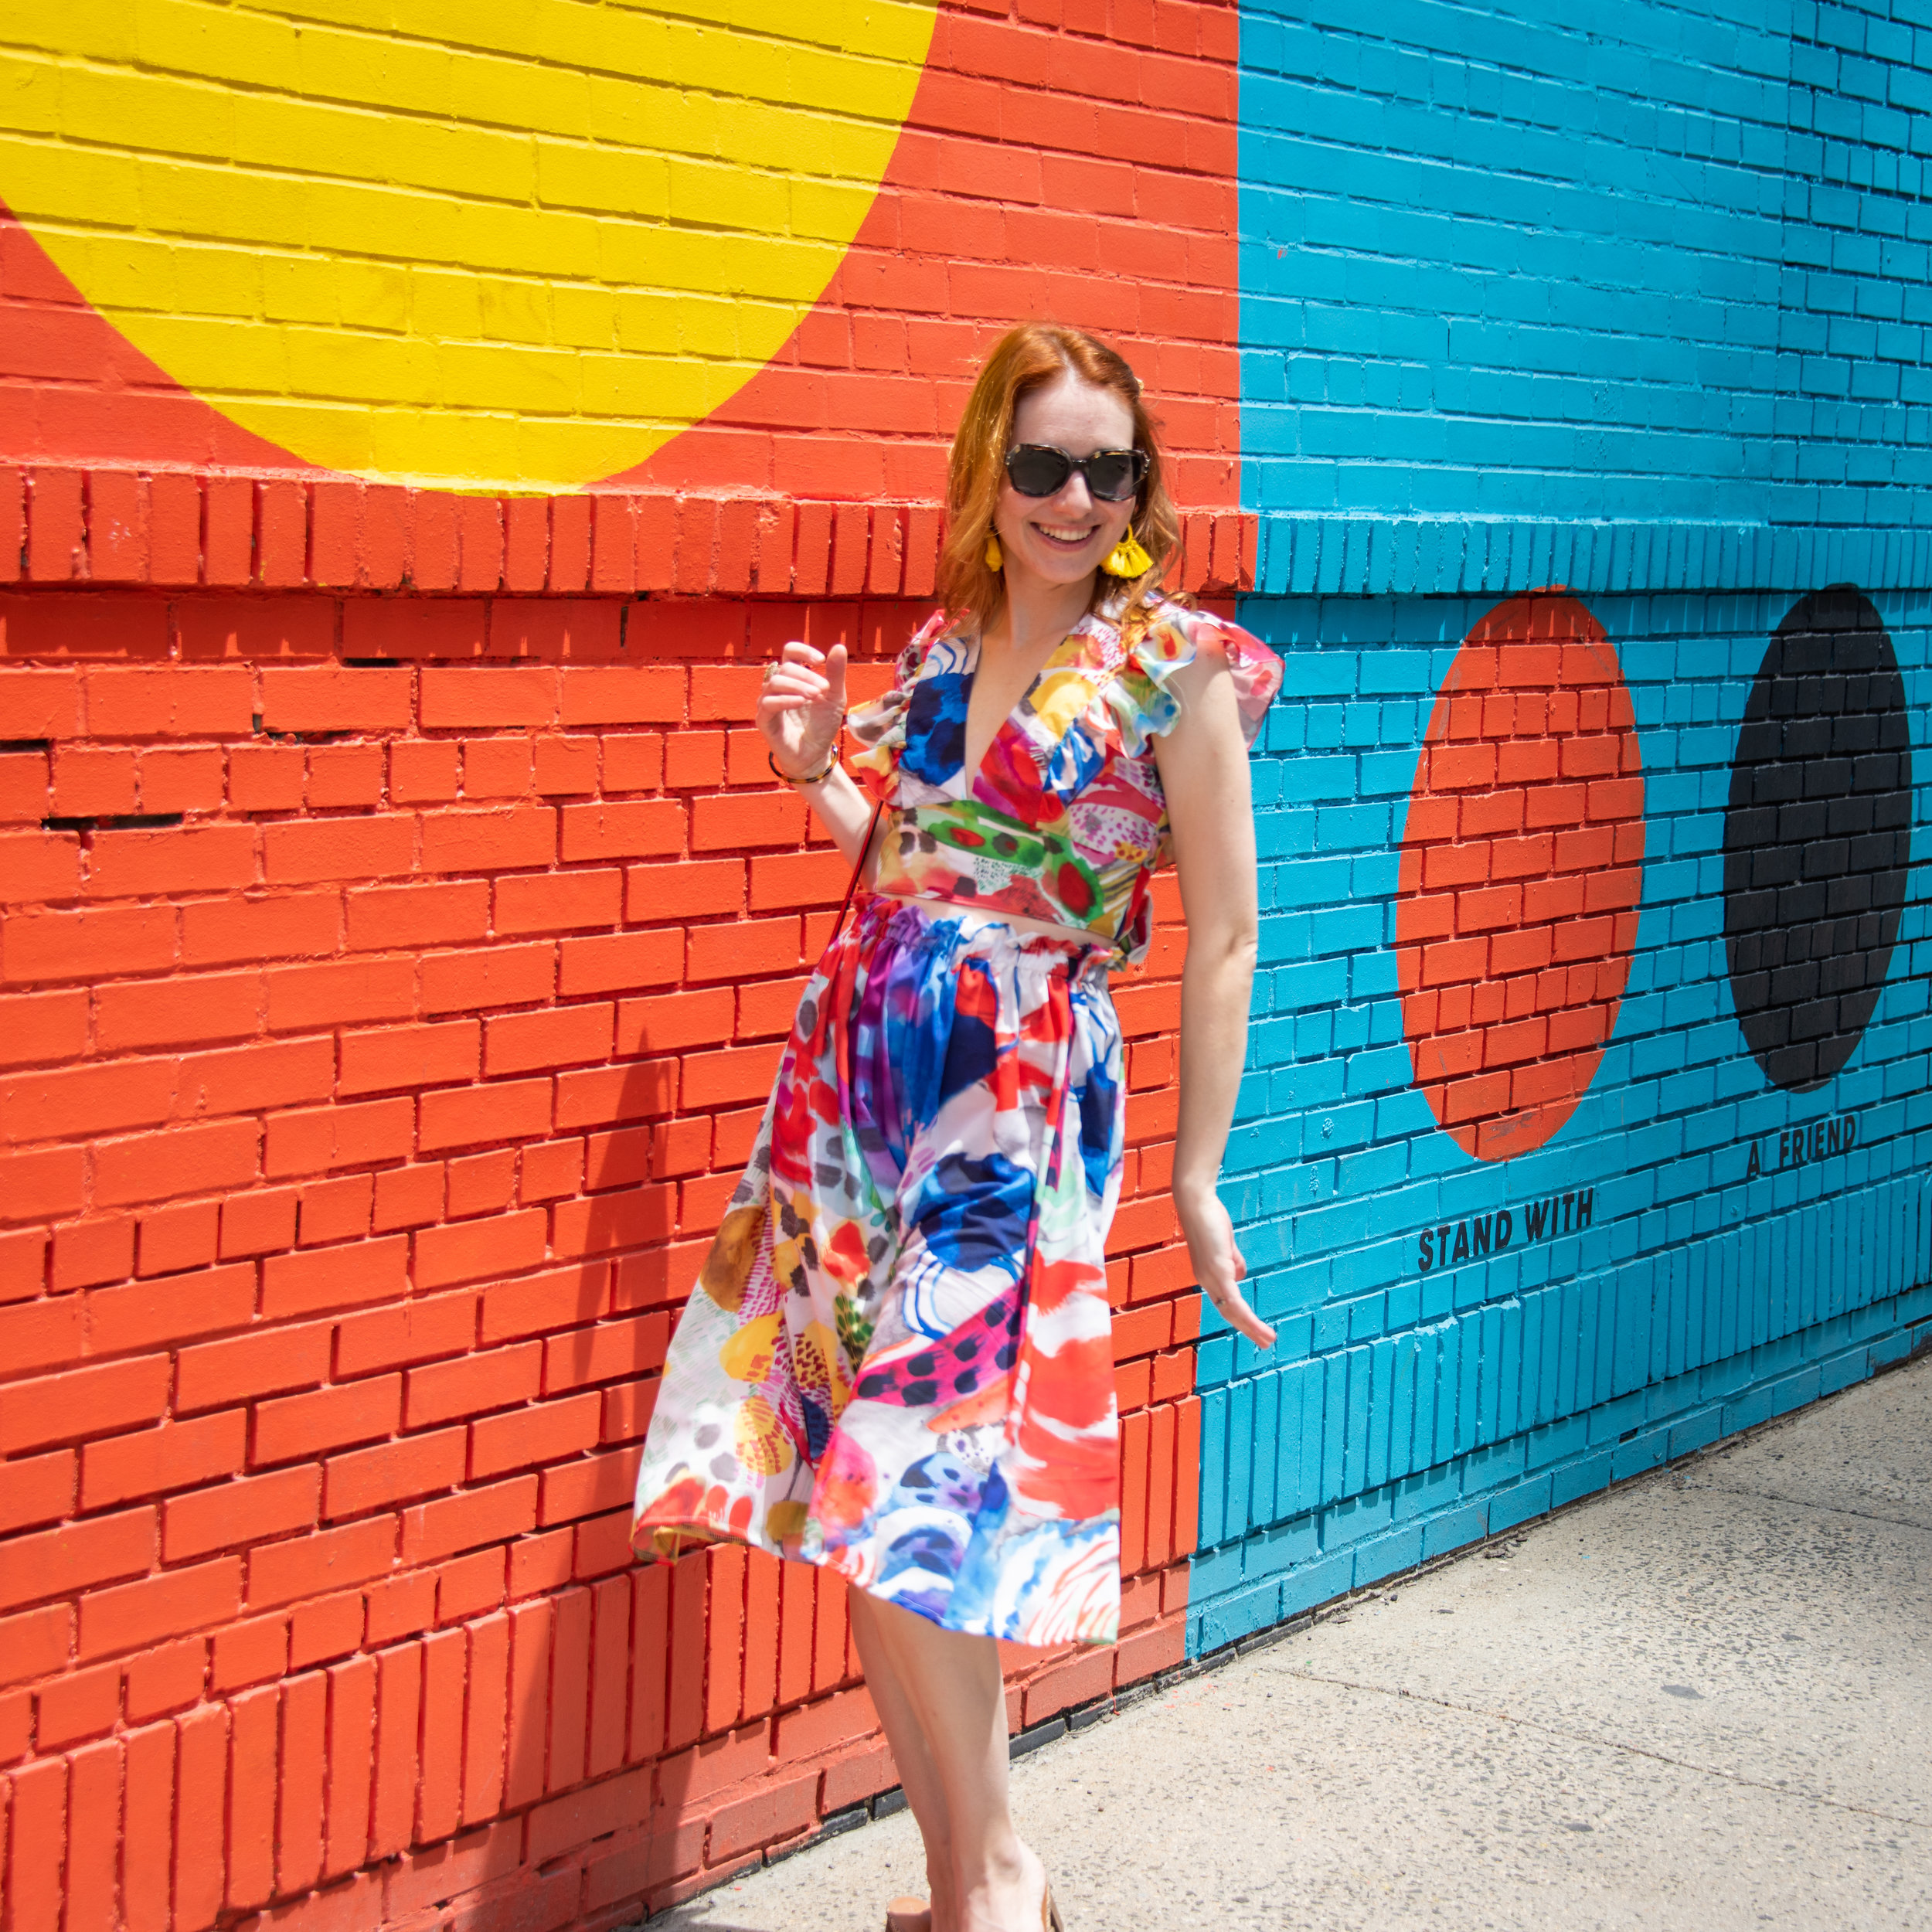
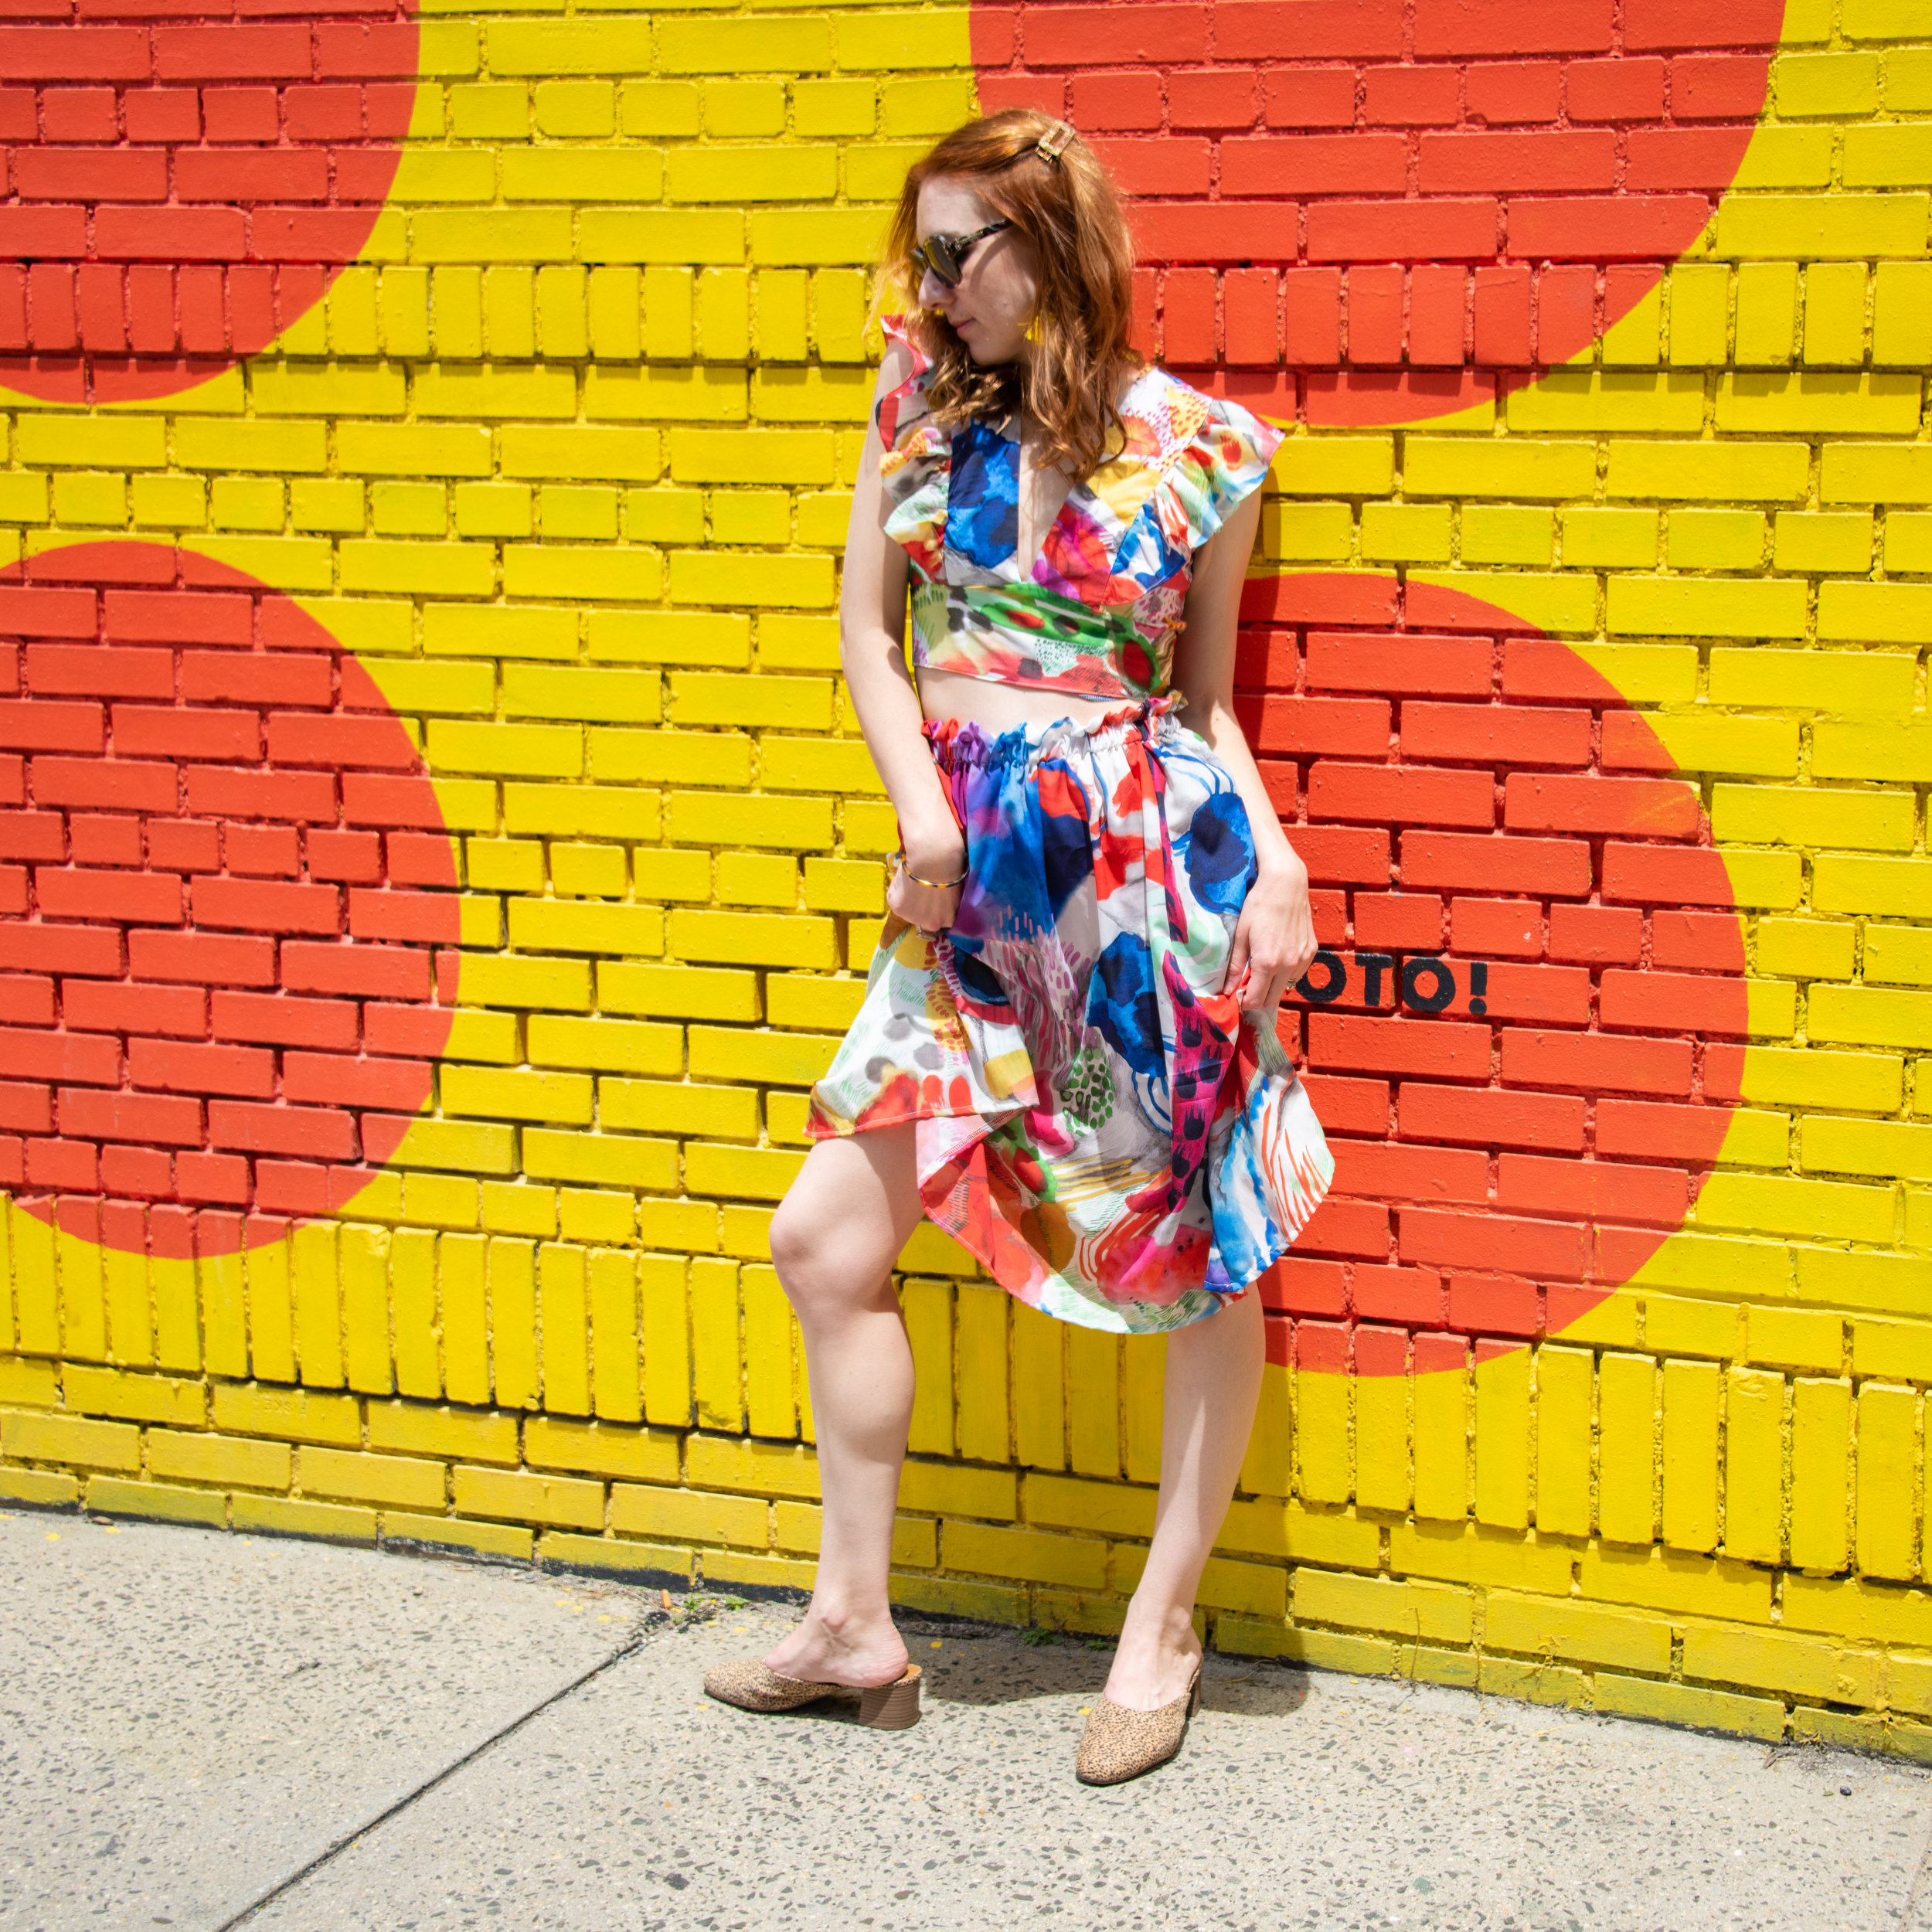
Spoonflower McCall's M7909 and Self Drafted Simple Gathered Skirt
Welcome to a blog post about a failed project! I was so heart broken when I made this pattern and it ended up being too tight in the hips and the rise was way too short! What am I to do when I spend hours and hours on a project and I try it on and feel my heart sink! I am sharing this because I know we all go through this and we all have failures! What do I do when something fails? Get out the scissors!
The Beginning:
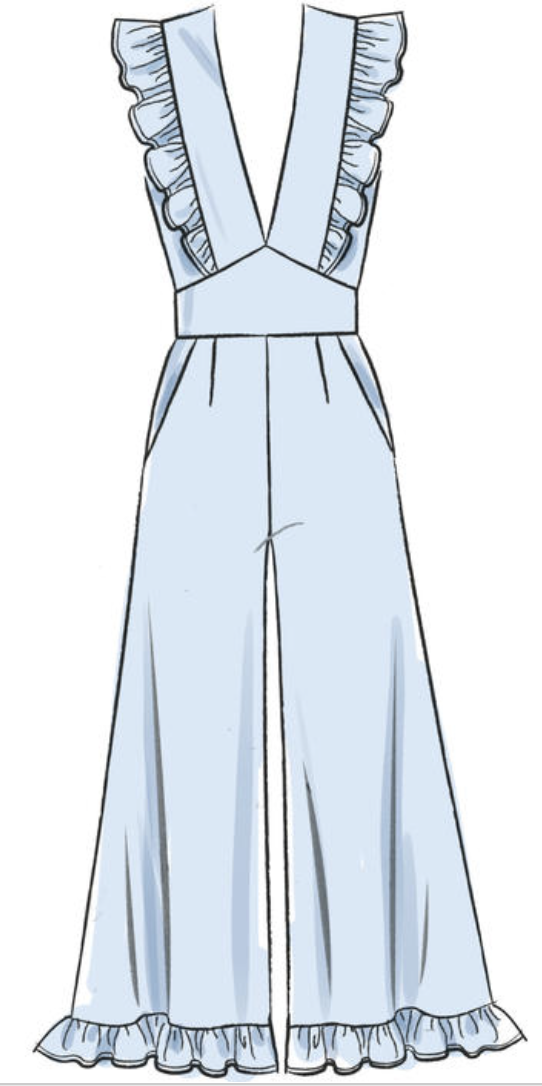
I started out by making the mccalls pattern, M7909 and I had planned on excluding the bottom ruffle and extending the pants by 3-4 inches.
The bodice took quite a while but went smoothly! There is plenty of hand sewing involved which is normally not a huge deal, but it did take quite a while considering I was on a deadline! I recently realized through my instagram friend, (@andreanaturally), that you can use hem tape for these hand sewn hems! So great and will take way less time. It also looks very neat! I found some on amazon here. This is the kind I use because it works well for bending and moving and is not rigid.
After making the bodice portion, I tried it on and it seemed to have a nice fit. I did make one modification and that was to take about 1/4 inch out of the curve of the bodice front side piece. This took fullness out of the apex for my A cup size. I made the pattern according to my measurements and then took out fullness as well. In theory, this would make it way too small, but it was just right.
The fail:
I then started to work on the pants. I finished all of it the bottom portion, attached it to the bodice, and before hemming and inserting the back zipper, I tried the jumpsuit on. This is when I was severely disppointed. The rise of the pants in the front and back crotch area was WAY too short! I could have added probably about 2 inches to the bodice and maybe something to the front and back pant pieces. Sometimes this problem can be fixed by increasing the curve of the crotch from the front to the back. This seams counterintuitive because you are taking out a larger chunk and bigger seam allowance. However, this moves the seam further down the legs and then you can cut off the excess seam allowance that you are taking to allow room. I hope this makes sense!
I did this modification and the really helped the garment fit in the crotch area, however, the thighs were still too tight. I took out the side seams and expanded them out, by sewing a smaller seam allowance. This only helped a small amount and did not improve the garment in the grand scheme of things. I also noted that even with 3.5 inches added to the length of the legs, the jumpsuit was a little shorter than I wanted it to be!
Also, a word about the style of the garment as a jumpsuit in this fabric. I felt as though, even if the thighs would not have been tight, the flow and look of the garment was not right. The fabric is SO beautiful, but I felt like this was a case of wrong fabric pairing with the garment. I felt like I looked like a clown to be honest! I am not sure why but this fabric in this form, did not suit this garment! I don’t know if it was because of the drape? I think it would have been better in a cotton poplin or thicker cotton? Whatever it was, it did not make me super excited! I almost decided I would give up and move on, but then I remembered that this was precious fabric and I had to figure this out!
Trying to save it:
Then I called my husband in there, as I often do, much to his disappointment! HA! He always says he doesn’t know how to help me and he doesn’t know why I ask. However, he always helps me so much more than he even realizes. Our first idea was to turn the pants into a skirt.
Well, this failed because there was simply not enough fabric to make a skirt that would fit. It was too tight. More like an oddly shaped fitted pencil skirt all the way down to mid calf. NO THANKS!
Next, I thought I would cut off the pants and leave a top that went past my hips slightly. Well this was still to tight around my hips, so I cut open the side seams and thought I would insert a gore to help expand the newly found top around my hips.
Well, I decided against this because the pockets looked so ridiculous on the front of the top! HA! So now what….???
The best idea:
Then I pulled the extra fabric below the bodice panel to the back and pretended like it would tie in the back. This would make the top super cropped, but I have been wearing a lot of those lately. I have been enjoying the high waisted skirt and pants trend and this would go nicely with my new cropped top! Soooooooo…out came the scissors AGAIN. HAHA!
I cut off all but about an inch or so to make a nice hem. I went ahead and serged the bottom and folded this and topstitched it from the right side to make a nice straight hem at the bottom of the top.
The following steps should be completed for the right and left back pieces:
Now, there is still the issue of the top not being connected in the back. I thought it would be a little ridiculous to add a zipper to such a short crop top. I thought it would look beautiful with a big drapey tie in the back. I decided to take the band pattern piece and use it to measure out a tie piece that would be the right height (double the height, so I could fold it over) and I eyeballed the length that I wanted the tie to be! I really just used the rest of the fabric I had and cut the long length of the ties straight on the grain so they would not warp or grow. I made sure to make the tie have enough for a seam allowance to attach to the back of the bodice at the bottom band. I sewed the tie right sides together folding them lengthwise. I sewed down one open short side and down the length. This left only one short side with a raw edge. I then turned the tie right side out.
I then attached one raw side to the bottom band on one side and lined up the tie with the seams of the band of the bodice so it would look like it is continuing on. I used 5/8” seam allowance so I would be keeping with the fit of the original bodice. After sewing this, it will cause the rest of the back bodice to turn in by the seam allowance. I went ahead and turned it under and sewed it down with a topstitch. I tucked in the raw edge the best I could into the 5/8” SA.
Now it would be great if I had more pictures of this but you are essentially just making two ties. I was so frustrated and kept thinking it was going to fail that I was just flying by the seat of my pants hoping for the best! HA!
Now, your ties are attached and you have an almost finished top.
There is still an issue of keeping the very top of the shirt attached in the back. All I did was sew a hook and eye to the very top and voila! The top is complete and SUPER CUTE.
Simple Gathered Skirt:
You could stop here but I continued on to make a simple gathered skirt because I had a little extra fabric! All I did was literally take what I had left in yardage and cut it out to have a straight rectangle. You will have to measure out the length that you want (or height), but I just used the remaining amount of fabric I had. You need to make sure you account for about 6 inches for a waistband and about 2 inches or so for a hem. It’s always better to have more fabric than not enough. You only need to sew one seam if you are using the entire width of the fabric! So I essentially cut a piece of fabric 56 inches wide (enough to gather around my hips) and then measured the length by holding it up to myself! If the fabric width is not wide enough to gather around your hips, you can cut another piece and sew them together at side seams. The way I made this skirt was very simple and non-scientific! If you can tell!
(In general, you want the front skirt width to be at least 1.5 times the side to side width of the front of your hips and repeat for the back. You want to make sure you have enough skirt width to gather.)
I wanted to have a paperbag waist effect so after sewing up the side seam of the skirt to make it an enclosed circle, I measure out a piece of 3/4 wide elastic. I put the elastic around my waist or where I wanted the skirt to sit. I added about 1.5 inches to this measurement to account for overlap. I then folded over my skirt top by 1/2 inch and pressed. Then I folded it down about 2 inches and pressed. I then edge stitched all the way around this seam leaving about 2 inches open. I then stitched about 1 inch from the top of the skirt to create a tunnel below for the elastic and above for the paper-bag waist. I then inserted the elastic (1 inch wide) and this automatically gathers the skirt. I loved how easy this was! I just sewed the elastic together and then closed the 2 inch opening.
I hemmed the skirt by turning it up twice after letting it hang for about a day!
Now I have made separates and I absolutely love it!
I apologize for the lack of pictures and instructions but it was a creative nightmare/explosion and I was so so focused! I didn’t stop to take any pictures! However, I wanted to attempt to document this for you all just in case someone wanted to repeat it!
I hope you enjoyed this tutorial. I wanted to document this insane process and the amazing result after I thought it was a complete failure!!! I think styling these separates will be so much fun and I plan on wearing a different shirt with the skirt and wearing this top with jeans! It’s going to look amazing!
Pattern: McCall Pattens Company m7909 hacked and self-drafted simple skirt
Fabric: Katie Kortman Fabric from Spoonflower in poly crepe de chine
Shoes: (when wearing them ha!) Target
Hem tape: from Amazon here


