Magnolia Dress with SBA
Hello everyone! Wow! Do I love love love this pattern! It’s just so beautiful! So elegant, sexy, and beautiful! I want to make like a million more! I will just walk around in dresses for a while. Its fine everyone. Totally normal.

This blog post is a doozie with tons of info but here is brief summary of what I will be talking about:
-Fabric choice
-Modifications (Small Bust Adjustment in detail)
-Pattern layout
-Cutting and marking your pattern
-Pattern construction
-Tips for sewing darts
-Sewing the bias binding
-Invisible zipper insertion
-Pattern fit
-Styling your garment
First, I have to say it did not take that long to make! Such a simple make actually. Once I made my pattern adjustments listed below, it went super quick!

Fabric Choice:
I used my ever coveted Art Gallery Paradis Woodland rayonfabric! This fabric is so special to me because it was one of the first pieces I bought for myself that was actually expensive. I had been sewing for my daughter for months, and it felt like such a splurge to buy this for me! For a while, I planned on using it for her anyways but I stole it! I could not find the right pattern to do this fabric justice I my mind. I know you are thinking, “It's not that amazing,” but it was so sentimental to me! When this dress came out, I immediately got this fabric out and was content with my decision! So exciting!

Ok, enough rambling! I think this dress would be perfect for any drapey fabric. Anything with rayon, voile, etc.--as long as it is opaque fabric, because the dress is not lined.
Pattern Adjustments:
Small bust adjustment (SBA) on a princess seam:
I should first add that you need to pick the pattern size based on your waist and bust to accommodate your shoulders and other parts above the waist. However, if you plan on doing a small bust adjustment, you will have to look at the bust measurement and subtract whatever you will be taking out and then pick that size. My bust measurement is 33 inches. I know (as you will see below) that I am going to remove one inch from the bust with my adjustment. So my dress will have the perfect bust size of a 33. Therefore, you need to start at the 34. This is very confusing and is explained very clearly by Made to Sew you tube videos linked here!
All that being said, I actually did not follow this because my fabric had a tiny bit of stretch. I made the smaller size and it ended up being fine! But the above is how you are supposed to proceed! Do as I say, not as I do!! HAHA.

SBA:
I had to look this one up because I have only done an SBA on a pattern piece with a side dart. I found a tutorial on the By Hand Londonwebsite that was extremely helpful linked here and below. Here are the steps I completed below:
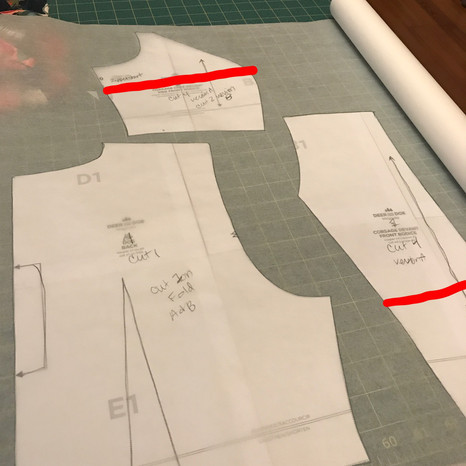
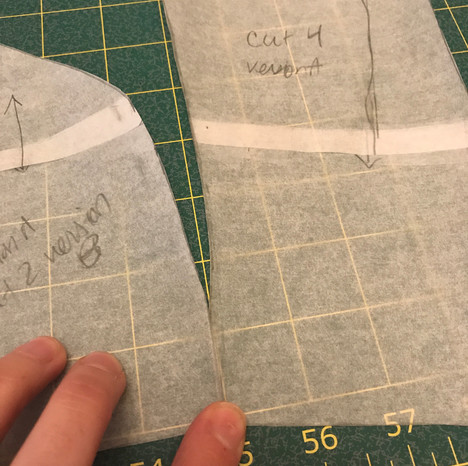
1. Trace pattern pieces as to not modify the original pattern piece. I traced out the front center, front side and back pieces. (You don’t need to trace out the back pattern pieces but I did this to avoid cutting into the dart on the original- you will see why I do this later.)

2. Take the front center and front side pieces and find the fullest part of the bust. On the front side piece, this is easy to do and almost lines up with the notch that is there. This makes it easy to find the fullest part on the front center piece as well because there is a matching notch there and you can assume this is a continuation of the fullest part of the bust as this is where the front center and front side pieces meet. Then you will need to draw a horizontal line across the fullest part on both pattern pieces. I forgot to take great pictures of this, but you can see an example of the lines I drew in red!
3. Take the front side pieces and mark the seam allowance with a dotted line along the side seam. You do not want to alter this seam.

Cut horizontally through your line (from the front side/front center seam) that has been drawn through the front side piece until you get to your dotted line. Cut from the side seam to the dotted line as well leaving a tiny connection at the dotted seam line.


4. Hinge the front side piece to overlap along the seam that meets the front center piece. Hinge the total amount that you want to take out of the bust divided by 2. You will be doing this on both sides so if you want to remove an inch total, you will only hinge your piece to overlap 1/2 inch. This will typically take you from a B cup to an A cup on most patterns as many patterns will be drafted for a B cup (see note below**).
**I could not find where it stated what this pattern was drafted for so I guessed! There is a great video by Ready to Sew about bust sizes and adjustments like I mentioned above! The difference between the high bust and bust measurement for an A cup is 1 inch versus 2 inches for a B cup. That is how I figured I needed to decrease by 1 inch.

Now you need to cut straight through the line on the front center piece and overlap it by 1/2 inch as well. There will be no hinge.

This will make the seam shorter that connects to the front side piece. This is fine because they have both decreased by the same amount. You have kept the front side piece seam intact because you hinged the pattern piece there and the length did not change.
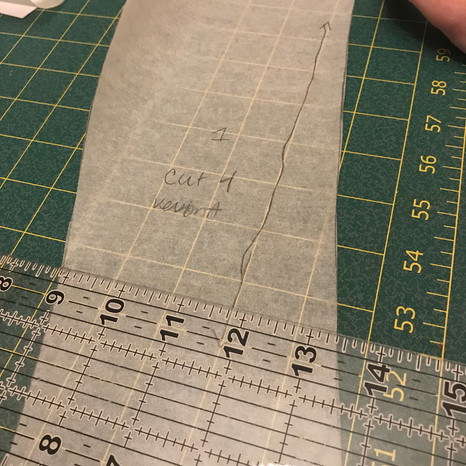
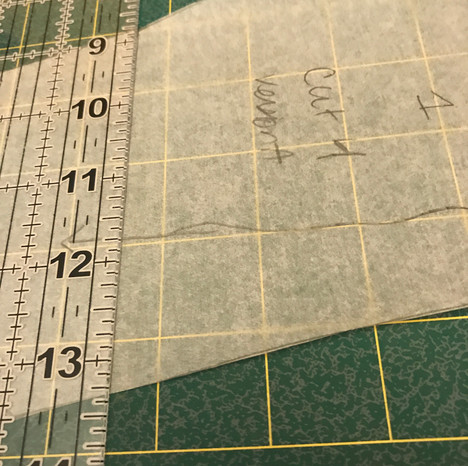
The last adjustment for this was to take some volume out of the curves that are present at the fullest part of the bust. I took out a quarter inch on each pattern piece because this would add to about a 1/2 inch on each side (making an inch total once again). There was not much science to this measurement, just that I didn't want to remove too much. You just have to know what you do to each pattern piece in this adjustment needs to be 1/4 of your total adjustment. As you can see in the pictures below. I drew a line to cut out from the pattern pieces. On the front side piece, the adjustment was basically already made with the first adjustment. I just had to shave off the excess. For the adjustment on the front center piece, I had to draw a somewhat concave line. I did not draw this line along the whole piece, but a large portion of it.


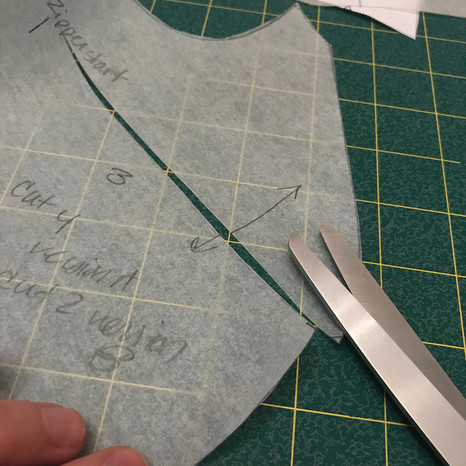
After doing all of these adjustments, I roughly made sure the seams lined up. As you can see below.


Doing all of these modifications worried me because I have a long torso, but it did not affect the final fit in that respect and worked just fine! This is probably because you need to remove length and depth for a small bust adjustment because you don’t need the room.
Also, there is another more accurate way to do this by making a toile garment (practice garment usually made out of muslin or some inexpensive fabric similar to your final fabric choice), but I didn’t want to do that! I never make toiles! I probably should???

Pattern Layout:
The pattern layout was helpful and I did use it! I ended up using only 4 yards of 60 inch wide fabric which was all I had! This is less than the pattern called for! Yes!

Cutting and marking your pattern:
Tips on cutting out the pattern:
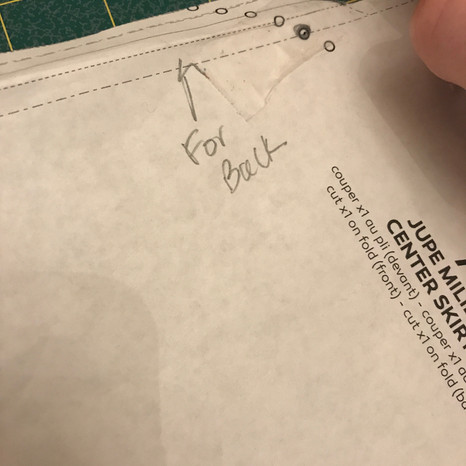
You will notice that the pattern pieces are modified for the slits and front and back pieces. Pay special attention to marking the proper notches and cutting out the right pieces. The instructions are there, but you need to pay attention. I just folded my pattern piece under along the line that lined up with cutting the back piece.

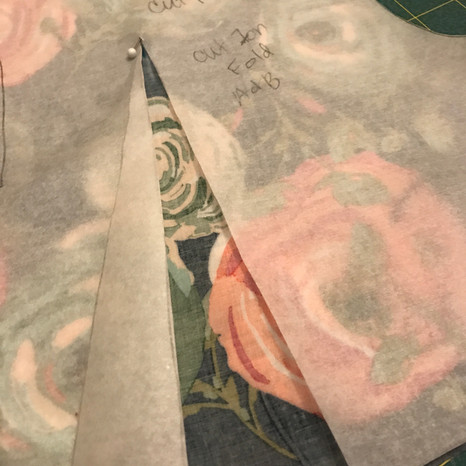
Tip for marking the dart:
Cut one leg of the dart all the way up to the dart apex. Fold the whole dart over to expose the dart on your fabric. Make sure you are marking on the wrong side of the fabric and draw in the dart like you see below. You will have to flip the pattern piece to the other side of the fabric if you are working on a piece that was cut on the fold!
Construction:
Overall the construction is fairly easy if you follow the directions closely!

Quick tip for sewing darts:
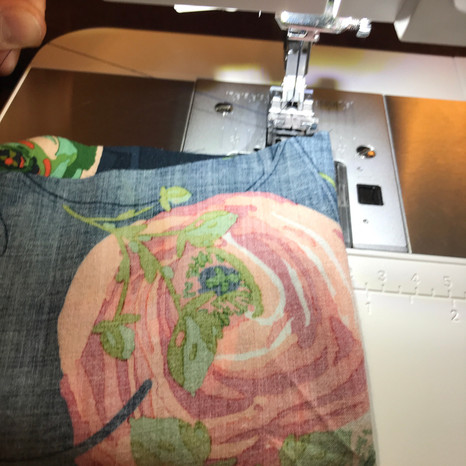
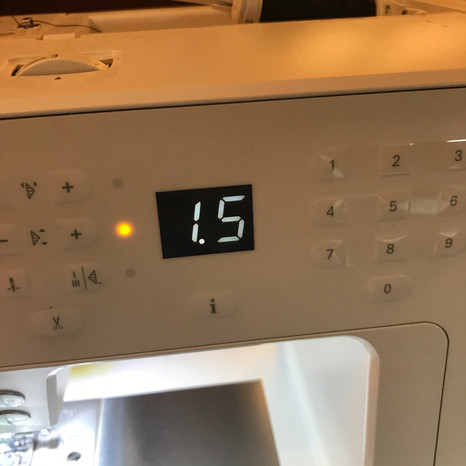
Before you start sewing, pull your top thread out to have a long tail. Sew a few stitches into the dart. Leave your needle down. Lift your pressor foot and pull your long thread tail to the front. Line up the thread tail end with the end of the dart you have marked! This gives you a straight line to sew on! I actually line it up to end 1/2 inch before the end of the dart, then sew along the very edge with a stitch length of 1.5 to prevent the need to back stitch or tie the ends. Sewing along the edge also helps your dart be less puckered.


I also make sure I iron them on a tailor’s ham to properly press my dart.
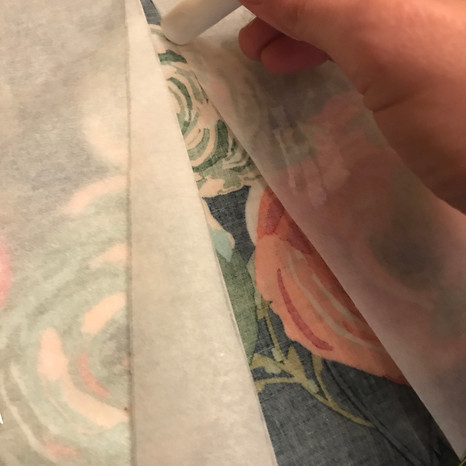
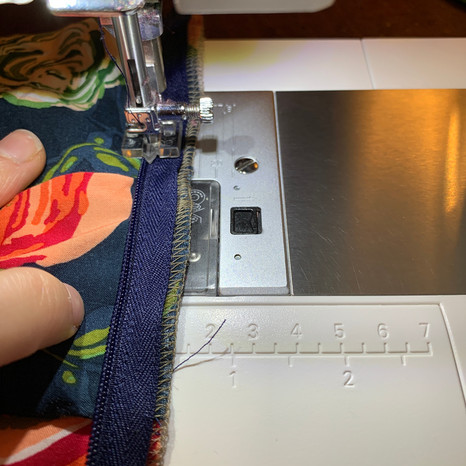
Sewing the bias binding:
When it came to sewing on the bias binding for the neckline, the instructions are very brief. I have done this plenty of times so I just used what I had! The instructions just tell you to cut bias tape, so you can cut any strip of the right length listed on the bias (diagonal) or you can use bias tape that is pre-made. I purchased some single fold bias tape in a coordinating color. I made sure that when I attached the bias tape, I sewed along the first fold and that it was 3/8 inch from the raw edge. The pattern called for you to sew 3/8 seam allowance here so I knew I needed to sew there. The bias tape I had was about a 1/4 before the fold so I had to sew with 1/8 of fabric leftover as seen below. To make a total of 3/8 inches.


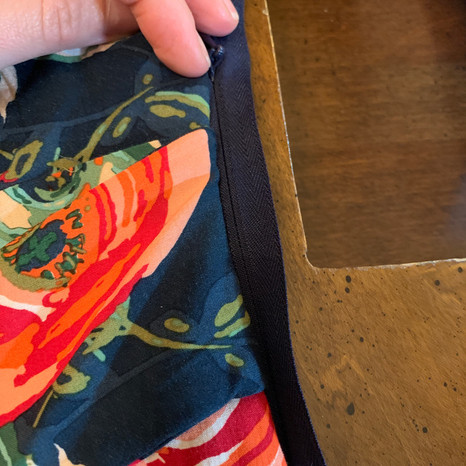
Invisible zipper insertion:
The instructions are good for this but I used a method that I always use that is demonstrated clearly on the sew over it website for insertion of an invisible zipper!
Before you sew on the invisible zipper, iron the teeth down, being careful not to melt the zipper! This will help it open up so you can get very very close to the zipper with your invisible zipper foot.
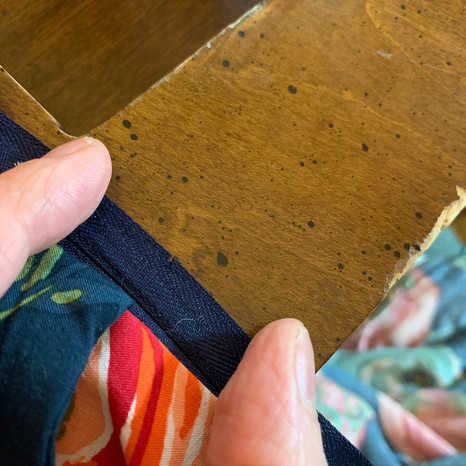
Pay attention to your zipper width and the seam allowance. My zipper width was about 1/2 inch and so I left 1/8 out to make a total of 5/8, which is the seam allowance there.

I attach the first part of the zipper with a zipper foot with a basting stitch.

Before I attach the second side, I zip up the zipper and carefully mark where the second side should line up with the waistband seams. I do this by cutting a notch in the side of the zipper that has not been basted on yet. When I baste this side on, I will make sure those notches line up with the waistband seam. This will help to make sure my zipper is perfectly aligned when it is all zipped up!
I usually turn the dress inside out to easily reach the other side of the dress to attach the second part of the zipper. I baste both sides with a regular zipper foot before I commit with the invisible zipper foot.
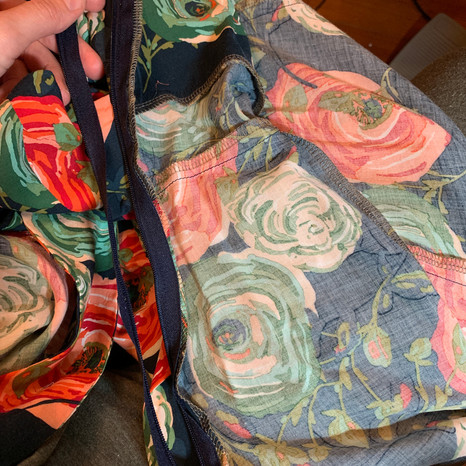
Pattern Fit:
It is hard for me to assess this accurately because my fabric had a tiny bit of stretch and give to it. I actually made a size that should have been too small in the waist, but it was perfectly fine.

Styling Your Garment:
This dress speaks volumes on its on and doesn’t need much of anything. I think it would look great with all sorts of jackets and cardigans. A beret or wide brimmed hat would look fabulous. Tall boots, ankle boots, high heeled shoes would also all look fabulous! The sky is the limit!

Fabric: Art Gallery Paradis Woodland rayon
Pattern: Deer and Doe Magnolia dress
Shoes Nordstrom Rack
Location: Our Farm!
Headpiece: NYC Christmas market 2016