Lander Pants
Oh my!!!!! My first pair of button-fly pants! I cannot believe it! I will go through a quick pattern review but there is no need for many tips or tricks because the sew-along is amazing!!!! I used it every step of the way (linked below)!

Here is brief summary of what I will be talking about:
-Fabric choice
-Pattern layout
-Modifications
-Pattern construction
-Pattern fit
-Sewing needle and thread
-Jeans buttons
-Styling your garment
Fabric Choice:
I had some cotton twill that I had bought from La Mercerieand it worked perfectly for this project! The weight of the fabric was 8.0 oz. and it worked well. I think any fabric with some kind of body would work well as to give the pants the wide leg shape and look. The twill weave was nice for this project.

Pattern layout:
Make sure you pay attention to the instructions and have the fabric right sides together when cutting and then the right side facing up when cutting the waistband etc.. Sometimes I ignore these instructions but it is important for your notches and the left fly piece to be cut out correctly.


Modifications: NONE!

Pattern construction:
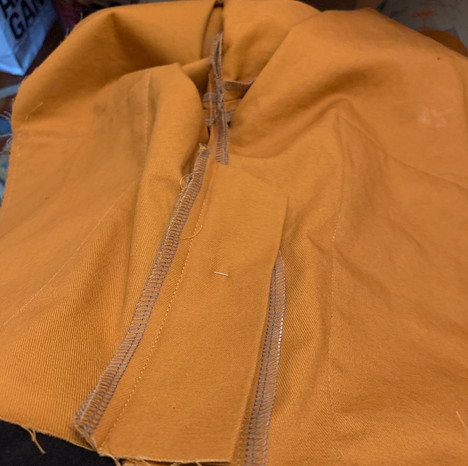
The sew along was absolutely perfect! I did feel a little stupid when I didn’t quite understand the fly construction. When you attach the fly piece to the right side of the pants, I didn’t understand how it was supposed to lay. The instructions made me think it was supposed to be folded to the inside, but it just goes behind the front left fly piece. Here are some pictures of how it should look from the front and back and pinned together!


When assembling the side seams, I did use the pattern fitting explained below.
Pattern fit:
Let’t first talk about fit because that was the most amazing experience!! I did not make a toile because I was confident I could get away with fitting these pants without one! Pretty risky for a beginner! These pants are so comfortable! I have never found pants that truly fit a tiny waist and larger hips. Even if the fabric has stretch, the waist never fit properly. I believe I ended up with a size two in the waist as this was the size I cut out and then a size 4-6 in the hips!
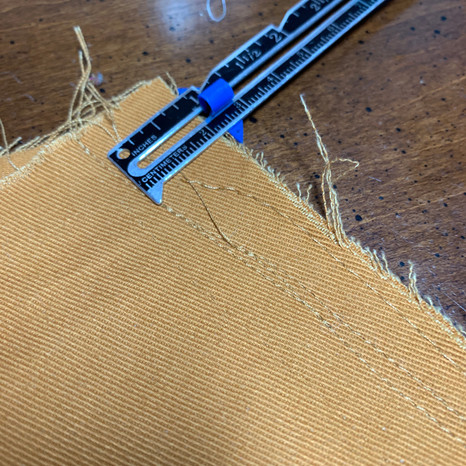
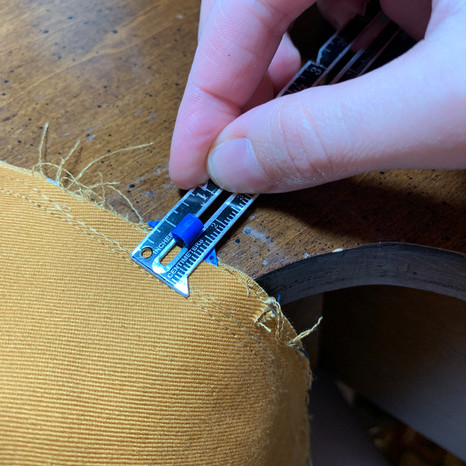
I ABSOLUTELY LOVE how these have one inch seam allowances on each side seam. This is a true game changer. You need to cut out your size according to your waist measurement as the waistband is interfaced and is not able to change easily later. If you are in between sizes, then I would cut the bigger size for your waist because you can always make your waistband smaller but not bigger. If you do cut some off the waistband, then your notches will not match but this is not a very big deal. This is explained in the pattern. When altering the side seams of these pants, I first basted them at 1inch on each side like the pattern calls for. I then kept the pants inside out so I could make further adjustments after putting them on. When I quickly realized I could not get them on, I undid the top part of the basted seam, right under the waistband area and tried it at 3/8 inch. Remember the very top of the pants has to have a seam allowance of 1inch on each side to fit the waistband. Now I could put the pants on! I then used pins to take out what I needed from the side seams. It fit in some places and was too big in others. I took them off and basted again. I tried them back on inside out once again. Then, I basted again. When I was happy, I sewed them up! I tried them on and still found one or two spots I wanted to take more out but that was easy to do as I just sewed further in and didn’t have to pull anything out. Its better to take less at a time rather than more. You will just be ironing these seams to the back, so they dont need to be pressed open. I serged the excess off once I was sure that the fit was great! See below for pictures!

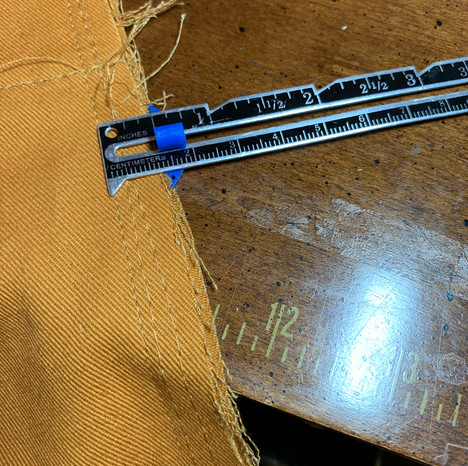
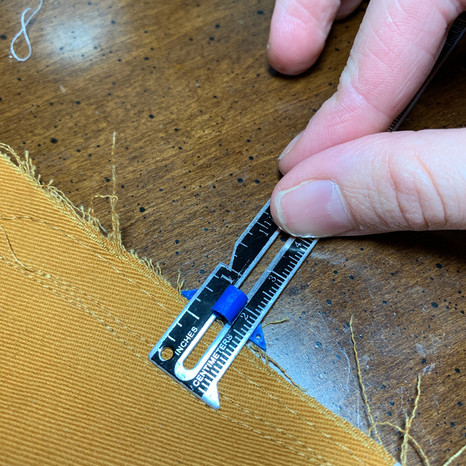
Pictures below demonstrate different seam allowances that I used at different parts of the side seam. The top left picture shows the top of the seam where the waistband goes. This seam should have a 1 inch seam allowance as instructed. There are multiple lines of stitching because I just stitched further and further in until they fit.
I also love how the hem is 3 inches. This a lot to play with. I pinned the hem at 2 inches because I am tall and wanted to start there. I ended up wanting them a tad longer and only hemmed them about 1.25 inches. After pinning here and liking the length, I top stitched the hem and voila!
Sewing:
I used a jeans needle that was a 100/16. This worked very well! I used all purpose because it is all I had and it turned out well. The top-stitching blends in and that works well for me! These pants are loud enough with the color I chose, so I didn’t need anything else.
Jeans buttons:
I ordered buttons from Taylor Tailor as recommended from the True Bias sew along. These were very nice and look amazing. I ordered 4 copper buttons!

The sew along explains clearly how to insert these!
Styling your Garment:
I mean….the possibilities are endless. There is so much you can do with these pants! Since they have a wide leg, it would be good to avoid knee high boots unless they can comfortably fit under your pants. I chose to wear my wooly Hobes! They looked awesome. I am also wearing a hat, scarf and gloves from target! My sweater was crocheted by me in Iceland wool! I made it last year and it is so warm! I think this color was an awesome one for these pants! I want to make several more colors! Sorry my pants are wrinkly is this picture! The wind was blowing!!!

Lander pants sew along: Day 1
Jeans buttons: Taylor Tailor
Sweater: Me-made crochet in Iceland wool The velvet acorn the Osyan cape pattern
Boots: wooly Hobes
Beanie/Beret/scarf/gloves: Target