Liberty Erin Dress

Well hello everyone!! It’s time to talk about a dress I have been dreaming up for a super long time. I have written this blog post and filmed this YOUTUBE video!! I mean it has been a long long long time! Before I can introduce you to the concept about my dress, I need to tell you how to get it!

A long while back, I subscribed to a service called Make My Lemonade Pattern Corner. You are charged 7.90 Euro a month and you can download all of their pdf patterns as much as you want and they have a new one each month! They print just fine on US letter paper. This one is particularly large to put together, but it was so worth it! The pattern I used was called Erin. It is a beautiful pattern and has so much potential for hacking and interest! The pattern website is also a shop that sells clothing and the CUTEST shoes! They also sell fabric! You can also just buy the pdf patterns individually. The patterns are in English and French on the actual pattern. There is also a very nice youtube video (although in French) on the page of the pattern and on youtube itself! With all of this information and guidance, it makes it a very easy pattern to construct! YOU CAN DO IT!

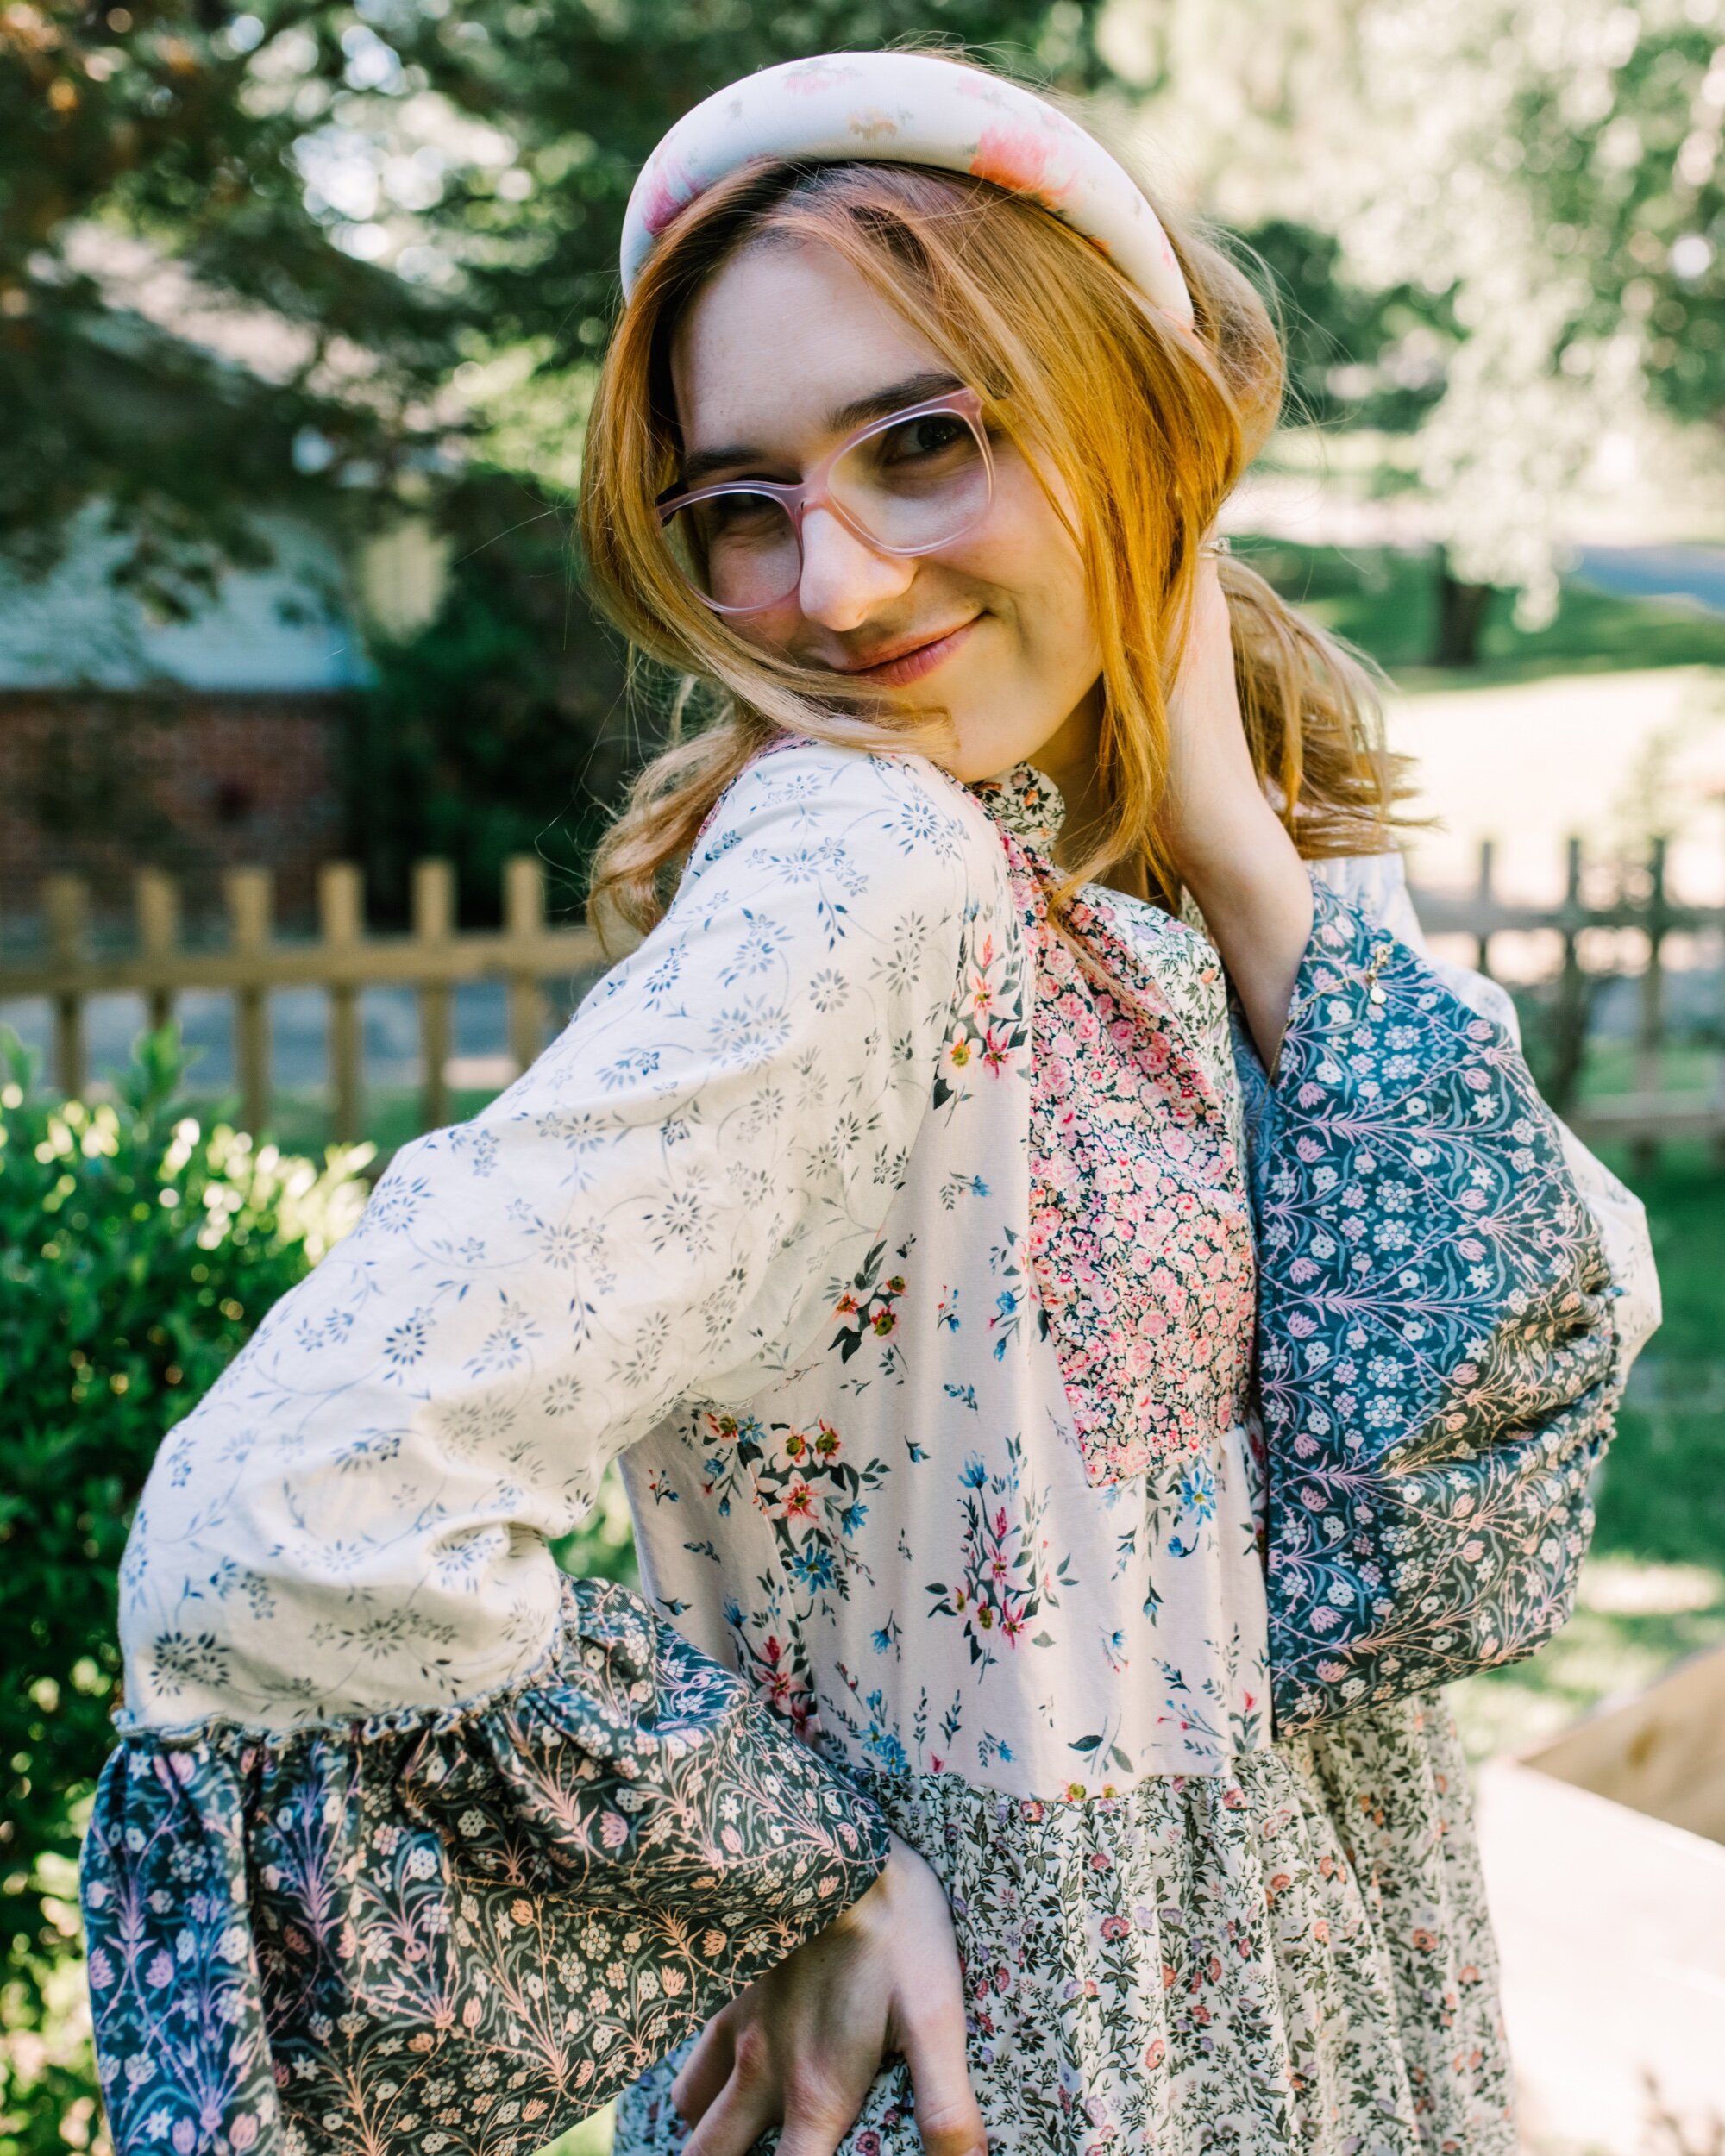
When I first started the vision for this dress, all I could see was florals everywhere! I also had envisioned adding an extra layer to the dress at the bottom (a small tier). I have a shelf of Liberty and I just headed straight over there! I pulled it all out and laid it everywhere. I decided to just start putting all my fabrics on the floor and arrange them side by side to see what coordinated! I have a collection of many cotton floral lawns and floral quilting cottons. I FINALLY landed on a collection of 5 prints!

The next step is to design the dress! Where do you want the prints to go? Do you want to hack the dress at all? SOOOO many questions. This was the most stressful, yet the most fun part. The best way for me to decide on what I wanted was to look at the pattern cover and design it from there. I first drew in the bottom tier that I knew I wanted to add. Then, I cut tiny little scraps of my fabric and placed them all over the dress over the photo!!! It was so fun! I got this idea from Katie Kortman when I was talking about my plans with her! It is the absolute best to discuss things with your sewing buddies. I decided to place the same prints in multiple places so that the dress could flow and have connections. I tried placing the prints in different places from the pic you see below just to make sure but this one clicked for me and there was no changing it! Even when I discovered my bottom panel fabric was only 35 inches wide! We will get to that later!

OK now to do a lot of math…Or not….Just wing it haha. In order to add a third tier, I first looked at how tall the third tier was. It was 27 inches long. OK perfect, I just cut off 10 inches and decided to make that the last tier. I should have added seam allowances between the two pieces but it is such a small amount I just decided it would be fine! I didn’t want it to be too long. Therefore, my first tier remained the same (14 inches long) and my second tier, 17 inches, and the third tier 10 inches long!

Now there is the matter of figuring out the width! I typically make the descending tier 1.5 inches wider than the previous. I definitely wanted to double check the ratio between the first and second tier so that I could do what the pattern was already doing. I found this out by measuring the width of the first tier by adding up the pattern piece and multiplying it times 4 because it is cut on the fold. Then I measured the width for all the pieces on the second tier. Then I figured out how much bigger the second tier was than the first and it was a ratio of about 1.6. I used this to figure out the total width of my pieces for the bottom layer!! I then decided on how many I would need to cut for the 3rd layer. I figured the 3rd layer should be about 200 inches wide. In order to do this, I needed 6 pieces! Now, before you freak out, the last layer of my dress is vintage Liberty of London and only about 34 inches wide! Therefore, I needed 6 panels that were 17 inches wide cut on the fold. If your fabric is wider, you can cut less! As long as the width is around 200 inches total!

However you decide to organize the panels, after you sew them together, separate them into four quadrants or sections for all tiers by placing pins or marking. I placed 2 rows of gathering stitches on the sewn panels starting and stopping at the side seam marks. I found the center front, center back, and 2 sides where it would line up with the side seams and marked them with a pin and marker. Then I lined them up with the tier above and used this to evenly distribute the gathers. Sometimes the tier did not have a side seam because there was a specific side panel that covered the side seam, but I still marked it as if there was one just to mark the “side seam”. This will help you spread the gathers evenly!

Long story short, it all doesn’t really matter how you place it, as long as it is slightly more gathered and even throughout! There is no need for exact precision here!

I decided that I would not follow the pattern instructions exactly when it came to attaching all of the tiers. I decided to attach the tiers right sides together and not worry about finishing the top edge with the overlocker. I did not place the gathers on top of the previous tier like the pattern had instructed. This was because I thought the dress was busy enough and didn’t need this extra touch or embellishment. Plus I was being a little bit lazy haha! I did do this for the flutter at the end of the sleeve! I kept the embellishment there!
If you want to find a similar pattern to help you make something along these lines, I found this new McCall’s Pattern M8090 that could be used to make this beauty!


The next step, once you put everything together, is to get up and twirl, twirl, twirl and enjoy! I so loved making this dress and it was seriously so satisfying to see my vision become a reality! I hope you all learned something from it and you are inspired to make your own!!! Check out my youtube all about the making of this dress and more behind the scenes footage here!!!

Fabrics from Hawthorne Supply Company (most of the dress- Winterbourne collection), Fabric.com (first tier and collar) and my mother (pink fabric on the bottom and my chest)!